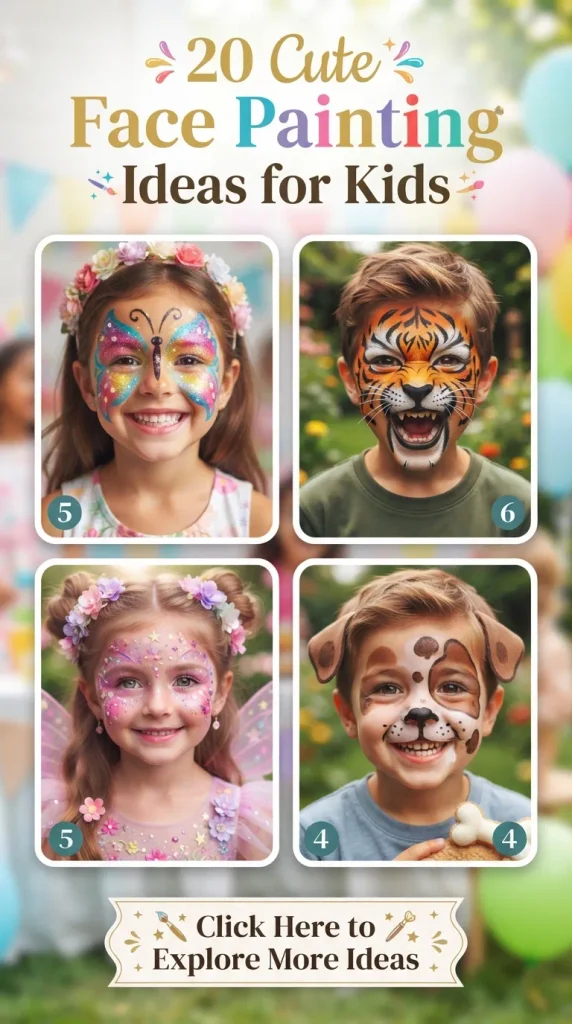
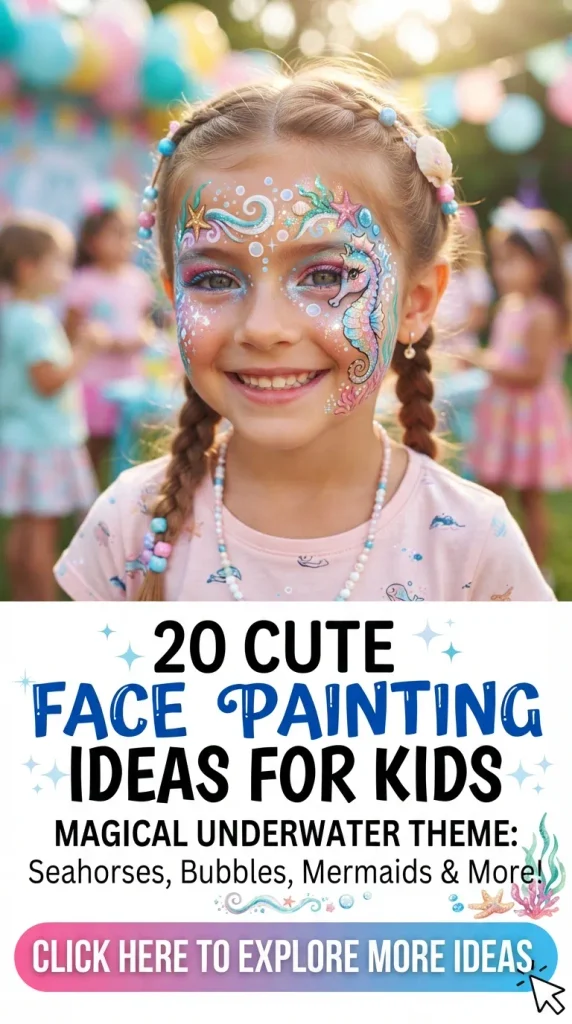
20 Cute Face Painting Ideas for Kids
Transforming a child’s face into a canvas of imagination is one of the most magical experiences of childhood. Whether you are preparing for a birthday party, a community festival, a school play, or simply spending a vibrant Saturday afternoon at home, face painting brings stories to life. Beyond the sheer fun, stepping into a character through paint encourages imaginative play, storytelling, and confidence. Crafting an aesthetic, modern, and high-end look requires a delicate balance of soft color palettes, clean linework, and whimsical details that appeal to both children and parents alike.
The Ultimate Guide to Professional Face Painting
Mastering the art of children’s face painting goes beyond just having the right colors; it requires proper technique, skin safety, and the right tools. Investing in professional-grade, cosmetic-grade face paints ensures that the products are hypoallergenic, gentle on sensitive skin, and easy to wash off with mild soap and water.
Essential Tool Kit
- Brushes: A variety of synthetic brushes, including a #2 or #3 round brush for fine linework, a #6 flat brush for blending, and a 3/4-inch flat brush for one-stroke techniques.
- Sponges: High-density teardrop sponges are indispensable for creating smooth gradient background bases quickly and evenly.
- Glitter: Always use cosmetic-grade, biodegradable bio-glitter applied over damp paint or with a safe cosmetic adhesive. Never use craft glitter near the eyes.
- Water and Hygiene: Keep two water containers—one for rinsing dirty brushes and one for clean water. Use spray bottles to mist your paints rather than soaking them.
Step-by-Step Application Process
- Skin Preparation: Ensure the child’s face is clean, dry, and free of heavy moisturizers or oils so the paint adheres properly.
- The Base Layer: Use a damp sponge to apply light background colors using dabbing or patting motions rather than heavy dragging.
- Structuring and Linework: Switch to a fine round brush loaded with creamy paint consistency (think melted ice cream) to draw bold outlines, whiskers, and delicate accents.
- Highlighting and Details: Add crisp white highlights to bring depth, dimension, and a magical sparkle to the design.
- Finishing Touches: Dust a gentle layer of cosmetic glitter over the focal points while the paint is still slightly tacky.
20 Aesthetic and Cute Face Painting Ideas
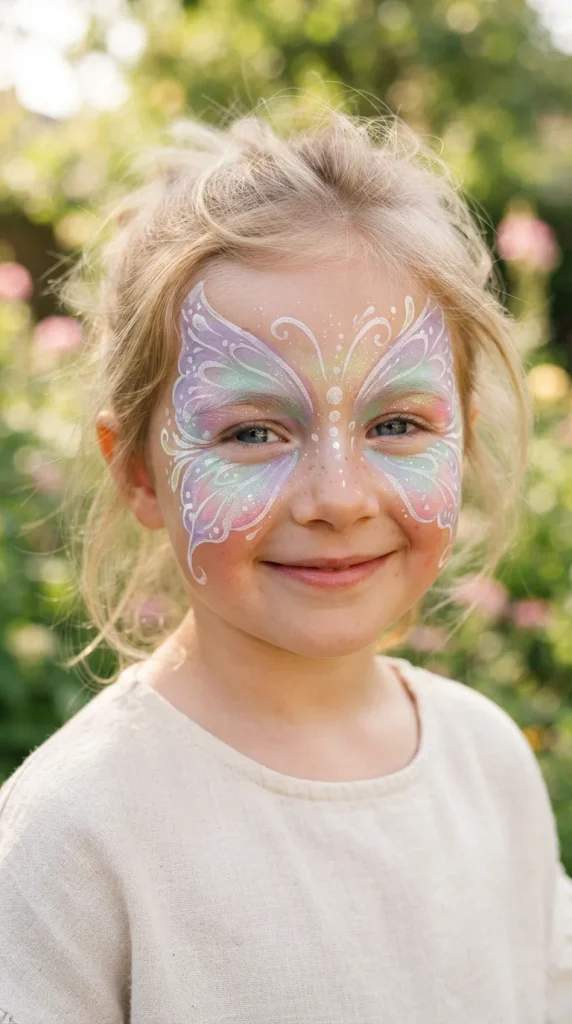
1. Pastel Watercolor Butterfly
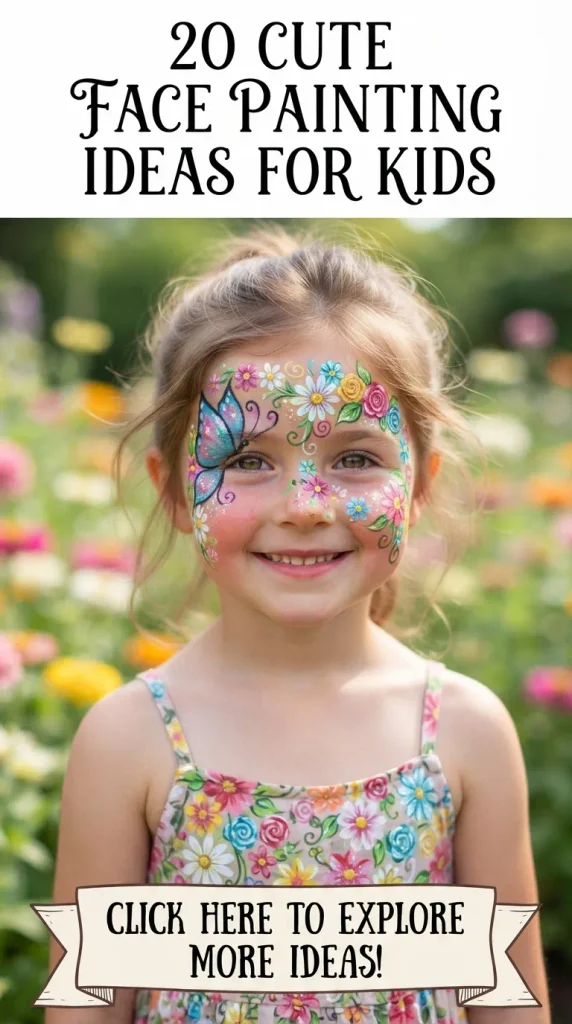
A delicate flutter of soft lavender, mint green, and baby pink graces the outer corners of the eyes, featuring fine white linework and subtle iridescent shimmer.
- How to Make It: Sponge a pastel gradient across the cheekbones and temples. Using a fine round brush, paint graceful butterfly wings extending outward. Add tiny white dots along the edges for a dew-kissed effect.
- Variations: Swap pastel tones for metallic golds and deep navy blues for a nocturnal fairy aesthetic.
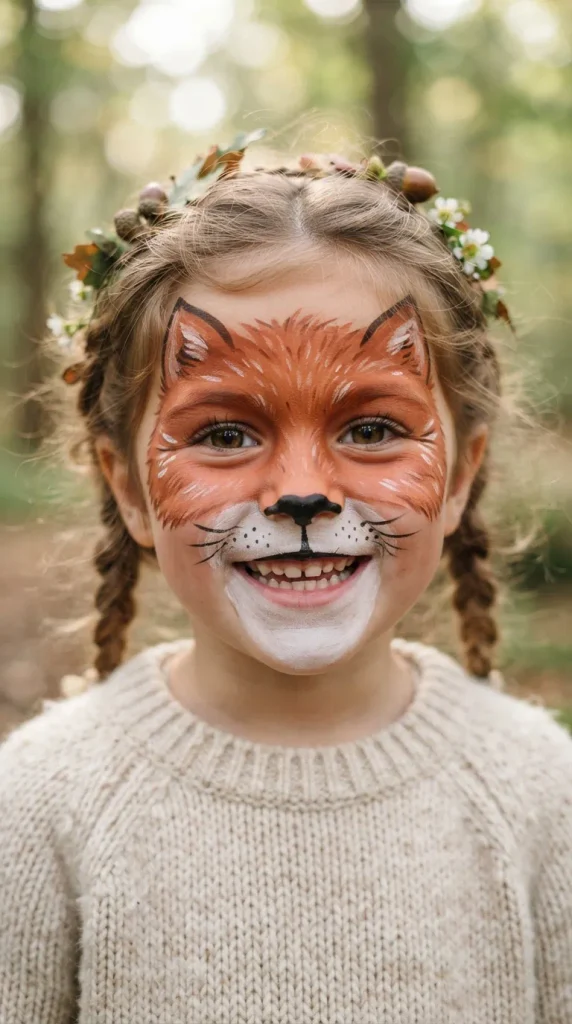
2. Whimsical Woodland Fox
A warm, earthy terracotta orange mask surrounds the eyes, highlighted with crisp white muzzle details on the nose and cheeks, paired with tiny black button whiskers.
- How to Make It: Shape the fox mask using a dense sponge for smooth coverage. Use a fine brush to carve out the white cheeks and forehead diamond, finishing with delicate black stroke accents.
- Variations: Transform into an arctic fox by using icy white and soft silver tones instead of orange.
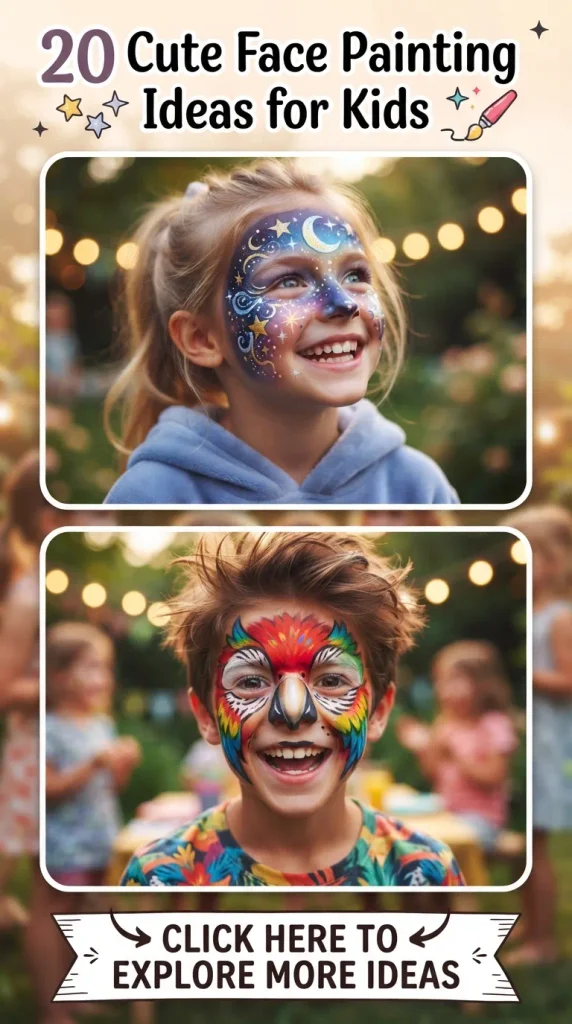
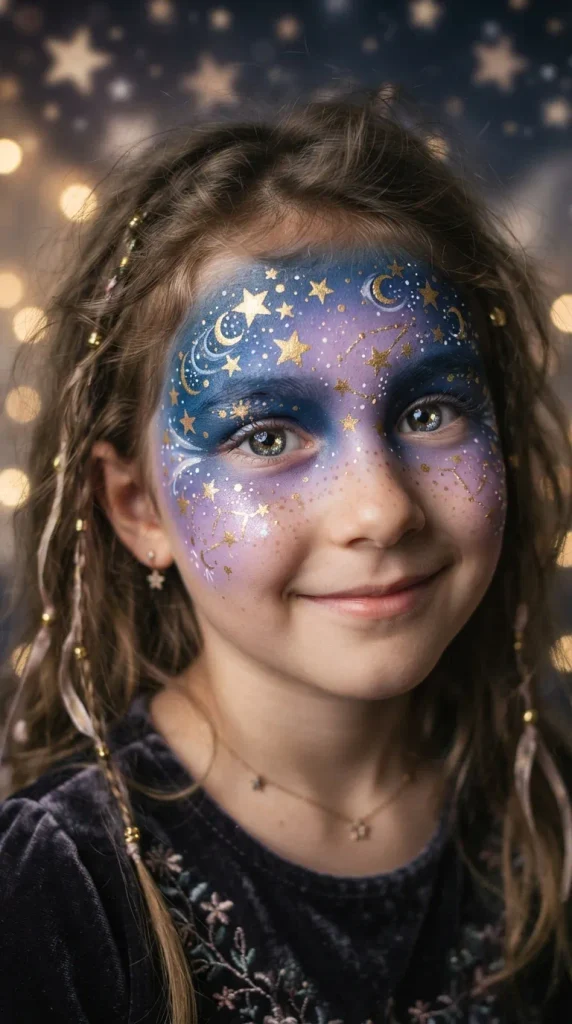
3. Starry Night Celestial Dream
A deep midnight blue and lavender gradient sweeps across the forehead and brow bone, scattered with golden stars, tiny crescent moons, and fine constellation lines.
- How to Make It: Blend dark blue and purple paints across the upper face. Use a stencil or a steady hand with a fine liner brush to paint metallic gold stars and delicate white dots.
- Variations: Add glowing neon UV paints for an evening party or nighttime festival look.
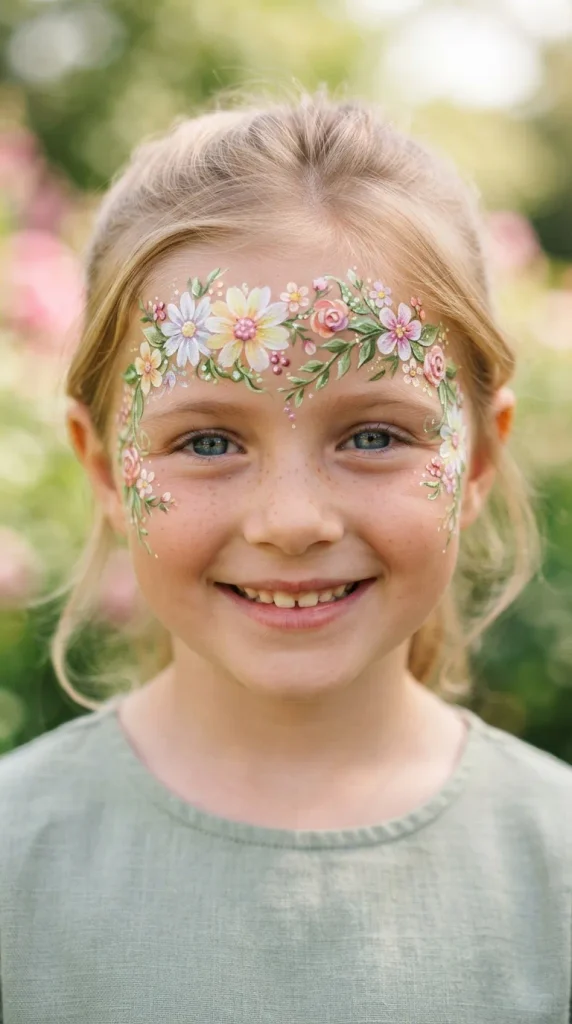
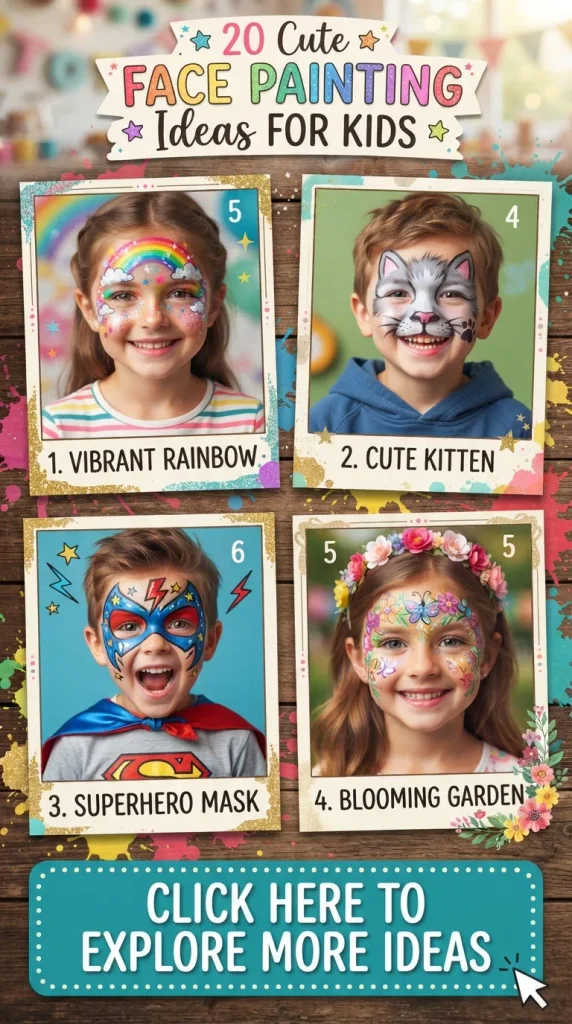
4. Enchanted Floral Crown
A delicate wreath of blooming daisies, tiny rosebuds, and leafy green vines wraps gracefully across the forehead like a natural flower crown.
- How to Make It: Use a one-stroke split cake to press down petal shapes quickly with a flat brush. Connect the flowers with leafy green vines and dot the flower centers with bright yellow.
- Variations: Switch from spring daisies to autumnal leaves and rustic berries for a cozy fall theme.
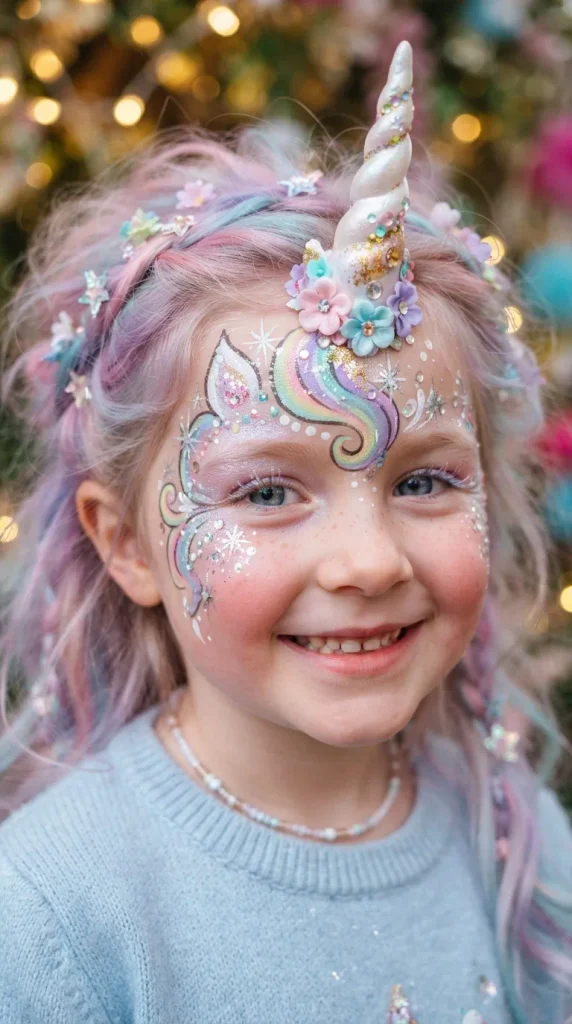
5. Magical Unicorn Sparkle
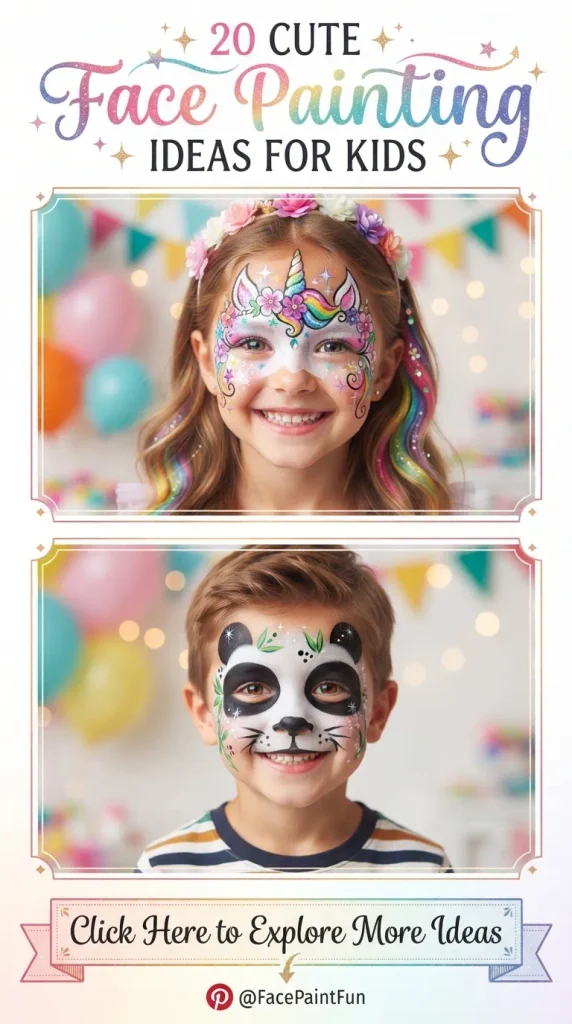
A pearlescent white unicorn horn rests gracefully on the forehead, flanked by a rainbow pastel mane flowing up into the hairline, accented with silver starbursts.
- How to Make It: Paint a centered horn using metallic silver and white with cross-hatching texture. Layer soft pink, blue, and yellow brush strokes for the cascading mane.
- Variations: Create a dark fantasy pegasus by using charcoal gray, violet, and electric blue hues.
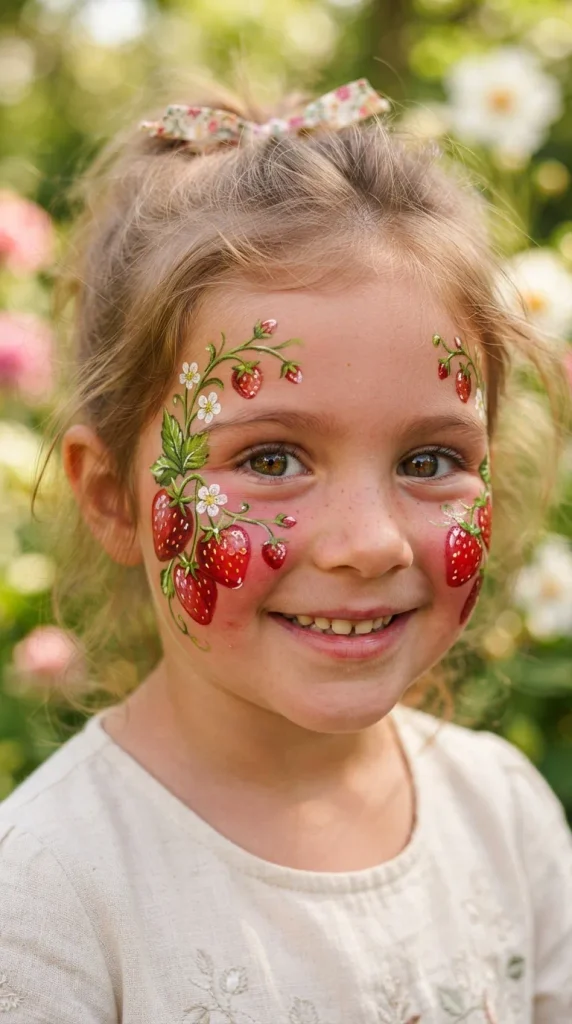
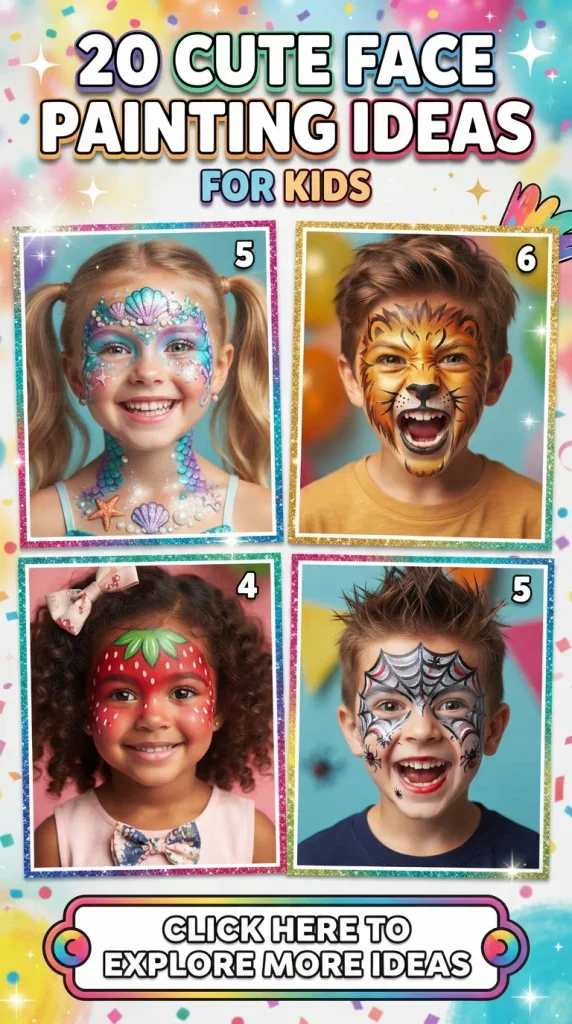
6. Sweet Strawberry Patch
Rosy pink cheeks transformed into juicy, glossy strawberries complete with tiny yellow seed dots and a cute green leafy stem perched just above the eyebrow.
- How to Make It: Paint small red dome shapes on the cheeks using a flat brush. Add tiny white teardrops for seeds and cap the top with vibrant green leaves.
- Variations: Substitute strawberries with plump blueberries or bright yellow lemons for a refreshing citrus twist.
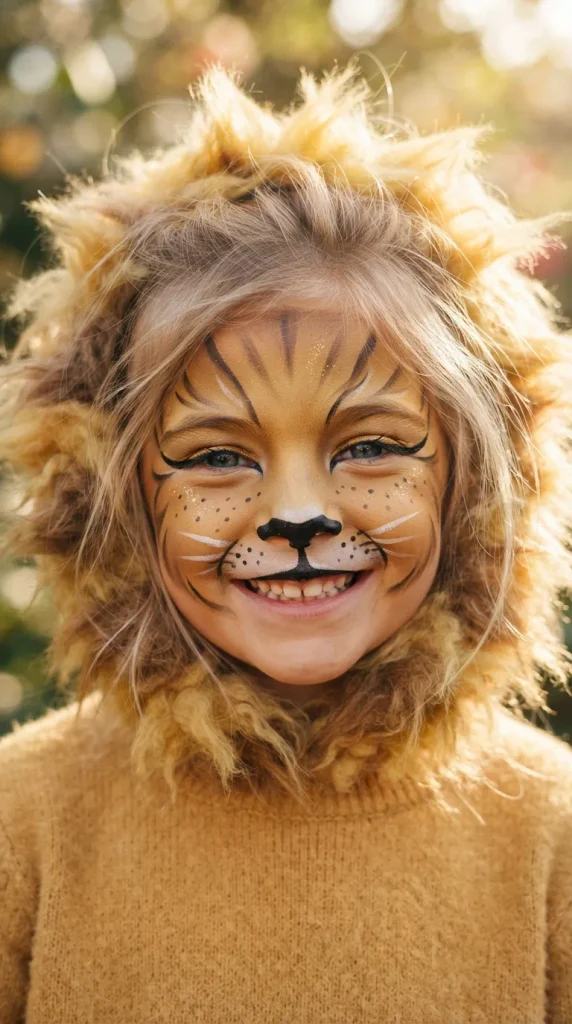
7. Gentle Little Lion Cub
A warm golden-brown base covers the nose and upper lip, featuring a sweet button nose, playful freckles, and a soft fluffy mane framing the cheeks.
- How to Make It: Sponge a warm ochre base across the lower face and nose. Paint fluffy, textured brush strokes around the jawline to mimic a playful mane.
- Variations: Turn it into a fierce tiger by adding bold black stripes across the forehead and cheeks.
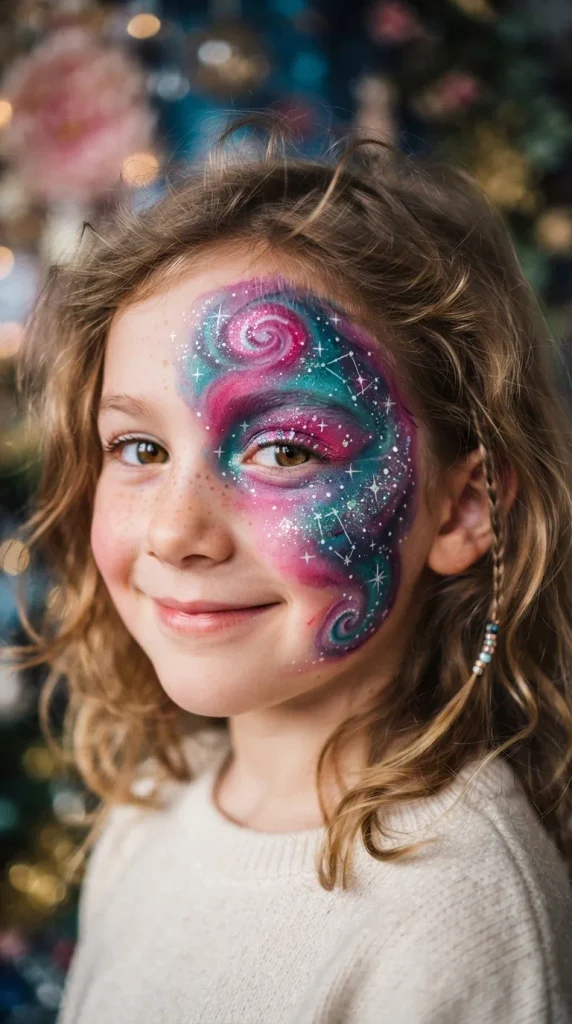
8. Cosmic Galaxy Nebula
A mesmerizing blend of magenta, deep indigo, and turquoise swirls across one side of the face, embedded with stardust, tiny planets, and sparkling white constellations.
- How to Make It: Use a damp sponge to dab swirling watercolor-style cloud patches. Flick white paint off a stiff brush to create an authentic splattered stardust effect.
- Variations: Incorporate warm sunset gradients of peach, coral, and violet for a sunrise nebula look.
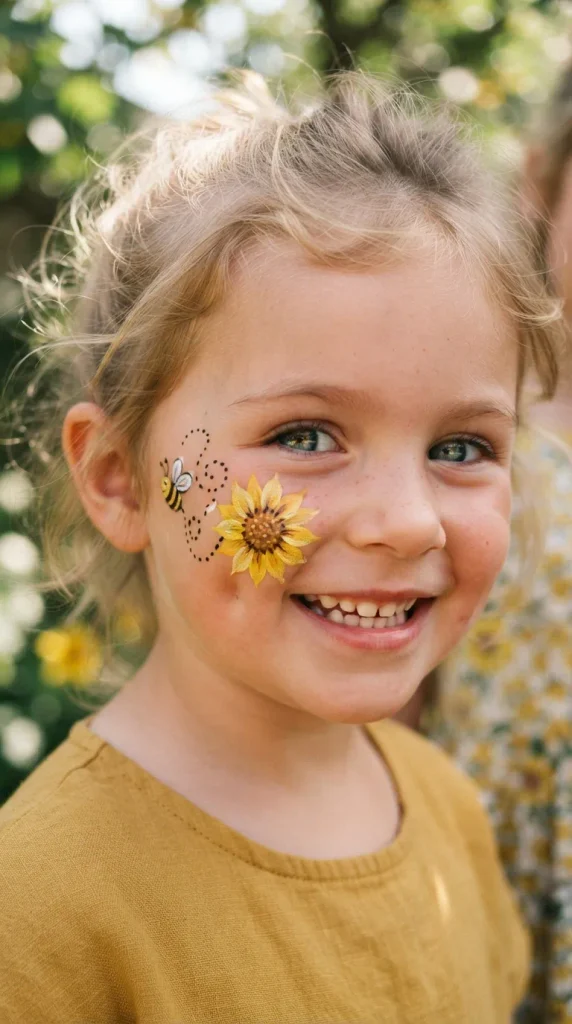
9. Sweet Honeybee and Sunflower
A bright yellow sunflower blooms on the cheekbone, accompanied by a tiny, buzzing striped honeybee leaving a dotted flight trail behind it.
- How to Make It: Paint a dark brown center surrounded by golden-yellow petals. Draw a small striped bumblebee with delicate translucent white wings nearby.
- Variations: Feature a ladybug sitting on a bed of clover leaves instead of a bee.
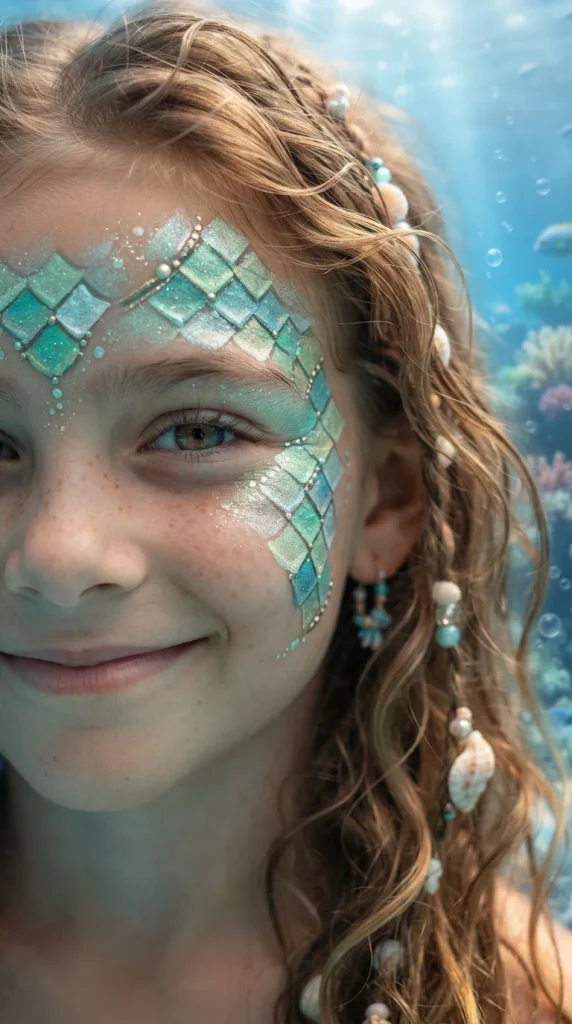
10. Underwater Mermaid Scales
Shimmering teal, seafoam green, and lavender geometric fish scales cascade down from the temples and cheekbones, catching the light with pearlescent luster.
- How to Make It: Press a fishnet mesh stencil tightly against the skin and sponge metallic teal and green paint over top to instantly stamp realistic scales.
- Variations: Use copper, bronze, and deep sea blues for an antique sunken treasure aesthetic.
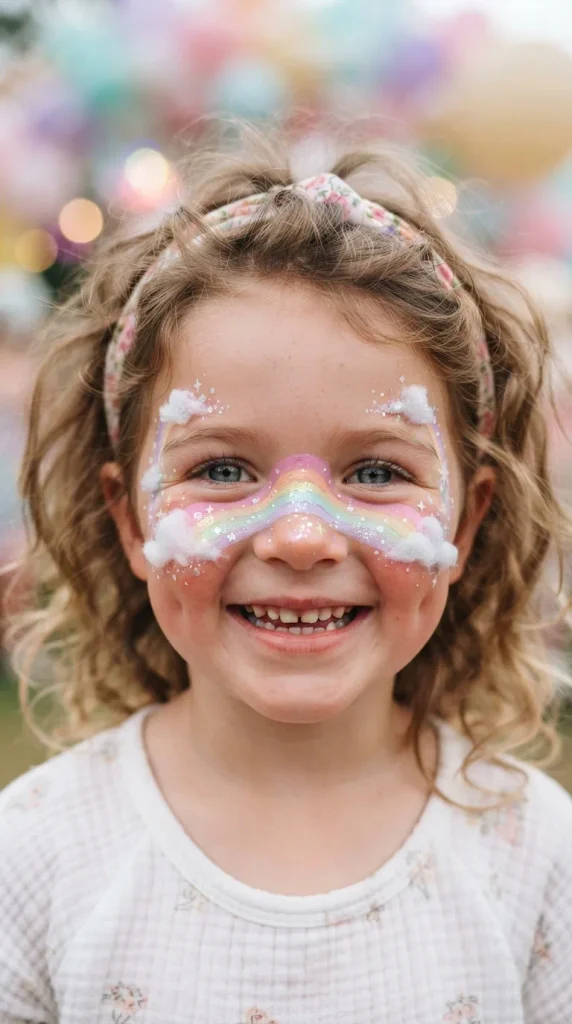
11. Dreamy Pastel Rainbow
A soft, arched rainbow curves across the bridge of the nose and cheeks, flanked by fluffy white cotton-candy clouds at each end.
- How to Make It: Load a flat rainbow cake brush with pastel shades and swipe a smooth arc in one fluid motion. Sponge fluffy white paint at the base of the arch.
- Variations: Opt for a bold, neon retro rainbow palette for high-energy birthday parties.
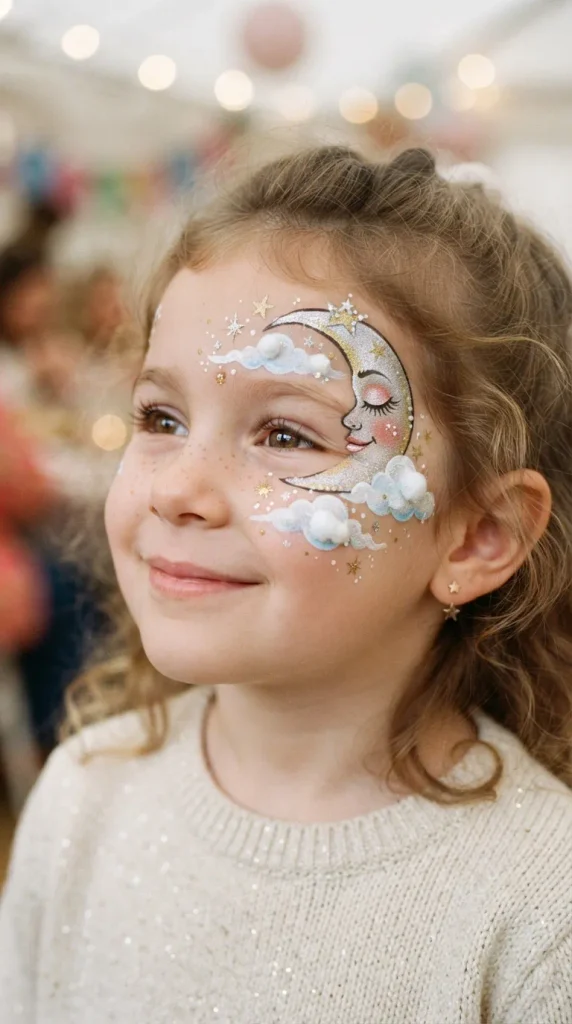
12. Sleepy Crescent Moon and Clouds
A smiling, sleepy silver-and-gold crescent moon rests peacefully on the temple, cradled by soft white clouds and drifting silver teardrop stars.
- How to Make It: Draw a clean crescent moon outline with metallic gold, filling it with soft cream. Add fluffy white cloud puffs and dangling star accents.
- Variations: Add a tiny sleeping face with closed eyes and rosy cheeks inside the moon curve.
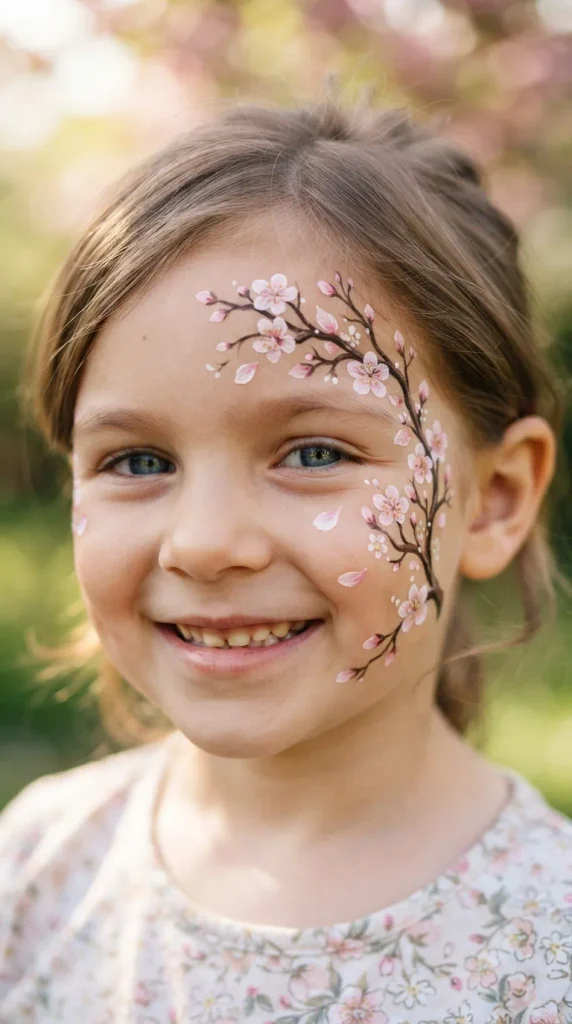
13. Fluttering Cherry Blossom Branch
An elegant dark brown branch stretches across the forehead, dotted with delicate pink and white cherry blossom petals blowing gently in the breeze.
- How to Make It: Use a thin liner brush to paint an organic, curving tree branch. Stamp soft pink petals around it and accent with tiny yellow stamens.
- Variations: Swap cherry blossoms for winter pine needles and red holly berries.
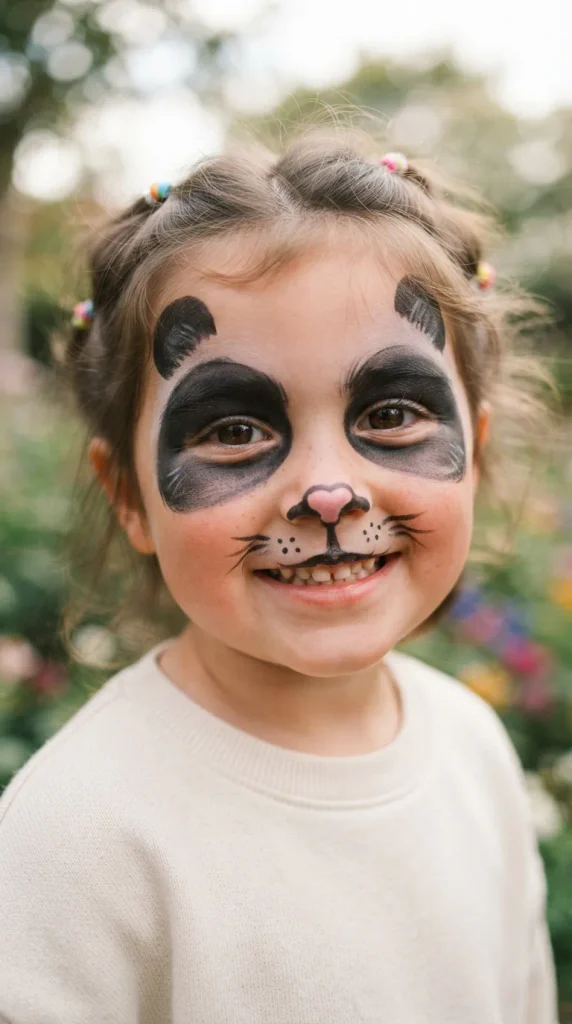
14. Cute Little Panda Face
A classic black-and-white panda design featuring soft black eye patches, a cute pink button nose, and a smiling mouth painted around the upper lip.
- How to Make It: Sponge white around the mouth and eyes, then paint rounded black patches over the eyes. Add a pink nose and delicate whisker dots.
- Variations: Transform into a playful koala bear using soft slate gray tones.
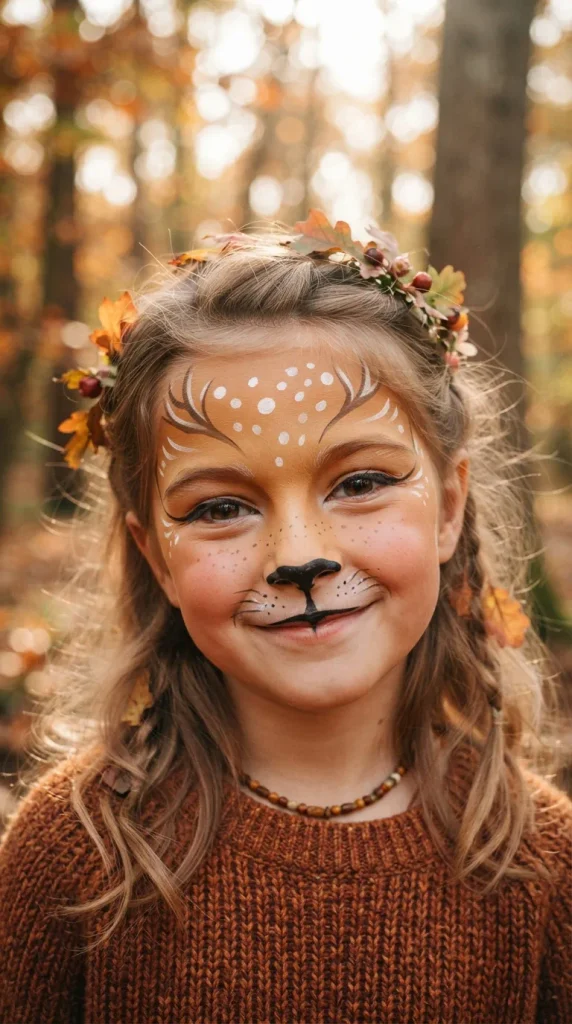
15. Autumn Forest Deer
A warm fawn-colored face base featuring large soulful eyes, a delicate black nose, and crisp white spots sprinkled playfully across the forehead and cheekbones.
- How to Make It: Apply warm beige or tan over the upper face, shading the nose and adding precise white dots with the back of a paintbrush handle.
- Variations: Add small branching antlers above the temples for an enchanted woodland creature look.
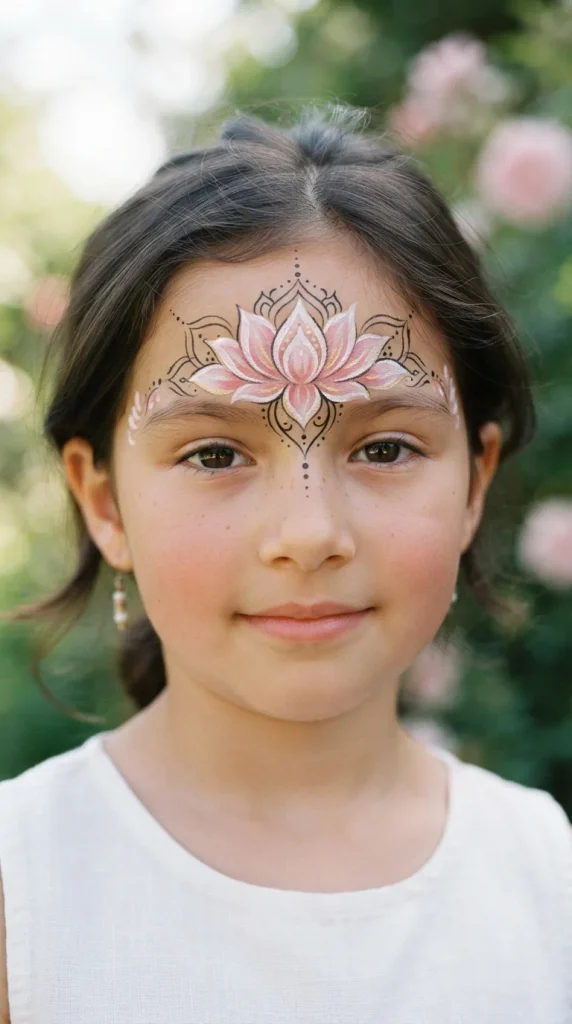
16. Blooming Lotus Flower
A serene pink and white lotus flower sits centered on the forehead or between the eyebrows, symbolizing peace with subtle mandala-inspired line work.
- How to Make It: Paint overlapping curved petal shapes using a soft pink gradient, outlining them with fine white lines and adding minimalist dot accents.
- Variations: Replace the lotus with an intricate mandala sunburst design.
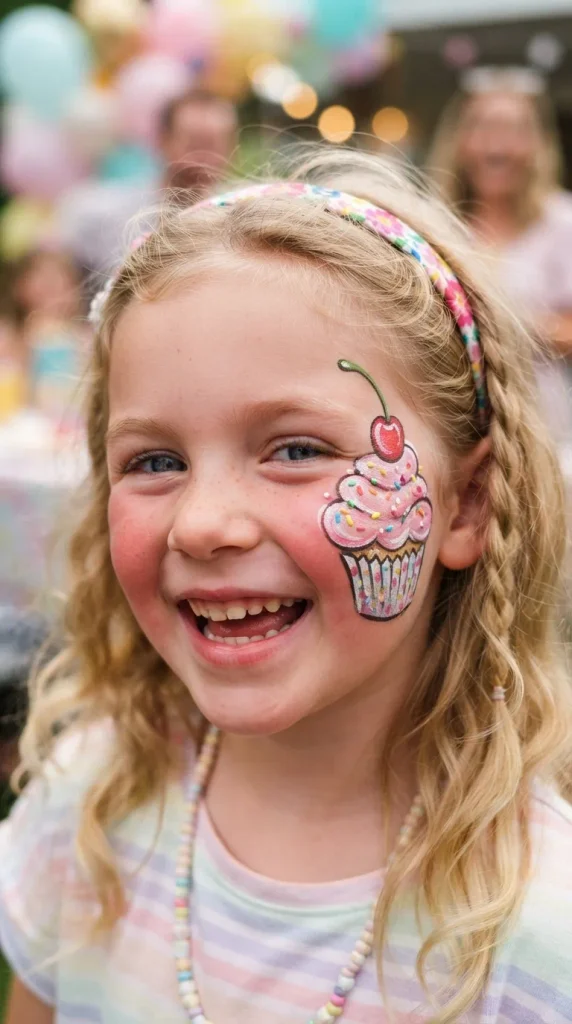
17. Sweet Cupcake Celebration
A delightful frosted cupcake sits on the cheek, complete with pastel pink frosting swirls, rainbow sprinkles, and a bright red cherry on top.
- How to Make It: Paint a striped cupcake liner base, layer textured pink paint for frosting swirls, and top with colorful dots and a shiny cherry.
- Variations: Feature a colorful ice cream cone with two stacked scoops instead of a cupcake.
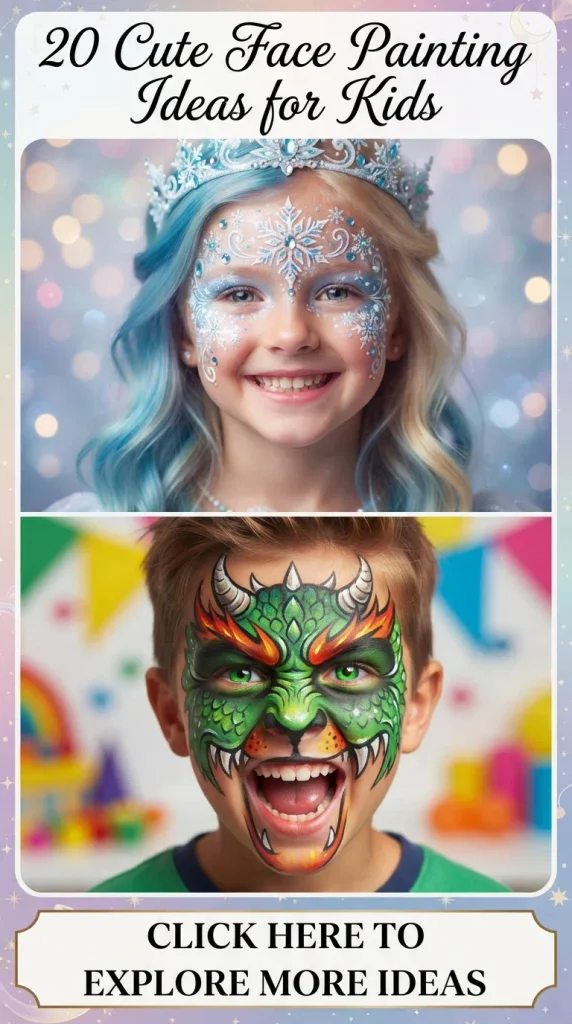
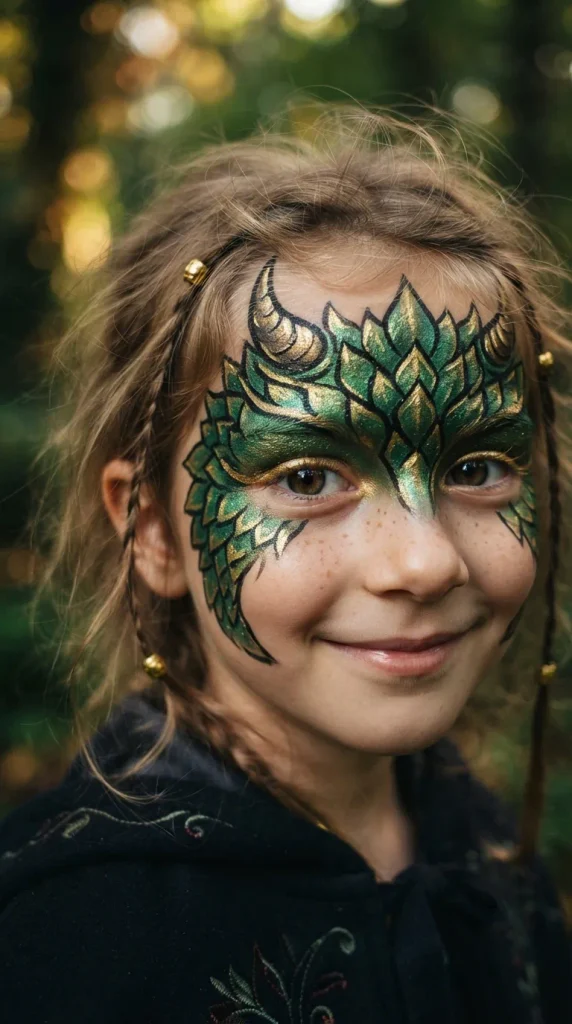
18. Majestic Dragon Scales
A fierce yet playful dragon design featuring emerald green and gold armored scales sweeping across the cheek, accented with subtle fiery orange highlights.
- How to Make It: Use a sponge and stencil for scale textures, then use a fine liner brush to add metallic gold edging and sharp dimensional highlights.
- Variations: Use icy blue and silver tones for an ice dragon motif.
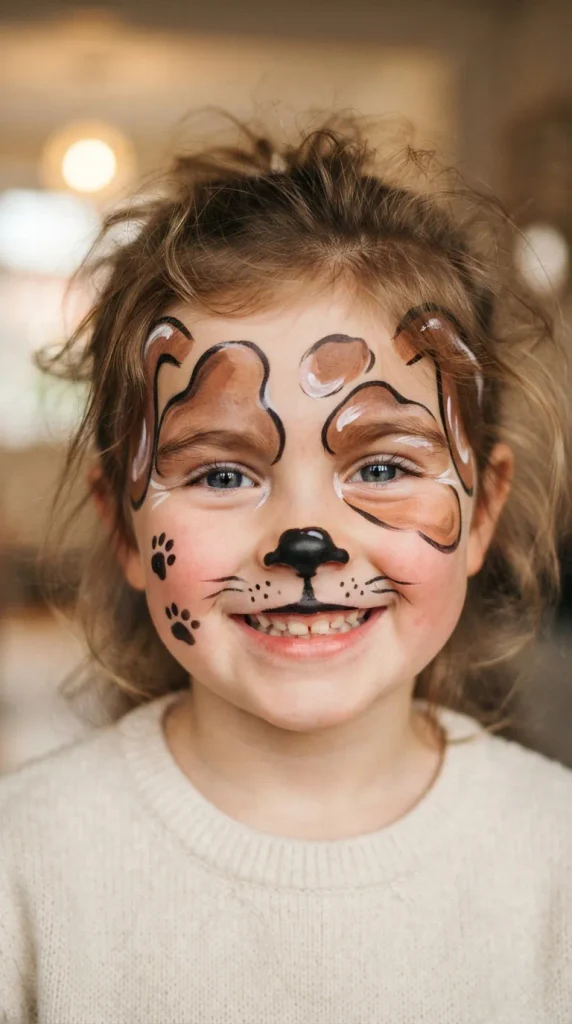
19. Sweet Puppy Dog Paws and Ears
Playful brown floppy puppy ears frame the forehead, accompanied by a dotted puppy nose and cute paw print stamps walking up one cheek.
- How to Make It: Paint floppy brown patches on the forehead, a black button nose, and small paw prints using rounded brush strokes.
- Variations: Create a floppy-eared bunny rabbit with long pink-lined white ears.
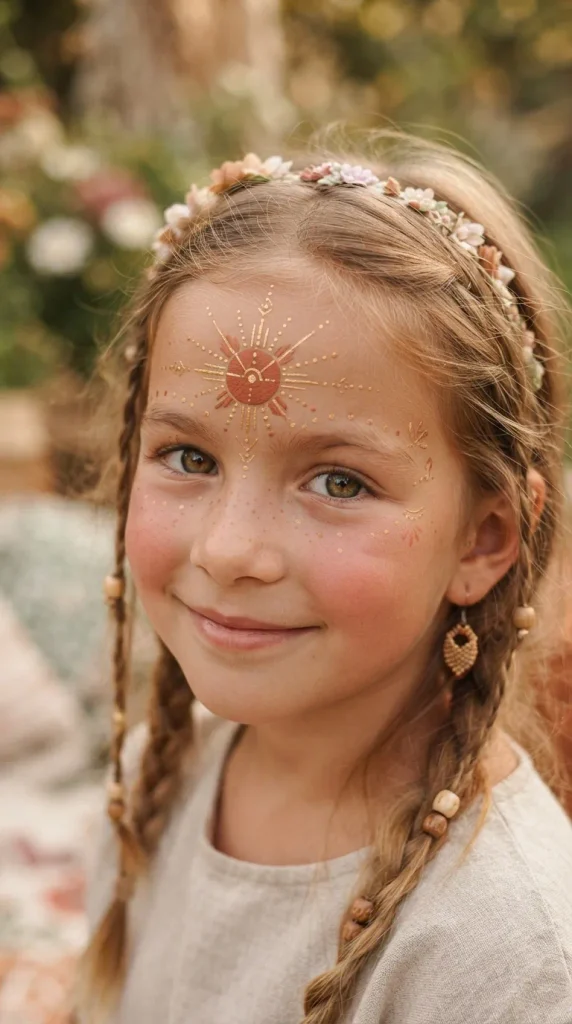
20. Bohemian Sun and Ray Motifs
A warm boho sun rests on the forehead with minimalist geometric ray bursts, earthy terracotta tones, and delicate golden accent dots.
- How to Make It: Paint a solid golden-orange circle on the forehead and extend alternating straight and wavy ray lines outward in white and rust tones.
- Variations: Pair the sun with a matching crescent moon on the opposite cheek for a complete celestial theme.
Expert Tips for Success
- Practice on Paper: Before painting on skin, practice your linework and brush loading on paper face charts to build muscle memory.
- Keep Hands Steady: Rest your pinky finger gently against the child’s cheek to stabilize your hand while doing intricate linework near the eyes or mouth.
- Work Quickly: Kids have shorter attention spans; use sponges for fast background coverage and keep your kit organized so you can transition between steps seamlessly.