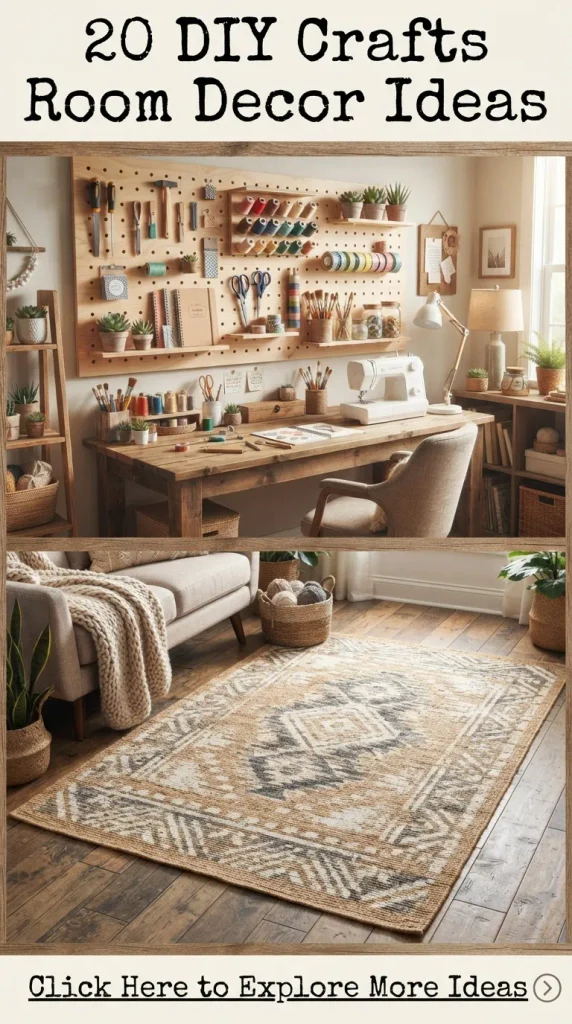
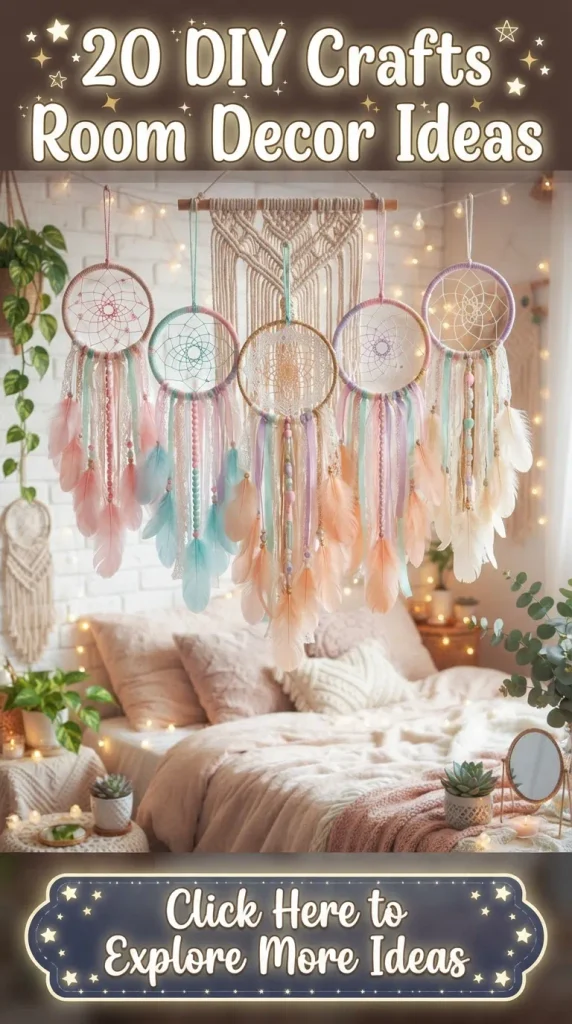
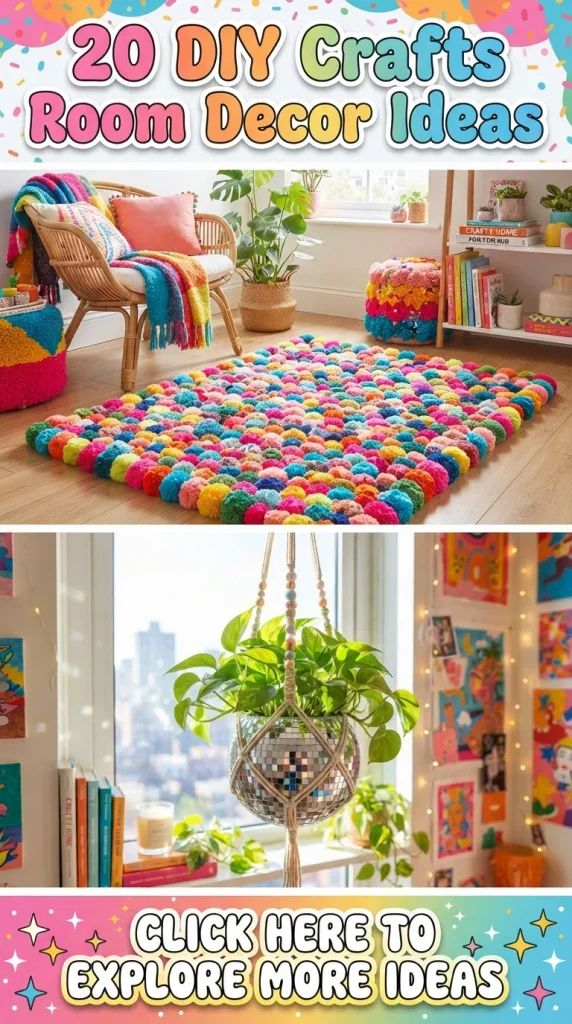
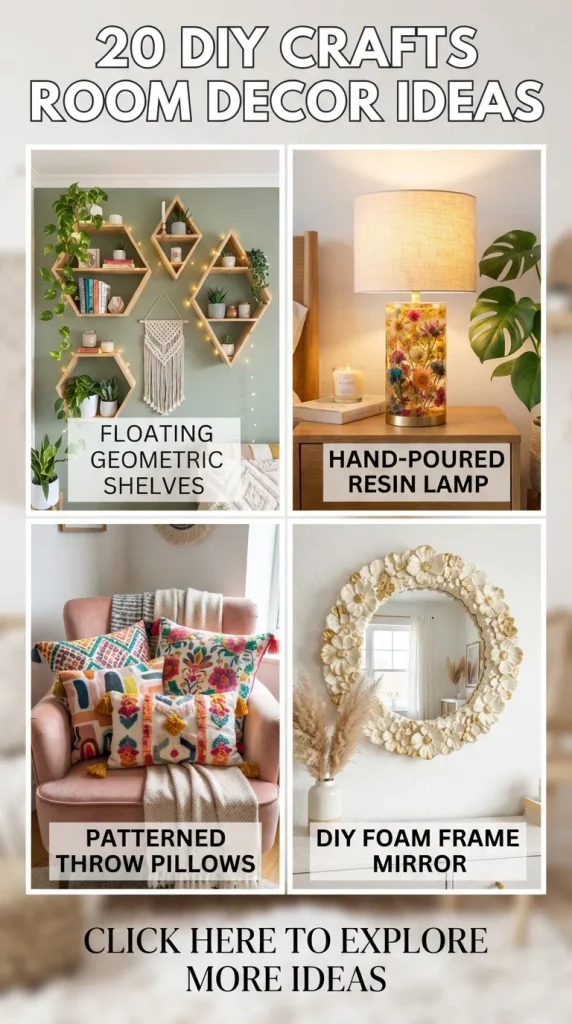
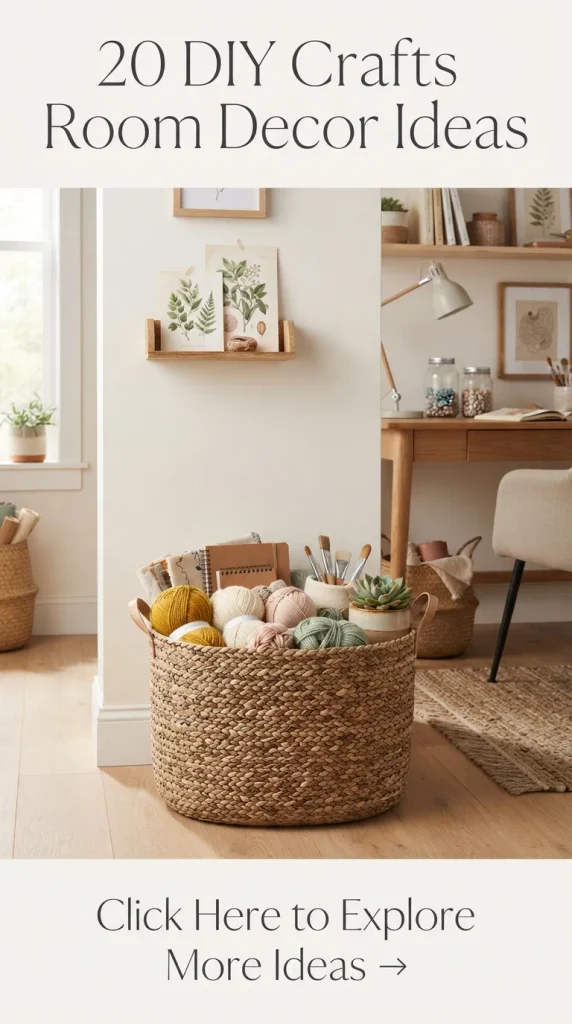
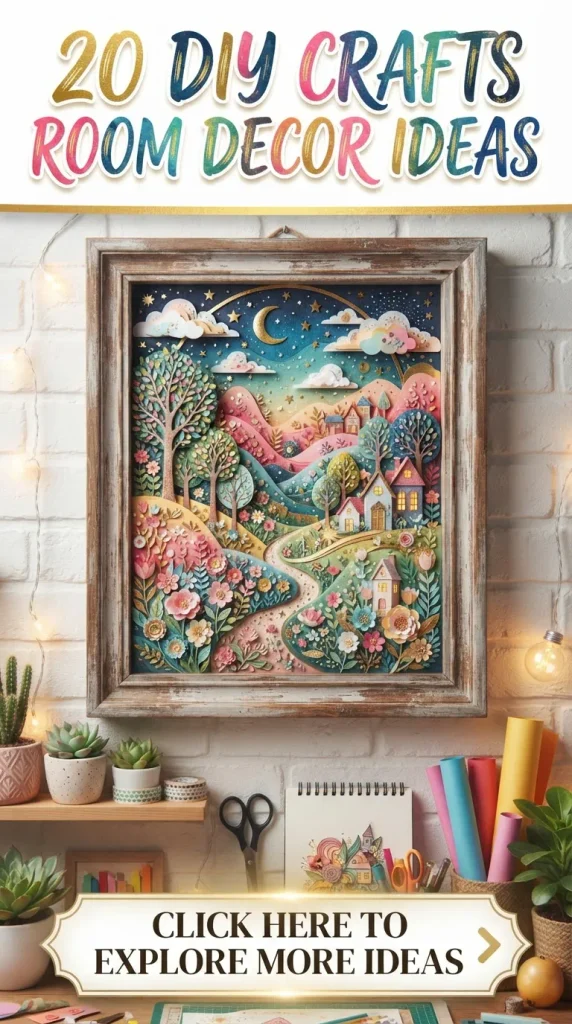
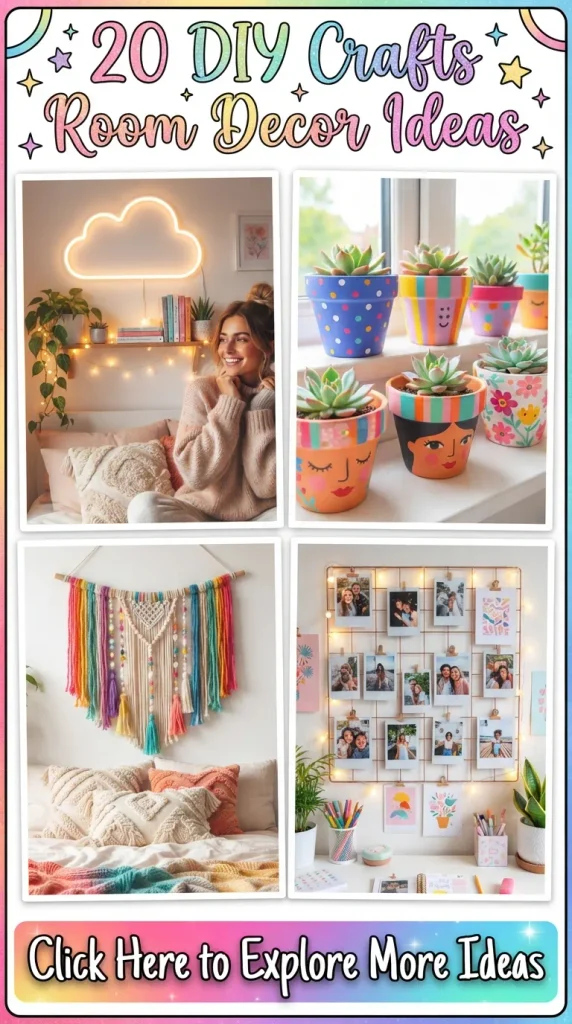
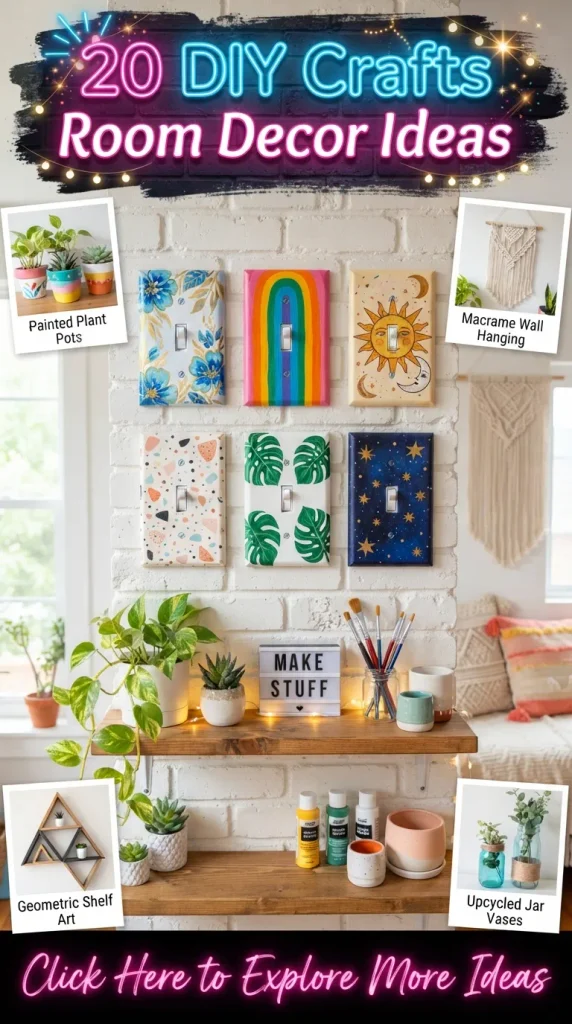
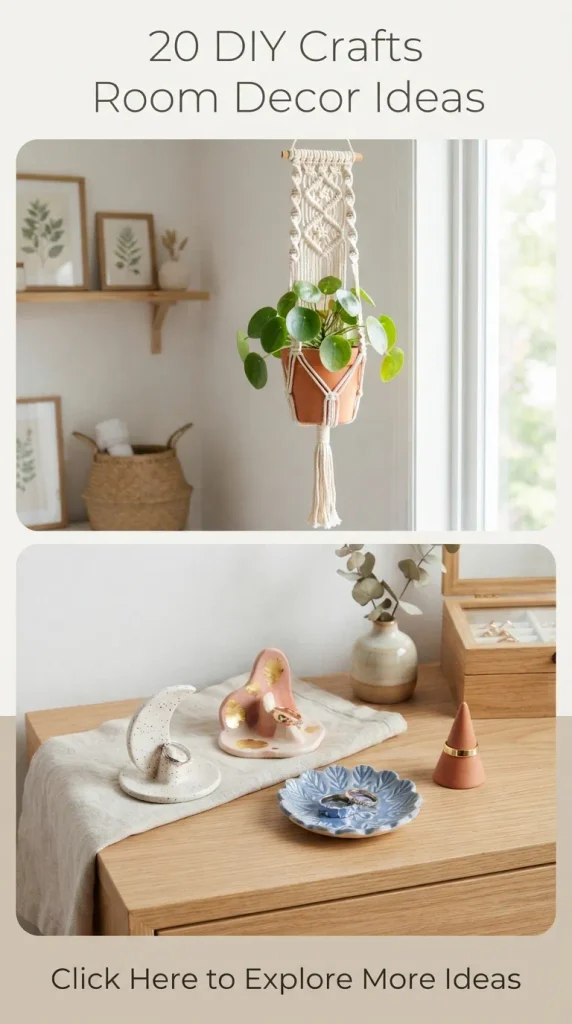
20 DIY Crafts Room Decor Ideas
Transforming your living space from ordinary to extraordinary doesn’t require a hefty interior design budget or expensive designer furniture. Instead, the true secret to cultivating a personalized, soulful sanctuary lies in the power of handmade creativity. Crafting your own room decor allows you to inject your exact personality, color palette, and lifestyle needs into every corner of your home. Whether you are looking to revitalize a cozy dorm room, add warmth to a minimalist apartment, or completely overhaul your bedroom aesthetic, diving into do-it-yourself projects offers an unmatched sense of fulfillment.
Handmade decor tells a story. Every brushstroke, woven thread, and carefully placed embellishment reflects your time, patience, and artistic vision. Beyond the sheer aesthetic upgrade, crafting is a deeply therapeutic practice that grounds you, reduces stress, and lets you unplug from the digital world. This comprehensive guide walks you through twenty stunning, Pinterest-friendly DIY room decor ideas designed to elevate your space. Each project includes step-by-step instructions, essential tools, expert tips, and creative variations to help you tailor the piece to your unique style.
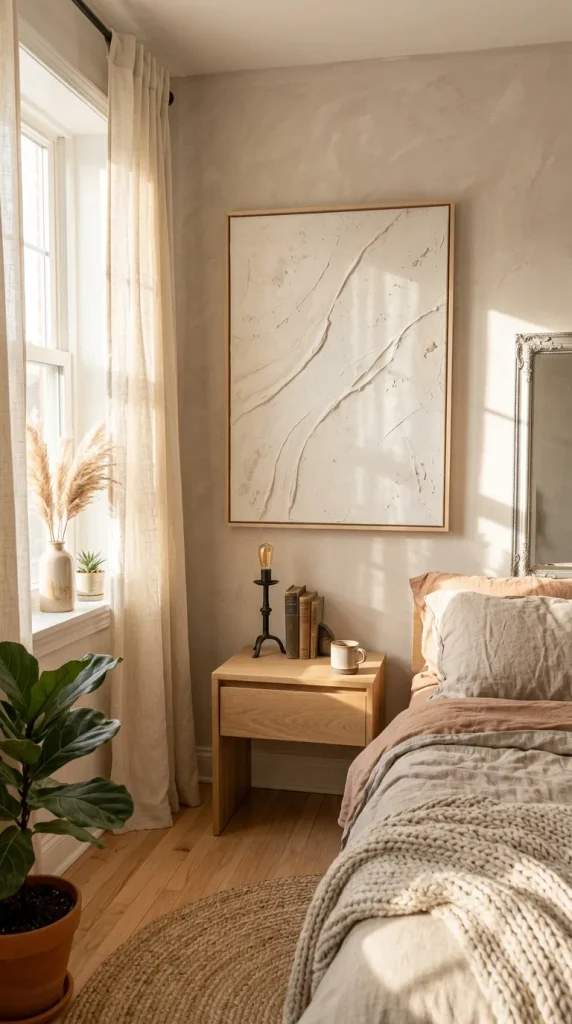
1. Textured Plaster Canvas Wall Art
Neutral textures are dominating modern interior design, adding tactile depth and sophisticated warmth to plain walls. Creating your own heavy-texture plaster canvas allows you to achieve high-end boutique gallery aesthetics for a fraction of the cost.
- Materials Needed: Stretched blank canvas, joint compound or wall plaster, putty knife or old palette knives, acrylic gesso, and matte white or beige acrylic paint.
- How to Make It:
- Prime your blank canvas with a thin layer of acrylic gesso and let it dry completely to ensure proper adhesion.
- Scoop a generous amount of wall plaster or joint compound directly onto the center of the canvas using your putty knife.
- Spread, sweep, and sculpt the plaster across the surface using various angles of your knife to create sweeping arches, geometric ridges, or organic peaks.
- Allow the texture to dry completely in a well-ventilated area for 24 to 48 hours, depending on the thickness of your application.
- Once fully cured and hardened, paint over the entire surface with two coats of matte neutral paint to create a seamless, velvety finish.
- Tips & Variations: Experiment with adding fine sand into your plaster mixture before application for a raw, stone-like texture. For an earth-toned look, mix a few drops of raw umber paint into your white base coat.
- Essential Tools: Putty knife, drop cloth, mixing bucket, fine-grit sandpaper.
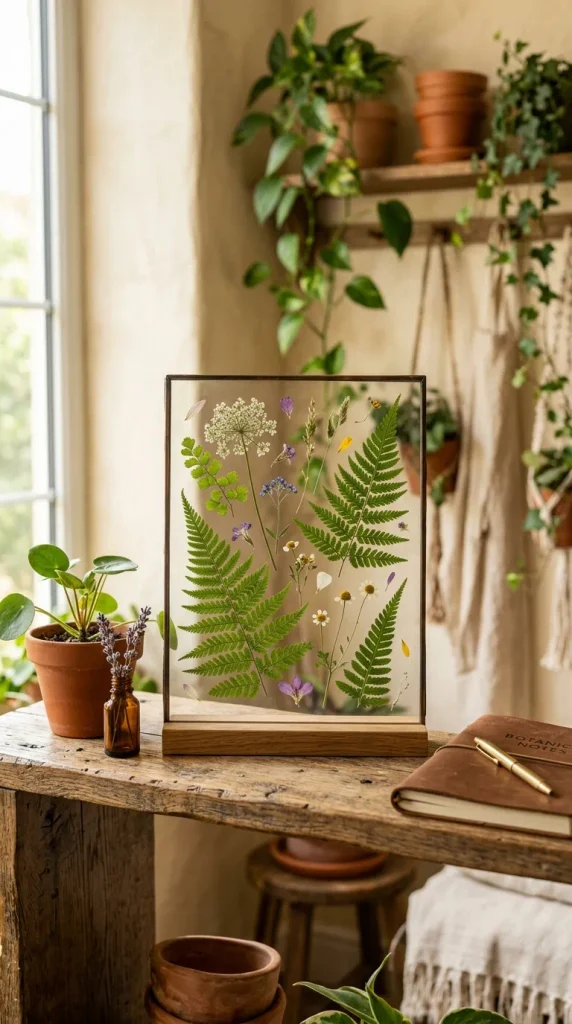
2. Pressed Botanical Floating Glass Frames
Bringing nature indoors instantly refreshes a room, adding organic shapes and soothing earthy hues. Pressed botanical frames capture the fleeting beauty of foliage and wildflowers, preserving them as timeless wall art.
- Materials Needed: Double glass floating frames, freshly collected leaves, ferns, or pressed flowers, heavy books for pressing, tweezers, and double-sided adhesive tape (optional).
- How to Make It:
- Collect your favorite botanical specimens and place them flat inside heavy books lined with parchment paper for at least two weeks to dry and press them completely.
- Open your floating glass frame and carefully wipe both inner glass panes with a microfiber cloth to remove any dust or fingerprints.
- Use precision tweezers to arrange your dried leaves and flowers artistically within the center of the bottom glass pane.
- Gently place the top glass pane down over the arrangement, ensuring no plant matter shifts out of place.
- Secure the frame edges and hang your botanical artwork against a well-lit wall where natural sunlight can highlight the delicate leaf veins.
- Tips & Variations: Mix in delicate ferns with pressed colorful pansies or ginkgo leaves for high visual contrast. Use brass-edged frames for a vintage, heirloom appearance.
- Essential Tools: Precision tweezers, microfiber cleaning cloth, heavy reference books.
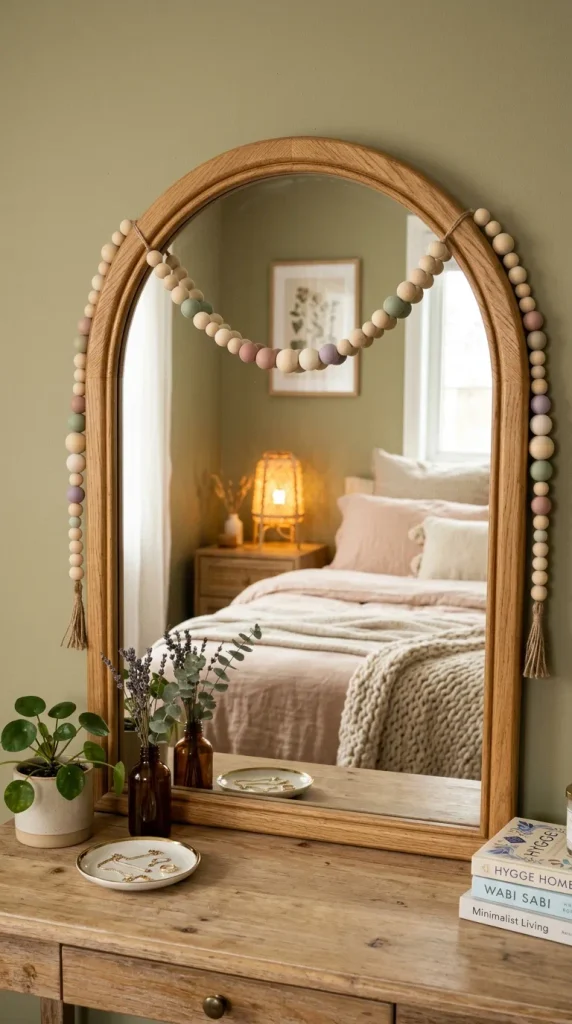
3. Nordic-Inspired Wooden Bead Garland
Simple yet deeply impactful, wooden bead garlands add a touch of modern bohemian charm when draped over mirrors, draped across bookshelves, or styled on decorative trays.
- Materials Needed: Unfinished wooden beads of varying sizes (10mm to 30mm), durable jute twine or leather cord, acrylic craft paints, painter’s tape, and sharp scissors.
- How to Make It:
- Plan your bead pattern sequence on a flat surface, alternating between small, medium, and large beads.
- Dip select wooden beads halfway into soft pastel or earthy terracotta acrylic paint to create a modern dipped effect, placing them on parchment paper to dry.
- Cut a length of jute twine measuring approximately four feet, tying a secure, large knot at one end to prevent beads from sliding off.
- Thread your painted and natural wooden beads onto the twine following your pre-planned pattern design.
- Finish the opposite end with a second secure knot and two decorative handmade yarn tassels for a polished boho finish.
- Tips & Variations: Leave certain sections of the wooden beads completely natural while treating others with a dark walnut wood stain for a sophisticated rustic contrast.
- Essential Tools: Sharp scissors, small paintbrushes, parchment paper.
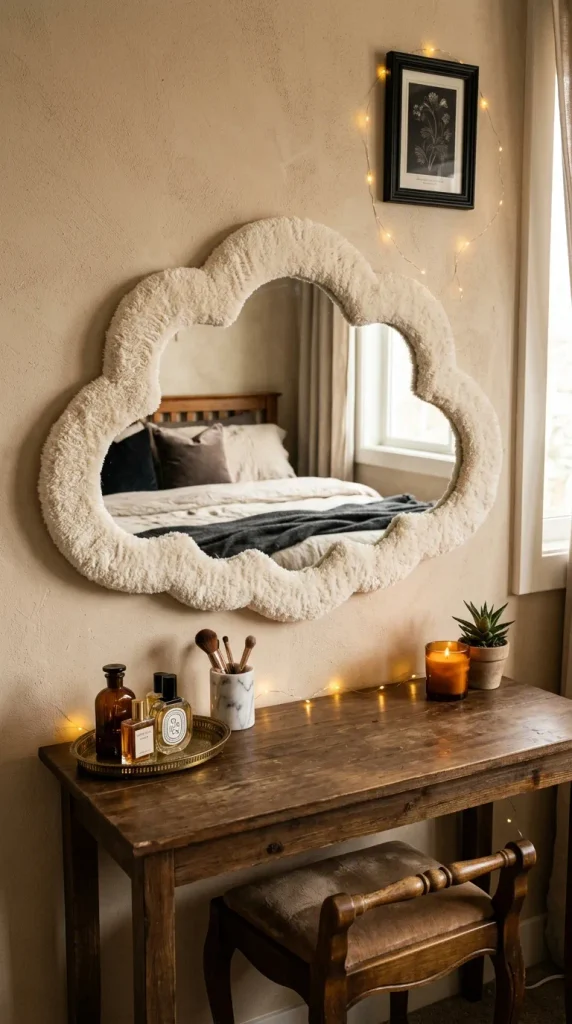
4. Aesthetic Cloud-Shaped Tufted Mirror
Fluffy, dreamy cloud mirrors have taken over modern aesthetic interior styling. They bring a whimsical, soft, and inviting atmosphere to bedrooms, vanity areas, and dressing rooms.
- Materials Needed: Plain frameless wall mirror (oval or organic shape), thick heavy-duty cardboard or thin plywood backing, low-temperature hot glue gun, thick polyester upholstery batting or fluffy faux-fur fabric, and utility knife.
- How to Make It:
- Trace your mirror outline onto the center of your thick cardboard or plywood backing material.
- Draw an organic, puffy cloud silhouette expanding outward in soft, rounded bumps around the central mirror outline.
- Cut out the cloud-shaped backing board carefully using a sharp utility knife or heavy-duty shears.
- Adhere your plain mirror securely to the center of the cutout backing board using industrial-strength craft adhesive.
- Tear and shape layers of thick upholstery batting, wrapping and gluing the fluffy material around the visible border until the entire frame looks like a soft, voluminous cloud.
- Tips & Variations: Instead of batting, wrap the frame in plush boucle or teddy sherpa fabric for an ultra-luxurious, tactile surface finish.
- Essential Tools: Hot glue gun, heavy-duty utility knife, fabric shears.
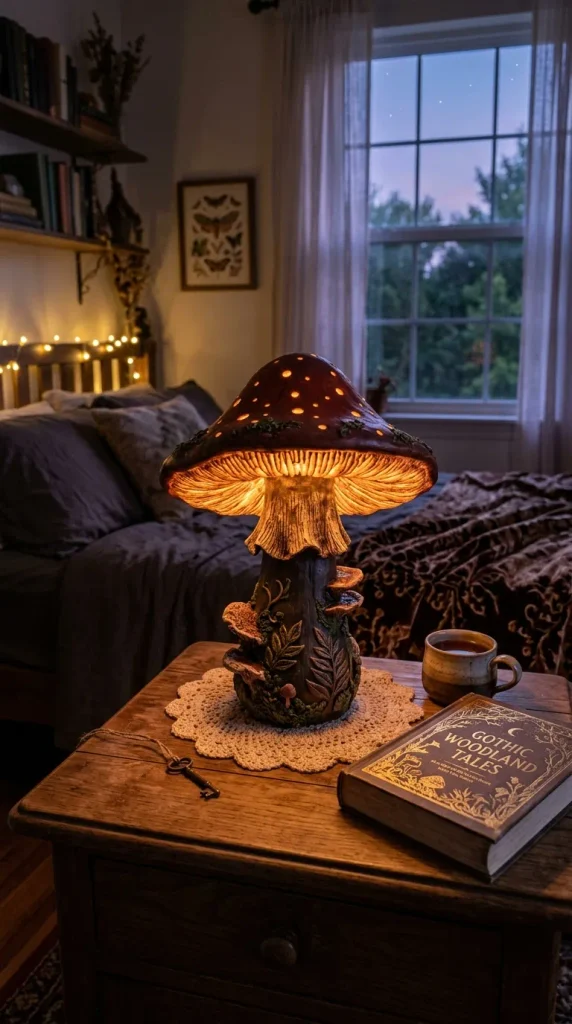
5. Ambient Clay Mushroom Accent Lamp
Handmade ceramic and clay decor pieces add artisanal warmth to nightstands and study desks. Sculpting an adorable ambient mushroom lamp creates a cozy, magical glow during evening hours.
- Materials Needed: Air-dry clay or polymer clay, rolling pin, acrylic craft paints, clear glossy or matte sealer, and a small battery-operated LED tealight or puck light.
- How to Make It:
- Roll out a thick cylinder of air-dry clay to form the sturdy stem of your decorative mushroom.
- Sculpt a separate domed cap shape, hollowing out the underside slightly so it can rest snugly over the top of your stem.
- Use a plastic modeling tool to carve subtle gills underneath the mushroom cap for realistic detail.
- Join the stem and cap securely using a small amount of water to smooth and fuse the clay joints together.
- Allow the sculpture to dry thoroughly for 48 hours, then paint it in soft pastel mushroom hues like blush pink, sage green, or cream with white polka dots before sealing.
- Tips & Variations: Cut small circular windows or star cutouts into the mushroom cap so the interior LED light casts magical patterns onto your bedroom wall.
- Essential Tools: Clay modeling tools, rolling pin, fine-detail paintbrush.
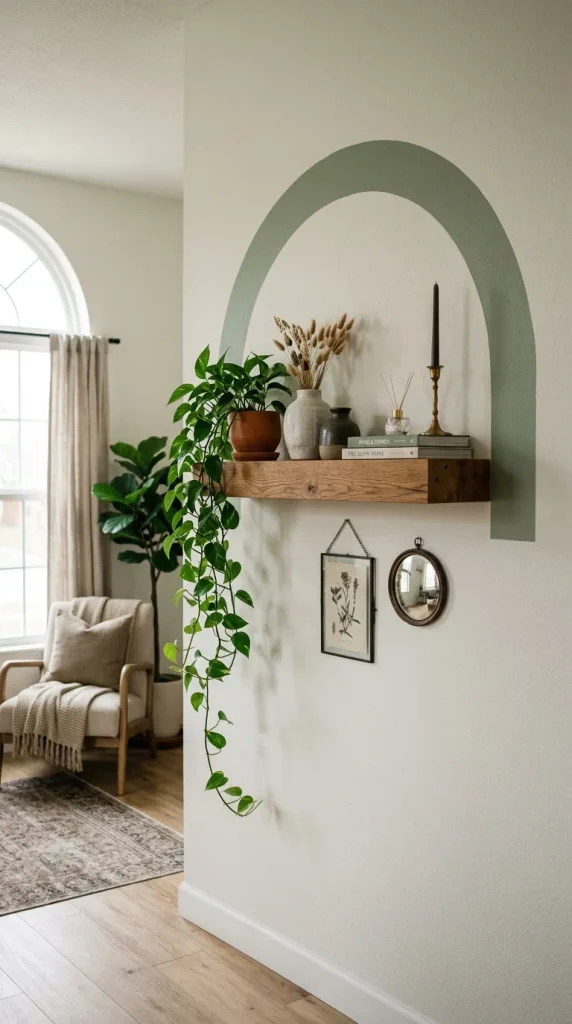
6. Minimalist Arch Painted Wall Accent
Large-scale wall murals and painted architectural arches anchor furniture pieces, creating visual focal points without the permanence or cost of wallpaper.
- Materials Needed: Painter’s tape, pencil, string, pushpin, small roller brush, fine detail brush, and interior latex or acrylic paint in your chosen accent color.
- How to Make It:
- Determine the desired width of your arch on a clean, primed wall surface and mark the left and right base points using a pencil.
- Tie a piece of string to a pushpin and a pencil, using it like a giant compass anchored at the top center point to draw a perfectly symmetrical curved arch top.
- Apply painter’s tape meticulously along the pencil lines, pressing down firmly along the edges to prevent paint bleeding.
- Fill in the interior space using a small foam roller for smooth, even coverage across the wall surface.
- Carefully peel away the painter’s tape while the final coat of paint is still slightly damp to achieve crisp, clean architectural lines.
- Tips & Variations: Paint a floating wooden shelf directly across the center of your painted arch to create a layered display space for small trinkets and trailing plants.
- Essential Tools: Painter’s tape, string, pencil, small foam paint roller.
7. Macrame Plant Hanger with Wooden Rings
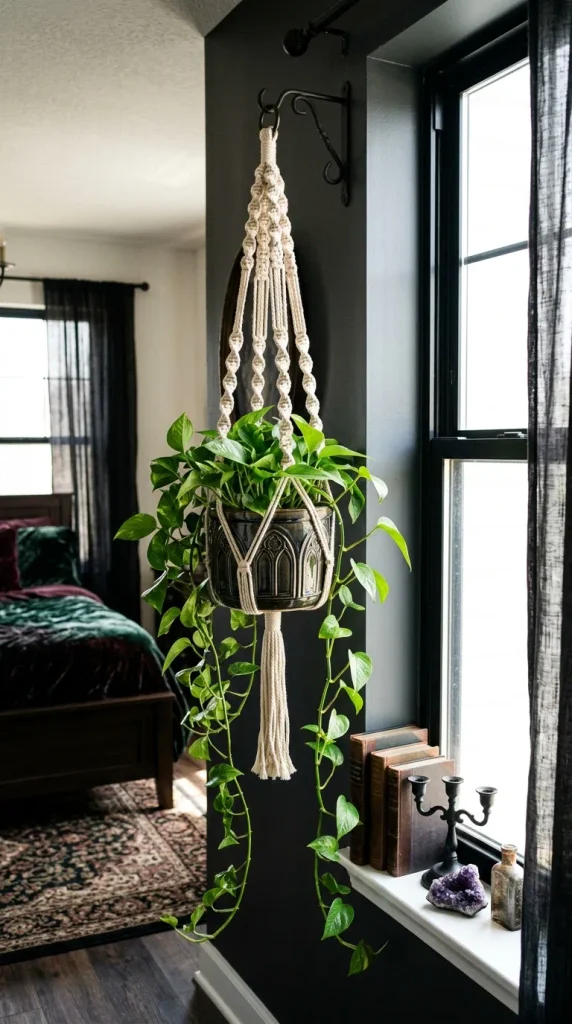
Hanging greenery adds dynamic height and life to empty room corners. Crafting a classic macrame plant hanger using natural cotton cord brings effortless bohemian elegance to your ceiling or window frame.
- Materials Needed: 4mm twisted cotton macrame cord, a sturdy wooden or metal ring, measuring tape, and sharp scissors.
- How to Make It:
- Cut eight equal lengths of cotton cord, each measuring approximately 10 to 12 feet long.
- Fold all cords in half and pass the loop through your wooden ring, pulling the tail ends through the loop to secure them tightly to the top.
- Divide your cords into four separate working sections of four strands each.
- Tie consecutive square knots down each section at equal intervals, leaving decorative gaps to form the basket structure.
- Gather all strands together about 12 inches down and tie one large, secure gathering wrap knot at the bottom, trimming the remaining fringe evenly.
- Tips & Variations: Dye your cotton cords using natural avocado pits or coffee grounds beforehand to achieve a gorgeous custom vintage ombre tint.
- Essential Tools: Measuring tape, sharp fabric scissors, mounting hook.
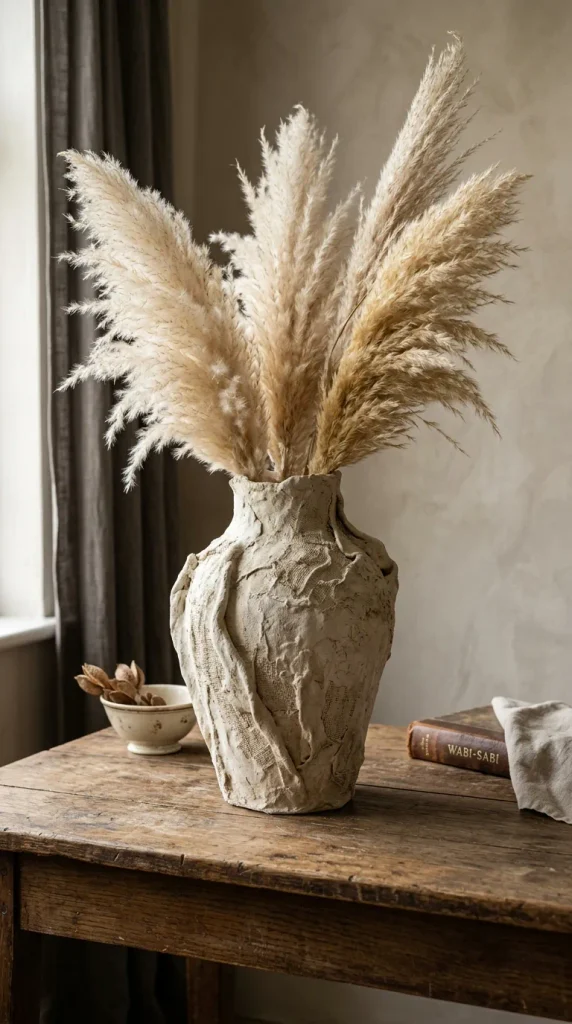
8. Plaster and Gauze Sculptural Vase
Creating high-end organic sculptures from everyday household items is a favorite sustainable design hack. Transforming a glass bottle or plastic container into a heavy plaster vessel yields stunning results.
- Materials Needed: Empty glass bottle or jar, medical plaster gauze rolls, warm water, acrylic gesso, and fine-grit sandpaper.
- How to Make It:
- Clean and dry your empty glass bottle thoroughly, removing any label residue.
- Cut your medical plaster gauze into manageable strips measuring four to six inches long.
- Dip each strip briefly into warm water to activate the plaster coating, then drape and smooth it directly onto the glass bottle surface.
- Overlap the wet gauze strips in varied directions, building up organic folds, ridges, and lumps for an authentic hand-carved ceramic look.
- Let the vase dry completely overnight, apply a coat of white gesso to seal the surface, and style it with dried pampas grass or eucalyptus stems.
- Tips & Variations: Dust the damp plaster surface lightly with fine playground sand or tile grout before it sets to create a rugged, ancient Mediterranean terracotta texture.
- Essential Tools: Bowl of warm water, scissors, protective work gloves.
9. Pressed Flower Resin Trinket Dish
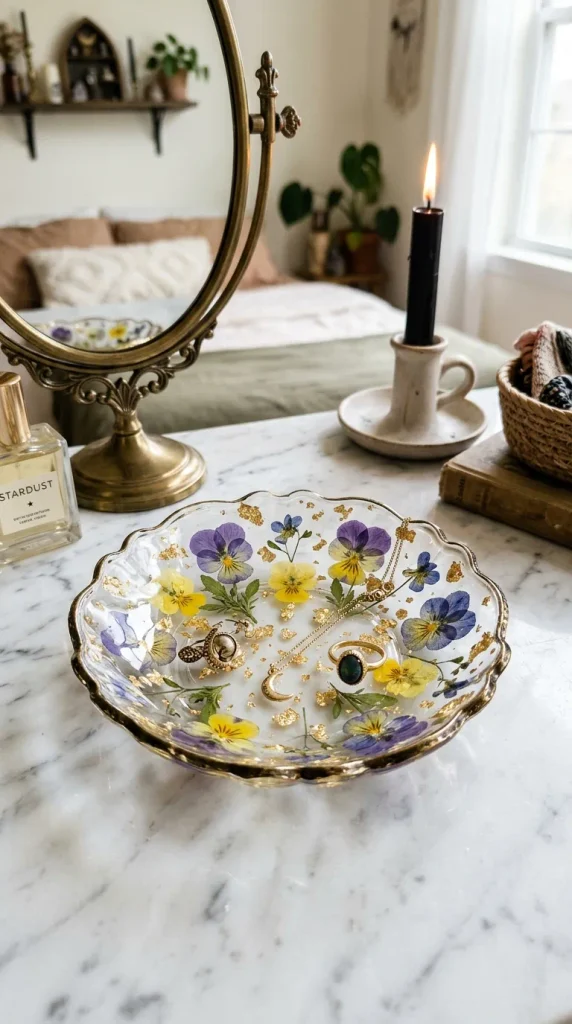
Delicate trinket dishes keep your rings, earrings, and small jewelry organized while serving as beautiful bedside or vanity accessories. Embedding pressed flowers in crystal-clear resin creates a timeless heirloom piece.
- Materials Needed: Craft casting epoxy resin and hardener, silicone trinket dish mold, dried pressed flowers, mixing cups, stir sticks, and a small heat gun or lighter.
- How to Make It:
- Measure and mix equal parts resin and hardener in a mixing cup according to the manufacturer’s exact instructions, stirring slowly for three minutes.
- Pour a thin base layer of clear mixed resin into the bottom of your clean silicone dish mold.
- Arrange your delicate dried pressed flowers face down inside the resin layer, using a toothpick to position them perfectly.
- Pour the remaining clear resin gently over the flowers until the mold is filled to the rim, taking care not to disturb their arrangement.
- Pop any surface air bubbles gently using a heat gun on low speed, then allow the resin to cure undisturbed for 24 to 48 hours before demolding.
- Tips & Variations: Mix a tiny drop of metallic gold mica powder into the resin before pouring to create shimmering, gilded edges along the rim of the dish.
- Essential Tools: Digital weighing scale, silicone mixing cups, heat gun.
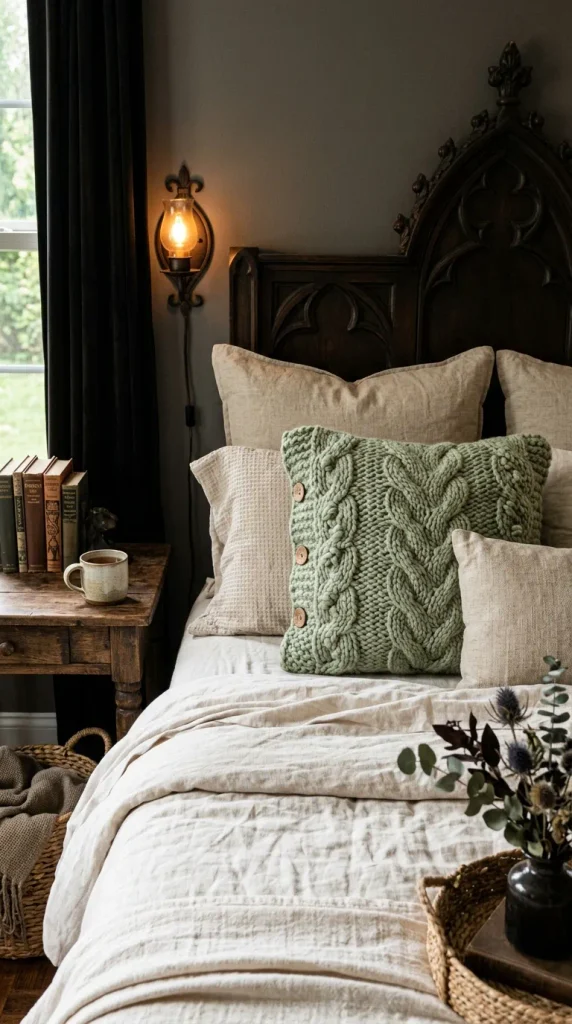
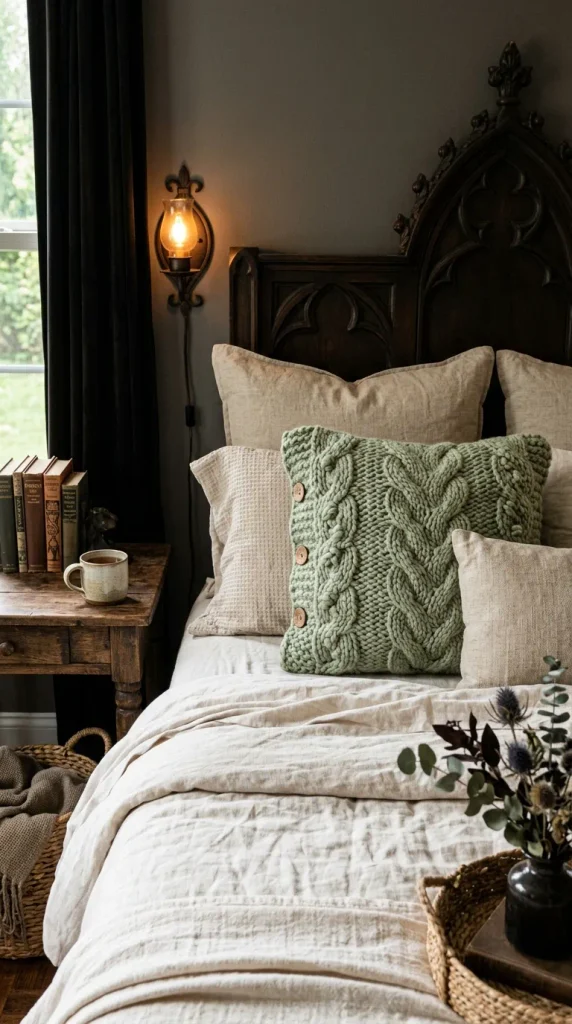
10. Cozy Chunky Knit Throw Pillow Cover
Adding tactile textiles instantly softens a bed or armchair. Knitting a chunky yarn pillow cover by hand requires no knitting needles, making it an approachable weekend DIY project.
- Materials Needed: Chenille or wool chunky arm-knitting yarn (approx. 2 skeins), a pre-made plain pillow insert, and sewing needle with matching thread.
- How to Make It:
- Create a running slipknot loop with your chunky yarn to establish your starting foundation chain.
- Finger-knit a flat rectangular panel of loops that matches the width of your pillow insert.
- Continue working back and forth in rows using finger loops until the knitted panel is twice the length of your pillow.
- Fold the knitted panel in half around your pillow insert, aligning the open edges together.
- Whipstitch the side seams securely closed using a matching thread or yarn tail to encase the pillow insert permanently.
- Tips & Variations: Choose a soft pastel sage or butter-yellow yarn to match contemporary cozy aesthetic bedroom palettes.
- Essential Tools: Large-eye yarn needle, measuring tape, sharp scissors.
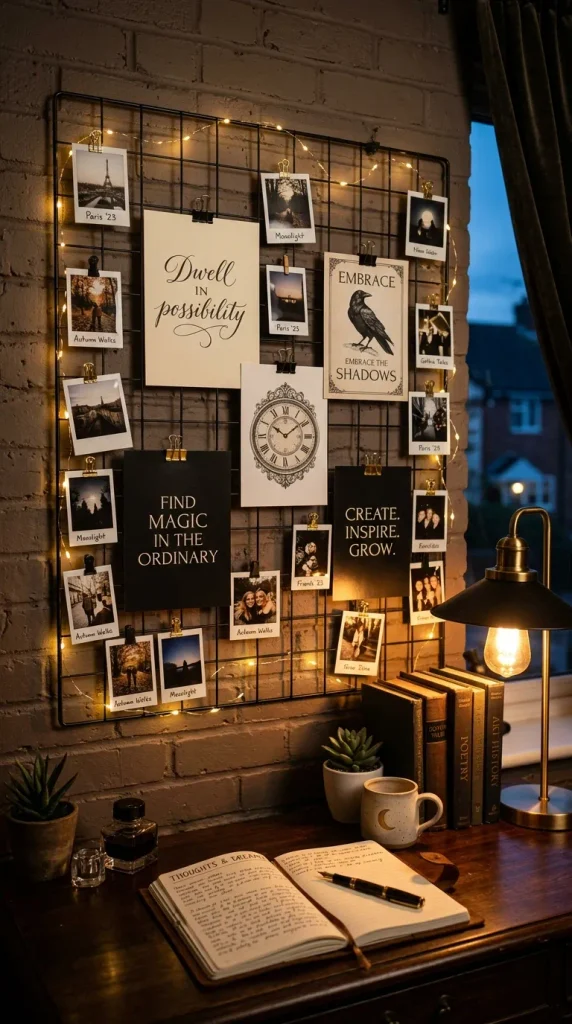
11. Minimalist Wire Photo and Memo Grid
A metal wire grid keeps inspiration boards, favorite photographs, and motivational quotes neatly organized without cluttering your desk or wall space.
- Materials Needed: Square wire grid panel, matte black or gold spray paint, wooden clothespins, fairy lights, and small hanging wall anchors.
- How to Make It:
- Take your wire grid panel outdoors and apply two even coats of matte black or metallic gold spray paint, allowing it to dry thoroughly between coats.
- Mount the dry grid panel securely to your bedroom or study wall using appropriate hardware anchors.
- Clip your favorite polaroid photos, art prints, postcards, and notes to the wire grid using miniature wooden clothespins.
- Weave delicate copper wire LED fairy lights in a zigzag pattern across the face of the grid to illuminate your memories at night.
- Tips & Variations: Paint your wooden clothespins in coordinating accent colors or wrap them in patterned washi tape for an extra pop of creativity.
- Essential Tools: Spray paint, level, wall mounting kit, wire cutters.
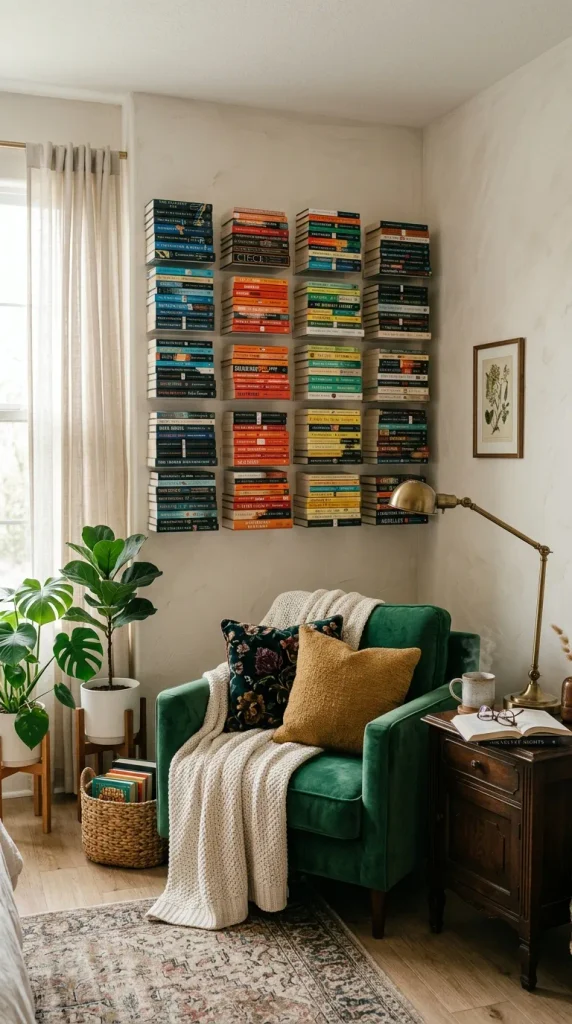
12. Floating Book Ledges for Invisible Storage
Displaying your favorite books cover-out turns literature into vibrant wall art. Invisible floating book ledges create a magical illusion where books appear to defy gravity.
- Materials Needed: Sturdy small L-brackets, heavy-duty wall anchors, screws, screwdriver, drill, and a paperback book with a sturdy cover.
- How to Make It:
- Hold your L-bracket against the wall at your desired height and mark the screw hole positions with a pencil.
- Drill pilot holes and insert heavy-duty wall anchors into the drywall to ensure secure load-bearing support.
- Screw the L-bracket firmly to the wall, ensuring it is perfectly level.
- Open your bottom reference book to the middle pages and slide the back book cover underneath the bottom lip of the L-bracket.
- Stack additional books neatly on top of the secured base book to build a stunning floating tower.
- Tips & Variations: Spray paint the visible metal L-brackets in gold or matte white to match your room’s existing hardware accents.
- Essential Tools: Power drill, level, pencil, screwdriver.
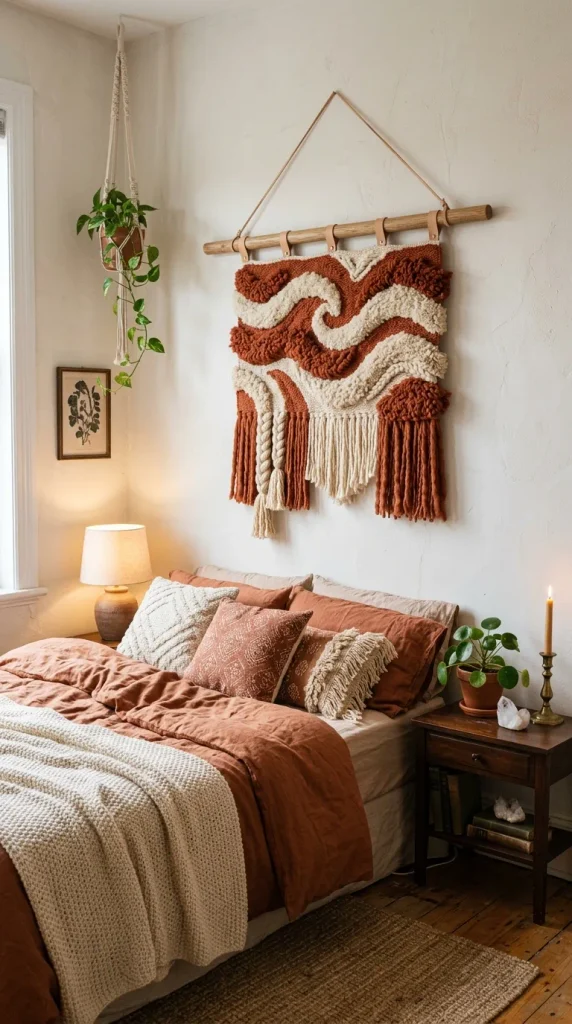
13. Aesthetic Wave-Patterned Tufted Wall Hanging
Textural fiber art adds incredible warmth and acoustic softness to bare bedroom walls. Crafting a modern wave-patterned punch-needle or tufted wall hanging brings gallery-worthy style to your space.
- Materials Needed: Monks cloth, embroidery hoop or wooden stretcher frame, punch needle tool, various colored wool yarns, and fabric textile glue.
- How to Make It:
- Stretch your monks cloth tightly inside a large embroidery hoop or staple it securely to a wooden frame.
- Sketch gentle, sweeping wave lines across the fabric using a water-soluble fabric marker.
- Thread your punch needle with soft cream wool and punch loops along the bottom curve, working your way upward.
- Switch yarn colors to fill in contrasting wavy bands of terracotta, sage, and dusty rose.
- Apply textile glue to the back side of the fabric to lock all loops securely in place before trimming the excess cloth and hanging your art.
- Tips & Variations: Attach a natural wooden dowel through the top folded hem of the textile piece to create a clean, modern hanging presentation.
- Essential Tools: Punch needle tool, fabric marker, embroidery hoop, textile glue.
14. Pressed Leaf Ceramic Trinket Tray
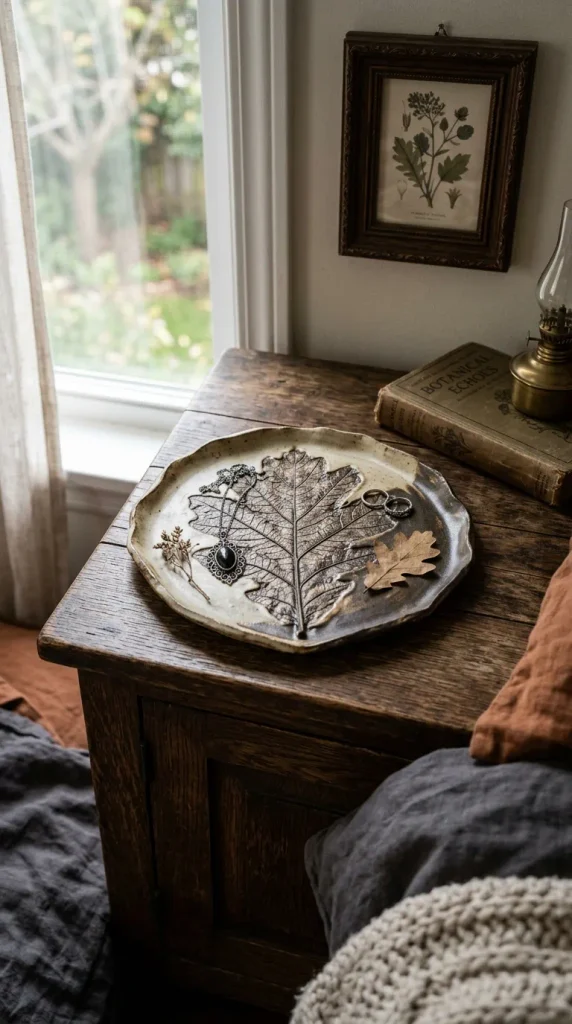
Imprinting real leaves into soft clay creates stunning dinnerware and vanity trays that capture intricate natural vein patterns permanently in ceramic form.
- Materials Needed: Air-dry clay, rolling pin, fresh leaves with prominent veins (like maple, oak, or monstera), exacto knife, small paint brush, and metallic gold paint.
- How to Make It:
- Roll out an even slab of air-dry clay to roughly one-quarter inch thickness on a smooth, non-stick surface.
- Press a fresh leaf firmly, vein-side down, into the surface of the clay using a rolling pin to transfer the texture.
- Carefully peel away the leaf to reveal the crisp, detailed impression left behind in the clay.
- Use an exacto knife to cut around the leaf outline, leaving a smooth border of clay.
- Gently curve the edges of the clay tray upward inside a small bowl while it dries to give it a shallow dish shape, then paint the rim with gold leaf paint.
- Tips & Variations: Use multiple small leaves to create a clustered botanical pattern across a larger rectangular serving tray.
- Essential Tools: Exacto knife, rolling pin, fine paintbrush.
15. Ombre Dip-Dyed Taper Candles
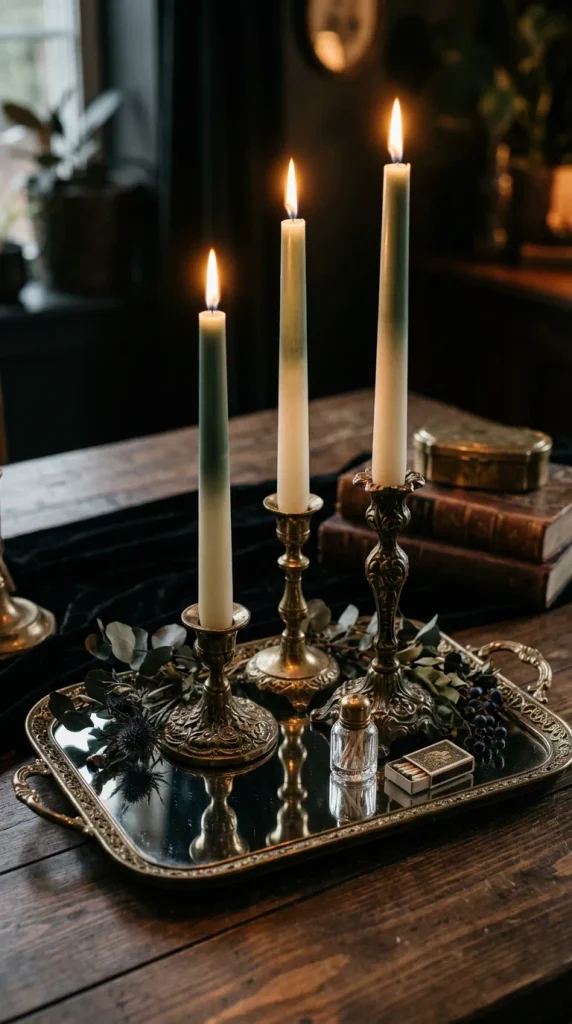
Candles add instant intimacy and warmth to any room. Customizing plain white taper candles with vibrant dip-dyed ombre color gradients elevates them into stunning decorative objects.
- Materials Needed: Plain unscented white taper candles, candle dye or leftover colored candle wax scraps, a tall narrow dipping container, and hot water.
- How to Make It:
- Melt your colored candle wax scraps inside a clean metal tin placed inside a pot of simmering water until completely liquefied.
- Mix in your chosen dye to achieve your desired shade of sage, lavender, or amber.
- Pour the melted colored wax into a tall, narrow container to create a deep dipping bath.
- Hold a white taper candle by its base and dip it straight down into the colored wax for five seconds, then pull it out smoothly.
- Repeat quick dips at varying depths to create a striking multi-toned ombre gradient effect along the top half of the candle.
- Tips & Variations: Display your finished ombre candles in mismatched brass and ceramic candleholders on a mirrored vanity tray.
- Essential Tools: Heat-safe dipping cylinder, metal melting pot, parchment paper.
16. Geometric Wooden Hexagon Wall Shelves
Geometric shelving units offer both functional display space and striking sculptural wall art. Building lightweight wooden hexagon shelves brings modern architectural flair to your walls.
- Materials Needed: Plywood or thin wooden hobby boards, wood glue, painter’s tape, miter saw or hand saw with miter box, and wood stain.
- How to Make It:
- Cut six identical wooden slats with 30-degree angled ends using your miter saw to ensure they fit together into a precise hexagon.
- Lay the six pieces flat in a row, applying wood glue to each connecting miter joint.
- Fold the pieces upward into a hexagon shape and wrap strong painter’s tape tightly around the exterior joints to hold the structure firm while drying.
- Wipe away any excess squeezed-out wood glue with a damp cloth and let the frame dry for 12 hours.
- Apply your favorite warm wood stain or matte paint finish before mounting the shelf securely to your wall.
- Tips & Variations: Cluster three different-sized hexagon shelves together on the wall in an asymmetrical honeycomb arrangement for maximum visual impact.
- Essential Tools: Miter saw, wood glue, measuring tape, sandpaper.
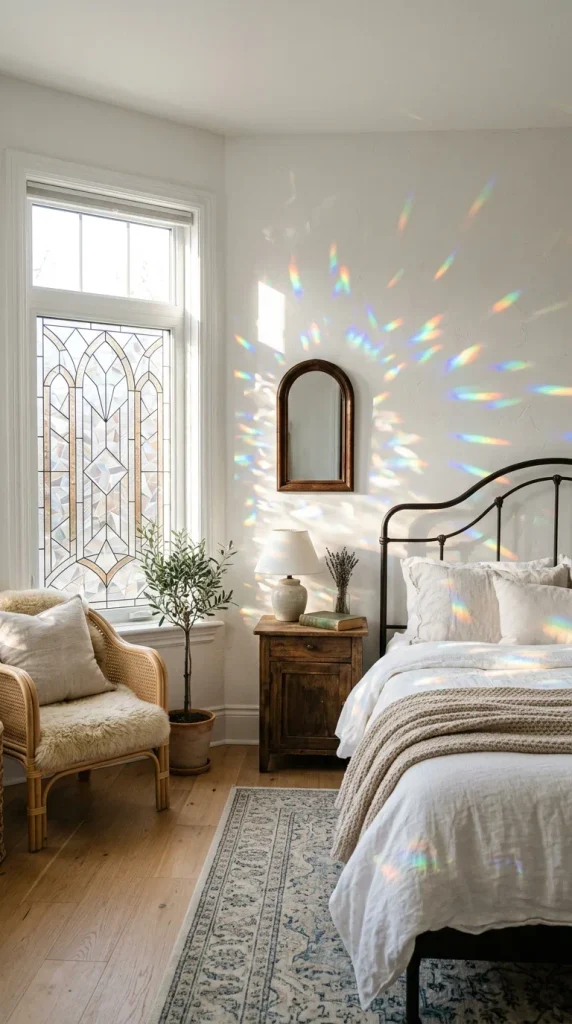
17. Stained Glass Window Suncatcher Film
Transform harsh direct sunlight into a kaleidoscope of gentle rainbow colors by applying decorative stained glass or iridescent window film to your bedroom windows.
- Materials Needed: Decorative stained glass window film roll, spray bottle with soapy water, squeegee or credit card, sharp utility knife, and measuring tape.
- How to Make It:
- Measure your glass window pane dimensions carefully and cut your decorative window film sheet slightly larger than the measured area.
- Clean your glass window thoroughly with glass cleaner until completely dust-free.
- Mist the glass generously with your soapy water spray bottle to allow the film to slide and position smoothly.
- Peel the protective backing liner away from the window film and apply the sticky side directly onto the wet glass.
- Smooth out all air bubbles and excess water from the center outward using a plastic squeegee, then trim away any excess film edges with a utility knife.
- Tips & Variations: Choose a holographic 3D prism film that casts dancing rainbows across your bedroom walls every morning when the sun hits.
- Essential Tools: Spray bottle, squeegee, utility knife, measuring tape.
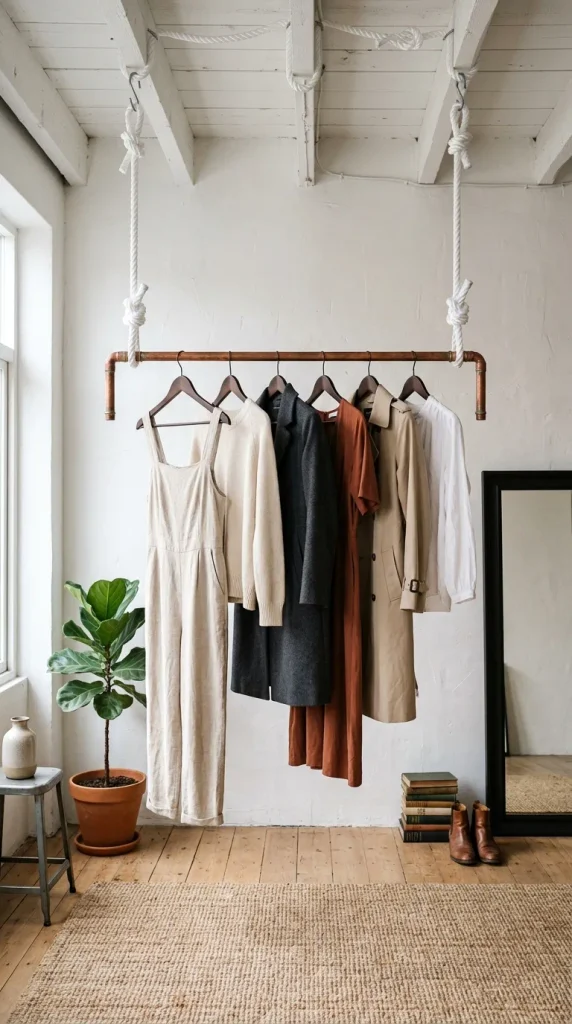
18. Hanging Copper Pipe Clothing Rack
For rooms lacking built-in closet space or those embracing an open-wardrobe aesthetic, crafting a suspended copper pipe clothing rack adds industrial chic elegance.
- Materials Needed: Cut copper pipes, matching copper elbows and end caps, strong nylon rope or ceiling hooks, and metal pipe adhesive.
- How to Make It:
- Purchase pre-cut copper pipes from your hardware store or cut them to your desired length using a pipe cutter.
- Assemble your clothing rack structure by dry-fitting the horizontal main bar, vertical drop pipes, and corner elbows together.
- Secure the joints permanently using strong metal adhesive or soldering if required for extra weight capacity.
- Attach sturdy nylon rope or metallic hanging chains to both ends of the top horizontal bar.
- Hang the entire assembly securely from heavy-duty ceiling joists or wall brackets, ensuring it is level before loading your favorite garments.
- Tips & Variations: Polish the copper pipes with fine steel wool and clear metal sealer to maintain their brilliant, warm metallic shine over time.
- Essential Tools: Pipe cutter, safety glasses, measuring tape, level.
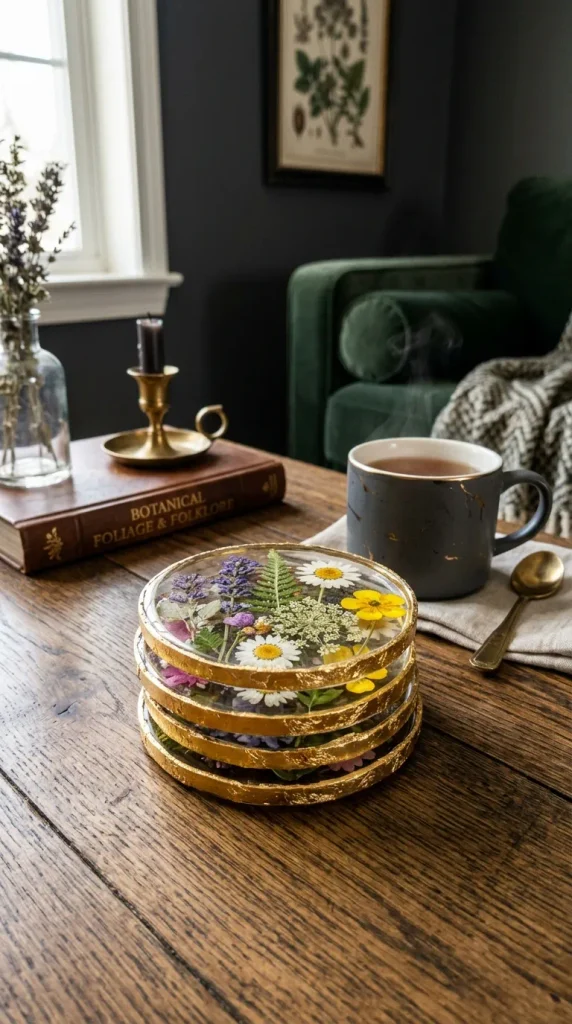
19. Pressed Flower Resin Coasters
Protect your tabletops in style while showcasing your favorite dried botanicals. Making custom resin coasters brings a functional touch of nature into your daily living space.
- Materials Needed: Crystal-clear epoxy resin, silicone circular coaster molds, small dried flowers, silicone mixing sticks, and fine glitter (optional).
- How to Make It:
- Mix your epoxy resin and hardener thoroughly in a clean container following package instructions.
- Pour a thin foundational layer of clear resin into each circular silicone coaster cavity.
- Arrange small pressed flowers and fern leaves in a balanced circular pattern inside the wet resin base.
- Pour a second top layer of resin to completely submerge the botanical elements and fill the mold to the top edge.
- Eliminate surface bubbles with a heat gun, allow the coasters to cure for 48 hours, and demold your finished creations.
- Tips & Variations: Add a delicate rim of metallic gold leaf paint around the perimeter edge of each finished coaster once fully cured.
- Essential Tools: Mixing cups, silicone molds, heat gun, precision tweezers.
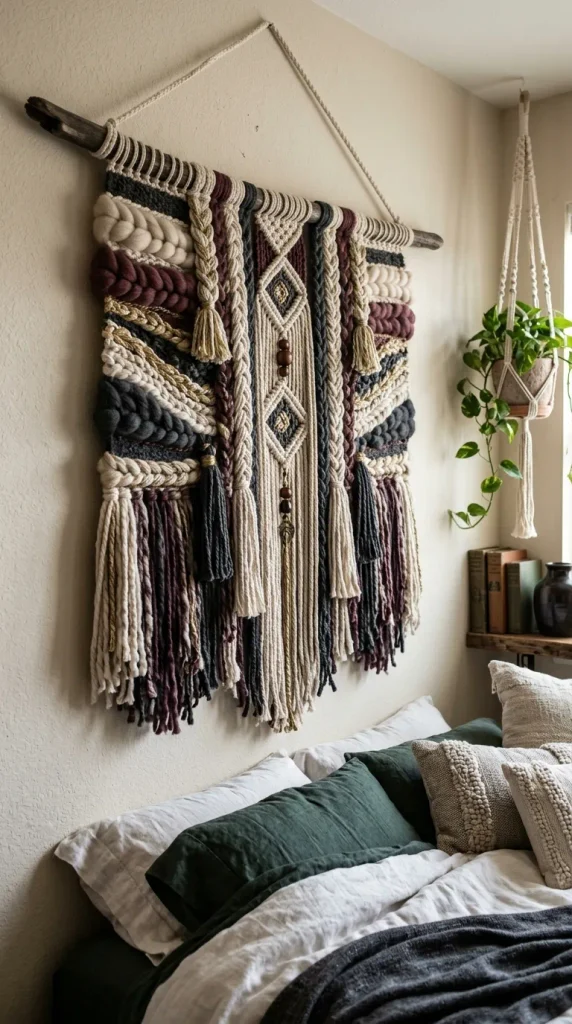
20. Aesthetic Woven Yarn Wall Hanging
Woven fiber wall hangings infuse rooms with rich texture, cozy warmth, and artisanal soul. Creating a simple loom-woven wall hanging lets you play with color blocking and fringe textures.
- Materials Needed: Wooden branch or wooden dowel, varied textured yarns (wool, roving, cotton cord), weaving needle, and sharp scissors.
- How to Make It:
- Tie your vertical warp threads securely across your wooden branch or dowel, spacing them evenly across the width.
- Thread your weaving needle with thick wool roving and pass it over and under the vertical warp threads in an alternating plain weave pattern.
- Switch yarn textures and colors every few inches to build an abstract, multi-layered geometric design.
- Add decorative rya knots along the bottom edge to create a lush, flowing fringe.
- Trim the bottom fringe evenly with sharp scissors and hang your completed textile masterpiece against your bedroom wall.
- Tips & Variations: Incorporate dried lavender sprigs or eucalyptus twigs directly into the upper weaving rows for a subtle natural botanical aroma.
- Essential Tools: Weaving needle, sharp fabric scissors, wooden branch.
More ideas to come in future addition