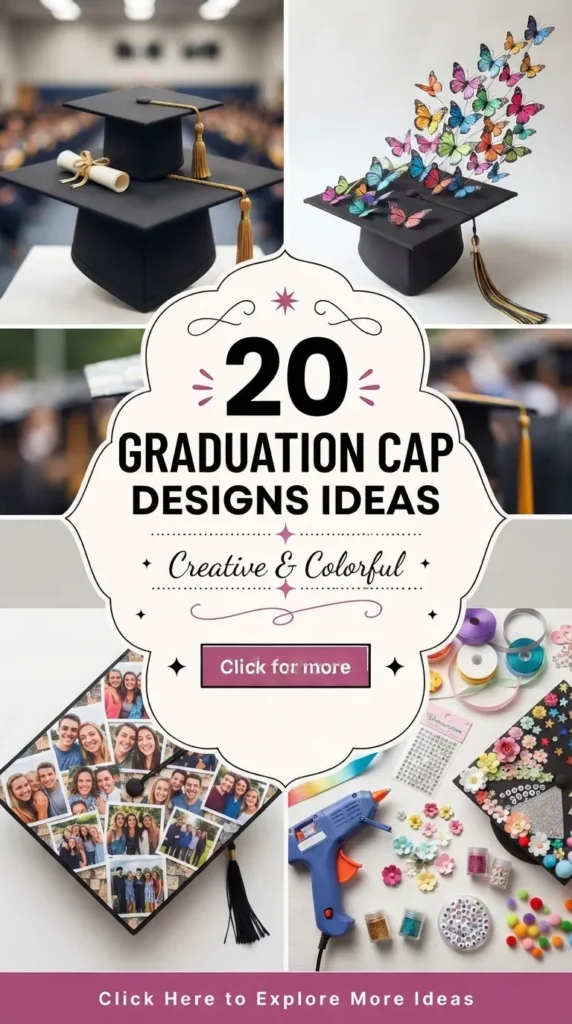
20 Graduation Cap Designs Ideas
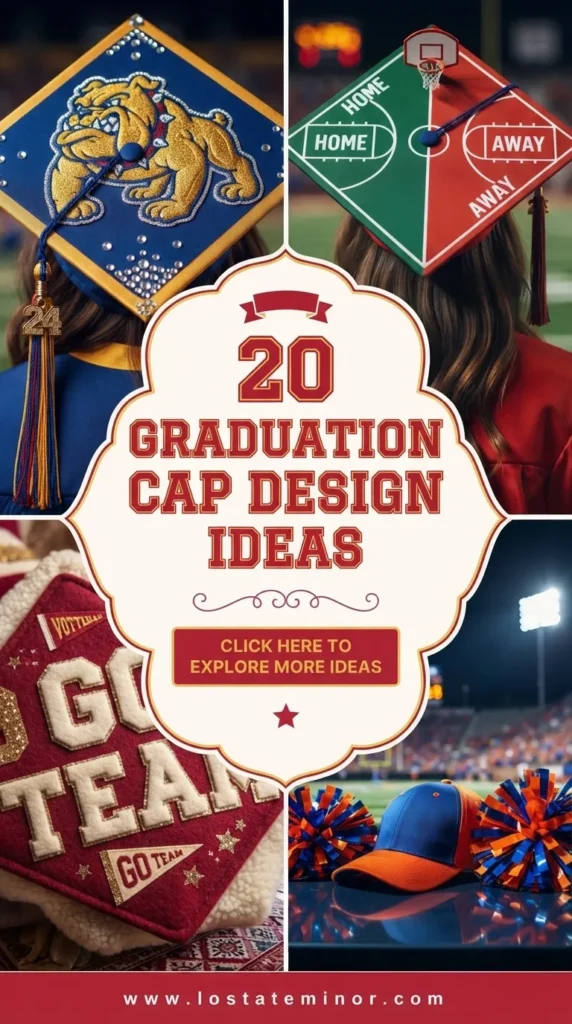
Graduation day is the culmination of years of hard work, sleepless nights, and profound personal growth. It is a moment of transition—a bridge between who you were and who you are becoming. While the gown represents tradition, the graduation cap (the mortarboard) has evolved into the ultimate canvas for self-expression. It is a small square of space that can tell your unique story, celebrate your achievements, or display your future aspirations.
Creating a custom graduation cap is not just about aesthetics; it is a ritual of claiming your identity as you step into the world. Whether you lean toward minimalist elegance, whimsical floral designs, or bold, pun-filled statements, there is a design here to match your vibe. Here are 20 unique, Pinterest-worthy graduation cap designs to help you stand out in the sea of caps.

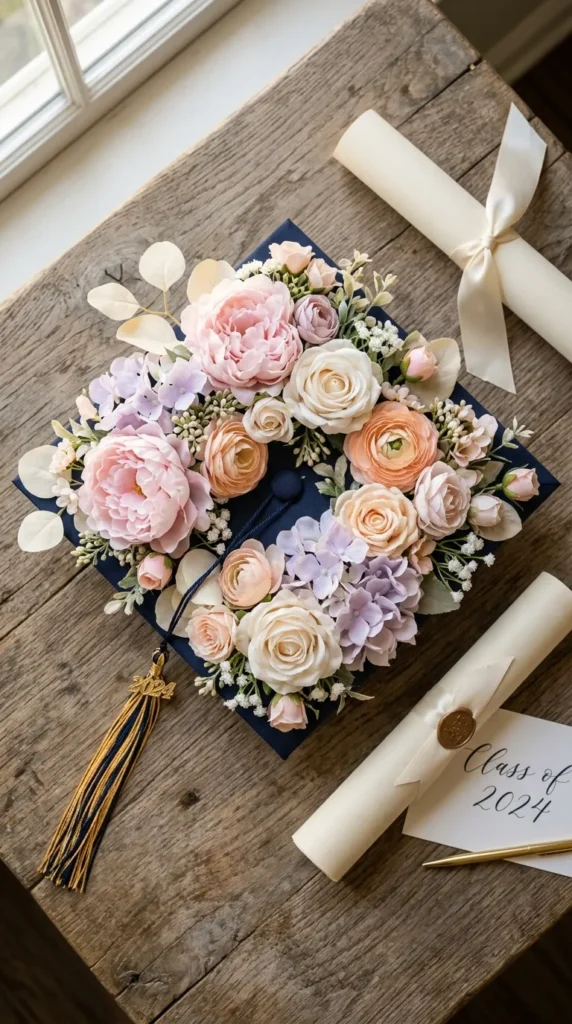

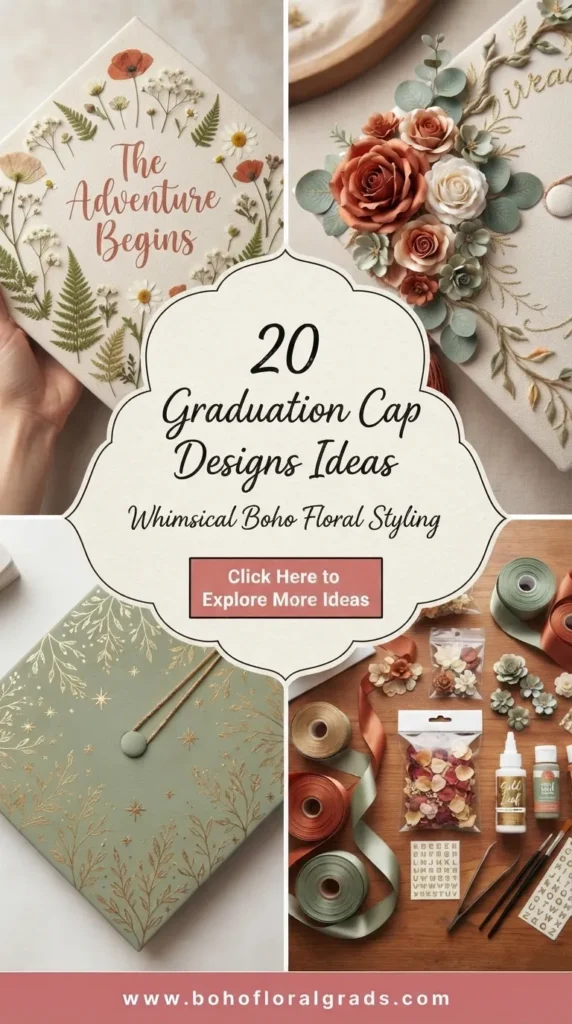
1. The Enchanted Floral Crown
This design transforms your cap into a blooming garden, perfect for those who want a soft, romantic, and feminine look. It is elegant, timeless, and photographs beautifully.
- How to make it: Select a color palette of faux flowers (think peonies, roses, and baby’s breath). Trim the stems close to the base. Arrange them in a dense ring around the edge of the cap, leaving the center clear for a quote or your name, or cover the entire surface for a lush “flower bed” effect. Use a hot glue gun to secure.
- Ingredients: Artificial silk flowers, hot glue gun, hot glue sticks, scissors.
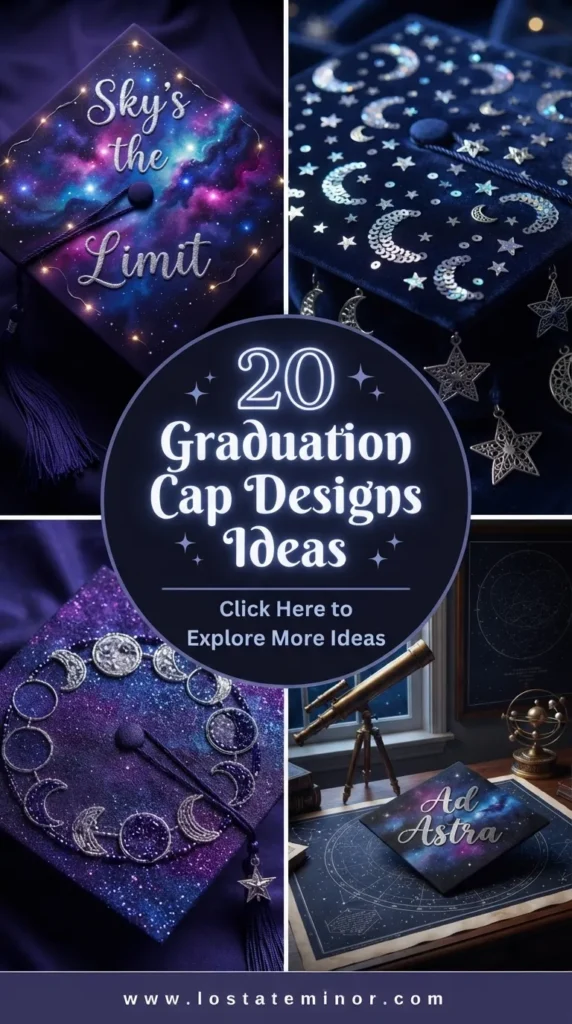
2. The Celestial Starry Night
Inspired by the vastness of the future, this design uses deep blues, purples, and gold accents to create a cosmic masterpiece.
- How to make it: Paint the base of your cap a deep navy blue or black. Use a splatter technique with white acrylic paint to create stars. For the moon and planets, use gold puff paint or metallic cardstock cut-outs. Add some rhinestones for a “twinkling” effect.
- Ingredients: Navy blue acrylic paint, white paint, gold glitter, gold cardstock, rhinestones, craft glue.
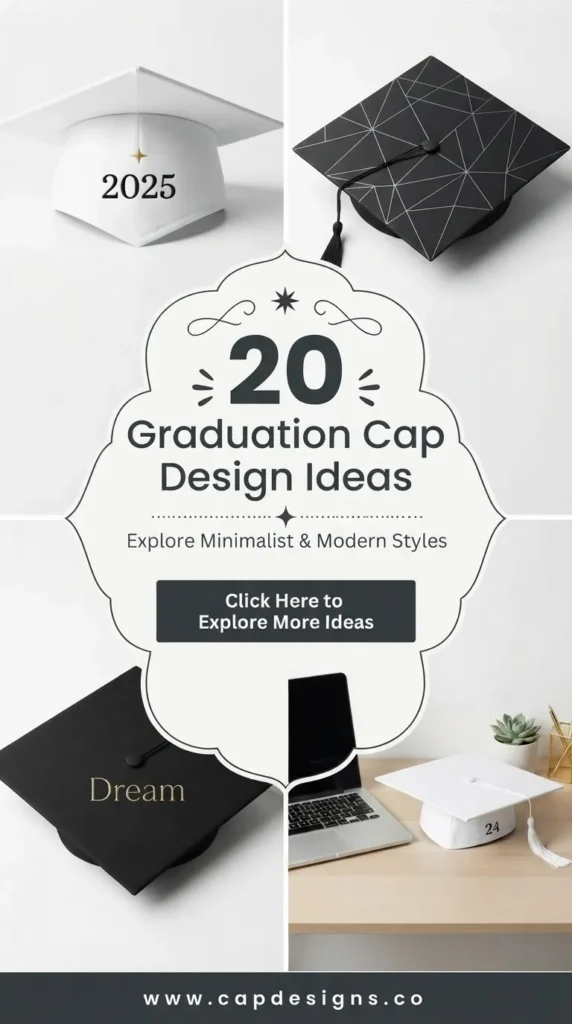
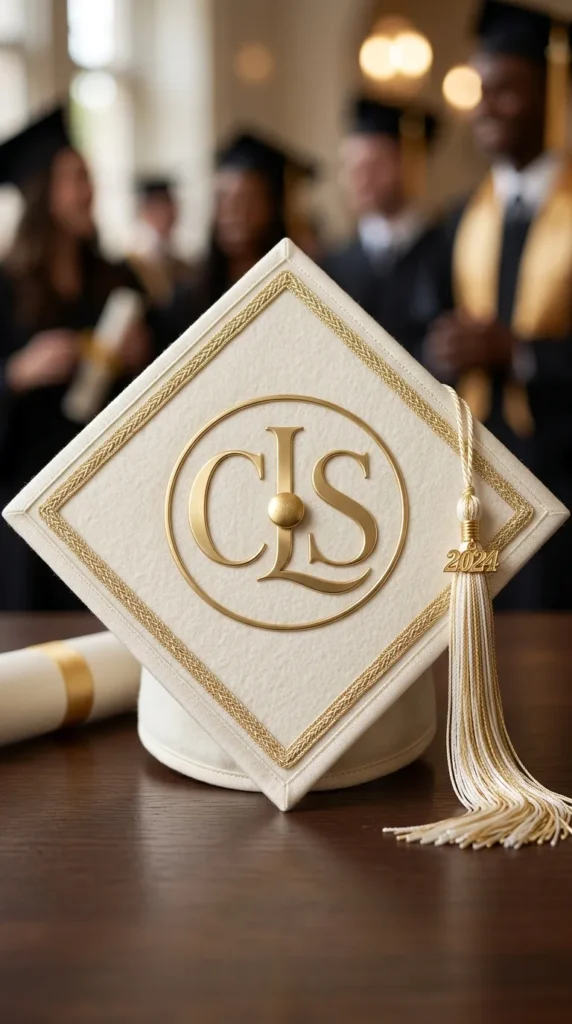
3. The Minimalist Monogram
For the student who prefers sophistication over flashiness, a monogrammed cap offers a clean, high-end look.
- How to make it: Cover your cap in a single-colored felt or fabric (like ivory or blush). Use a laser-cut wooden or metallic initial for the center. Surround it with a delicate, thin border of gold or silver ribbon to frame the design.
- Ingredients: Solid color felt fabric, fabric glue, a wooden or metal letter initial, metallic ribbon, pins.
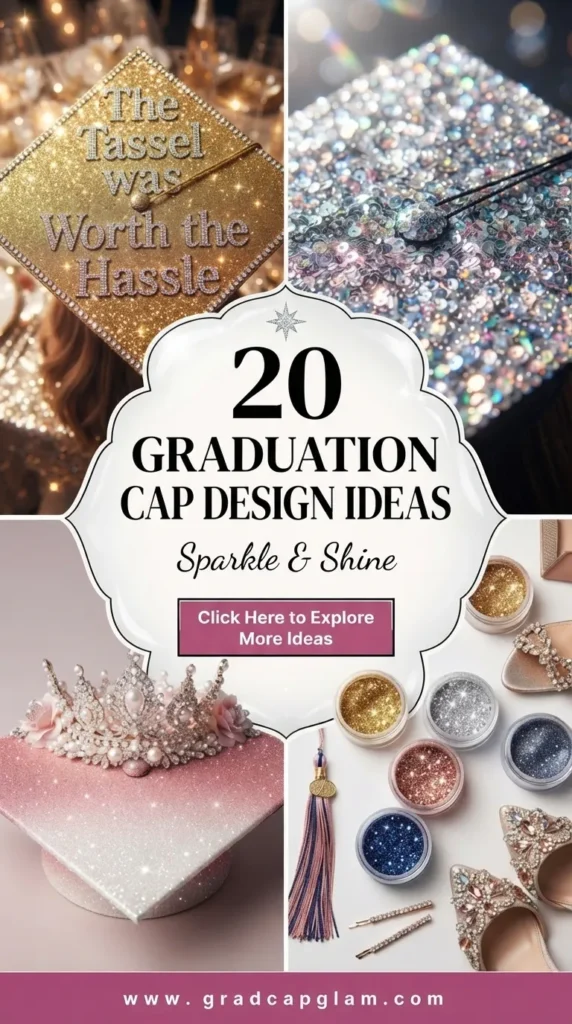
4. The Glitter Gradient
This is a high-energy, fun design that catches the light perfectly during the ceremony. It creates a seamless transition of colors across the surface of the cap.
- How to make it: Apply a layer of Mod Podge to one side of the cap. Pour your first glitter color over it. Repeat with a second, contrasting color on the other side, overlapping them in the middle to create a blended gradient effect. Shake off excess and seal with a clear spray.
- Ingredients: Fine craft glitter (two colors), Mod Podge, foam brush, clear acrylic spray sealer.
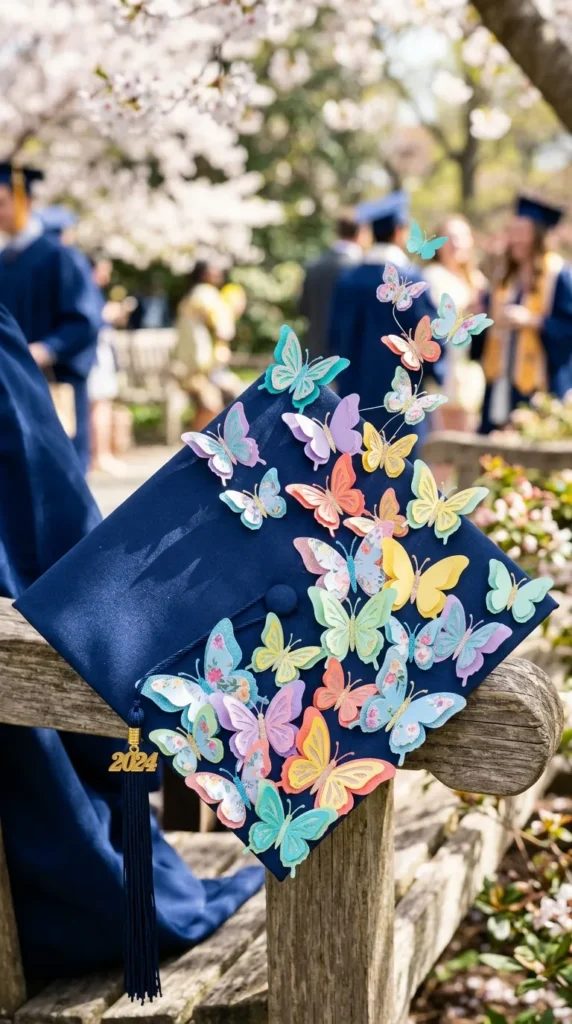
5. The Whimsical 3D Butterfly Garden
This design is playful, light, and represents transformation—a fitting metaphor for graduation.
- How to make it: Purchase paper or fabric butterflies in various sizes. Glue them in a “swarm” pattern starting from one corner and moving toward the center. Use dimensional adhesive (foam dots) to give them a “lifted,” 3D look as if they are mid-flight.
- Ingredients: Paper or fabric butterflies, foam adhesive dots, hot glue, tweezers for placement.
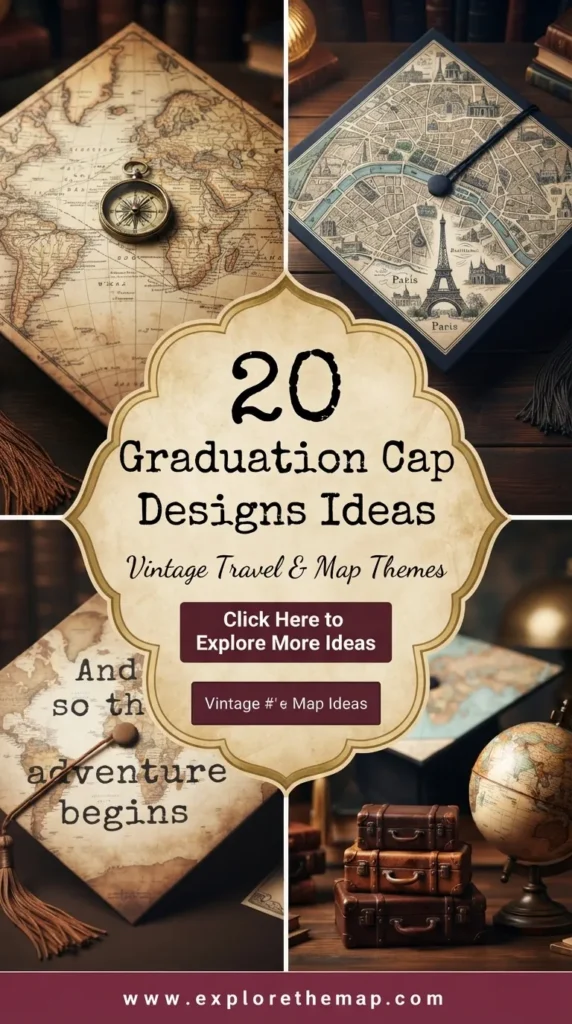
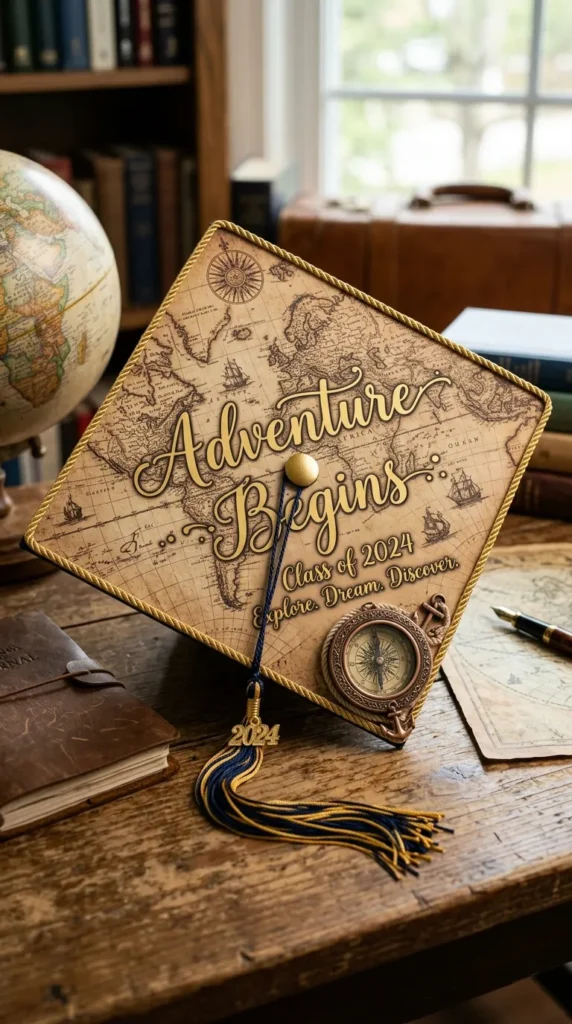
6. The “Adventure Begins” Map
If your degree is in travel, geography, or if you are simply moving to a new city, this map-themed cap is sentimental and adventurous.
- How to make it: Use a decorative vintage map or print a map of your new destination. Cut it to fit the square top. Decoupage it onto the cap using a thin layer of glue. Add a small compass or a “pin” to mark your start and end points.
- Ingredients: Printed map paper, decoupage glue (Mod Podge), compass charm, scissors.


7. The Scholar’s Book Stack
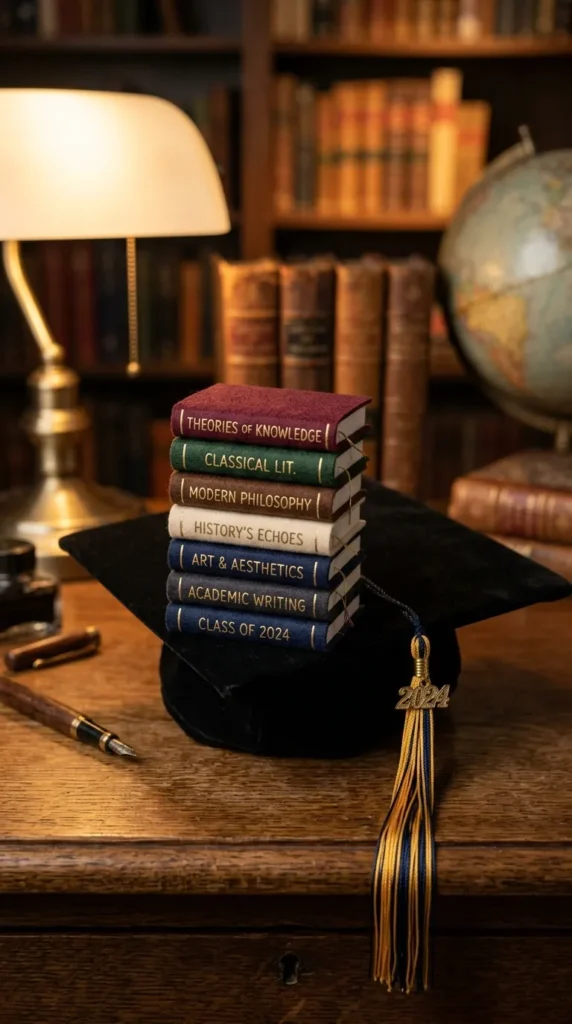
Perfect for English majors or avid readers, this design celebrates the knowledge you’ve acquired.
- How to make it: Create “books” out of small rectangles of felt or cardstock. Stack them on the cap, slightly overlapping. Use a fine-tip permanent marker or paint pen to write titles of your favorite books on the spines.
- Ingredients: Felt or cardstock in various colors, paint pens, glue.
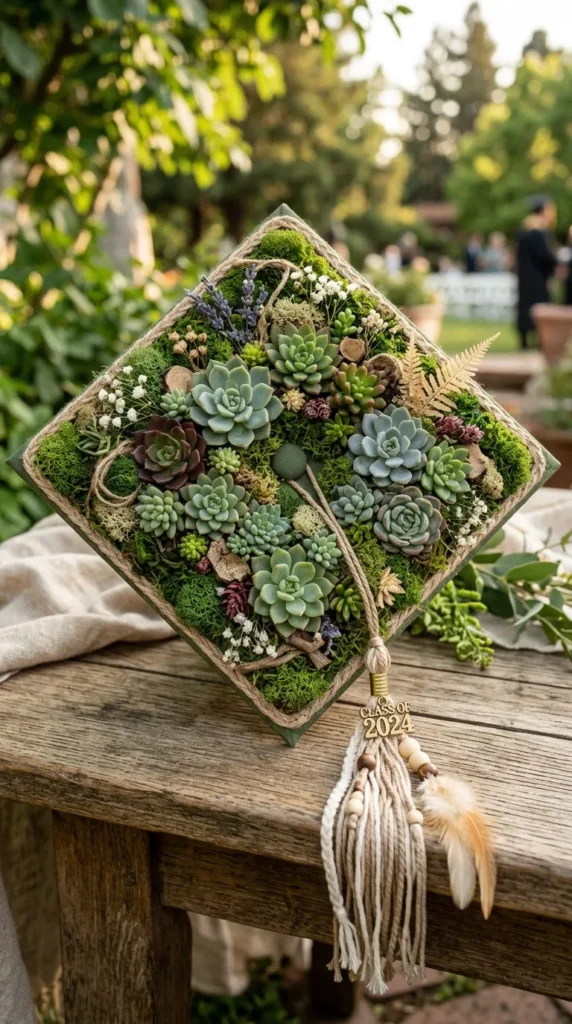
8. The Modern Succulent Oasis
Earthy, trendy, and incredibly unique, this design uses faux succulents for a textured, desert-chic aesthetic.
- How to make it: Arrange faux succulents of varying sizes and types on the cap. Secure them firmly with a strong craft glue. Fill in gaps with small craft moss or tiny river pebbles to make it look like a thriving micro-garden.
- Ingredients: Faux succulents, craft moss, small decorative stones, industrial-strength craft glue.
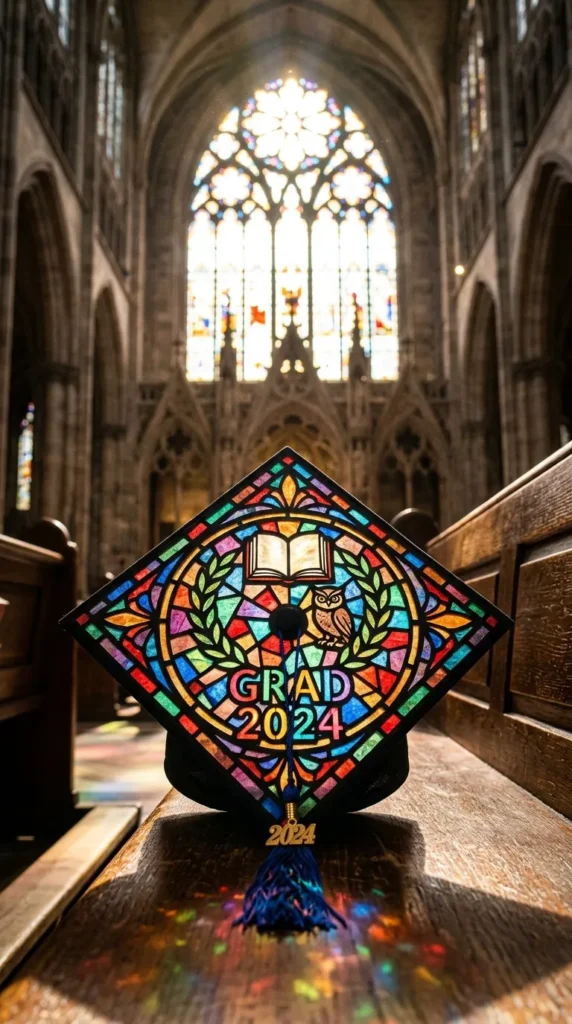
9. The Stained Glass Mosaic
Create a vibrant, artistic cap that looks like a cathedral window. It is eye-catching and intricate.
- How to make it: Use black cardstock strips to create a “lead” frame design on the cap. Fill the spaces with translucent tissue paper or colored cellophane in varying shades. Backlight it by using a light-colored base paint first.
- Ingredients: Black cardstock strips, colored tissue paper, white glue, clear acrylic base.
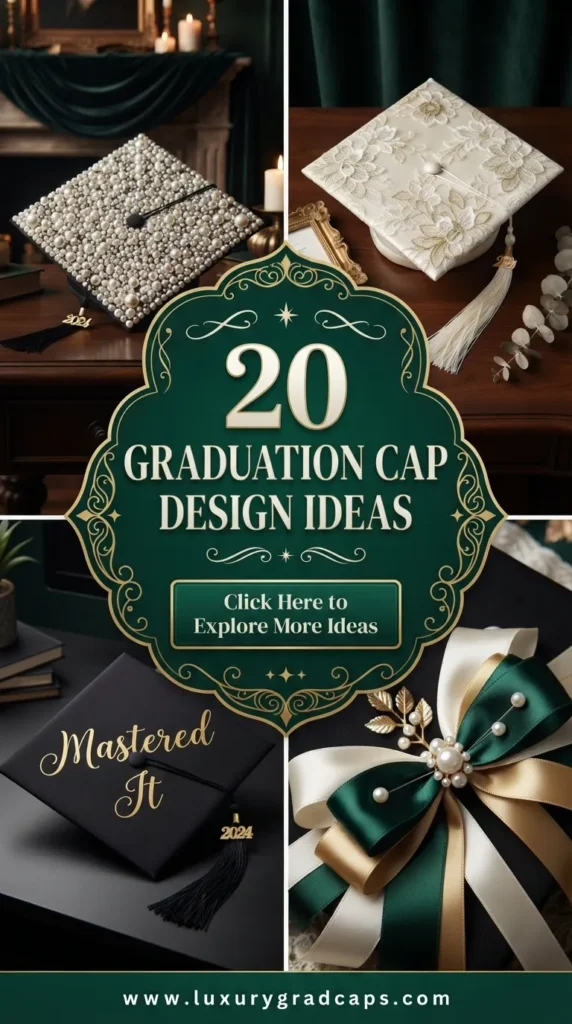
10. The Vintage Lace & Pearls
For a classic, formal graduation look, nothing beats the elegance of lace and pearls.
- How to make it: Lay a piece of vintage-style lace over the entire top of the cap. Trim the edges. Glue pearl beads in a border around the perimeter and create a focal point in the center with a pearl brooch or a cluster of larger pearls.
- Ingredients: White or cream lace fabric, loose pearl beads, craft glue, a vintage brooch.
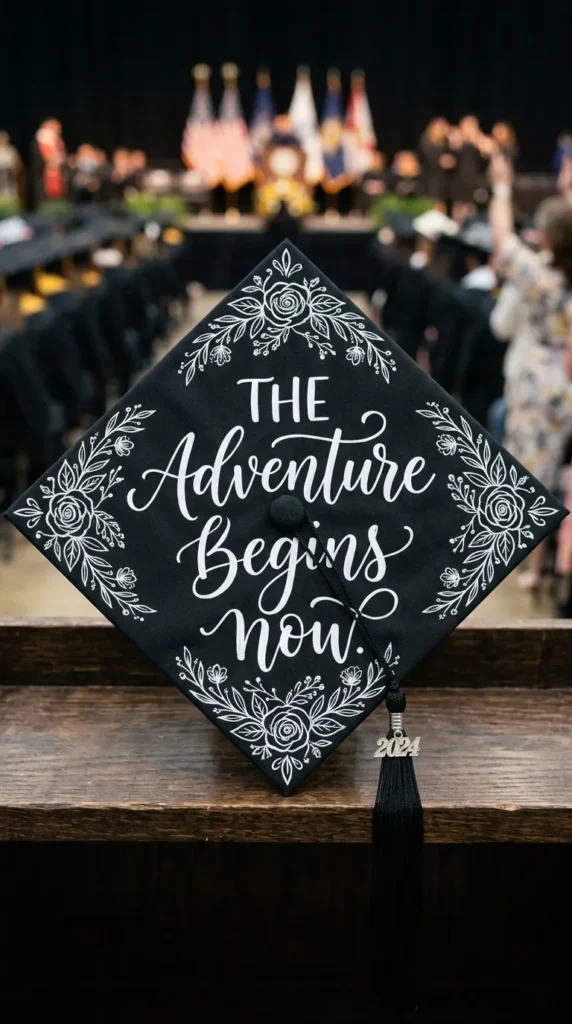
11. Inspirational Calligraphy
If you have a powerful quote, use your cap to share it with the world using beautiful lettering.
- How to make it: Prime the cap with a solid color. Practice your layout on paper first. Using paint pens or vinyl lettering (if you have a cutting machine), write your favorite quote or your graduation year. Enhance with simple floral flourishes around the text.
- Ingredients: Paint pens (oil-based), vinyl decals, painter’s tape (for straight lines).
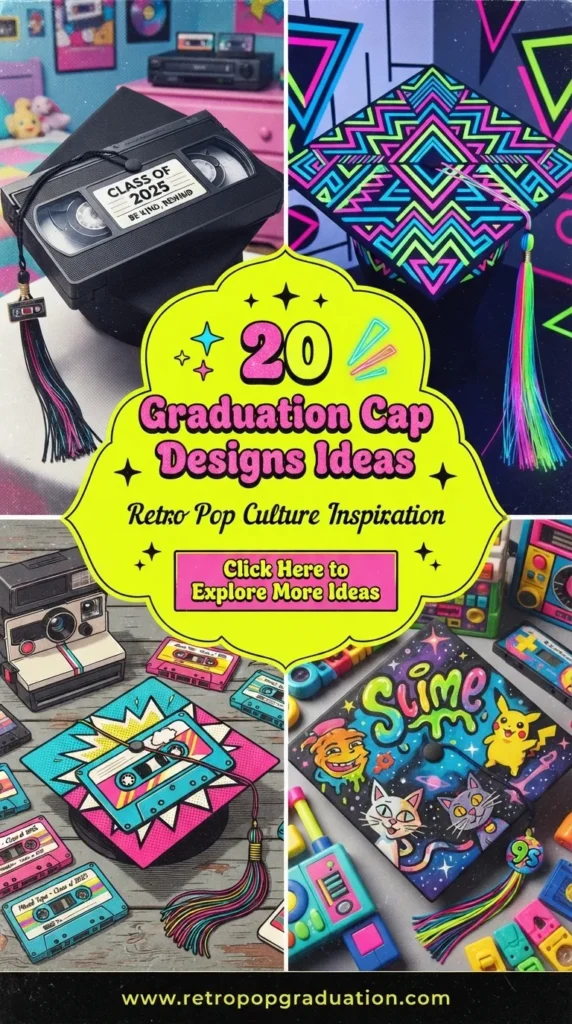
12. The Retro 90s Pop
Bring nostalgia to your ceremony with bright, bold, and geometric shapes reminiscent of 90s design.
- How to make it: Use bright neon cardstock to cut out shapes like squiggles, triangles, and circles. Arrange them in a chaotic, colorful pattern. Add “stickers” or puffy paint details for that authentic retro vibe.
- Ingredients: Neon cardstock, scissors, puffy paint, craft glue.
13. The “Tassel Worth the Hassle” Pun
Use your cap to make people laugh. Puns are a staple of graduation fashion.
- How to make it: Use letter stickers or custom vinyl lettering to write your pun. Embellish the edges with symbols related to your major (e.g., beakers for science, music notes for music, calculator for math) to tie it all together.
- Ingredients: Vinyl letter stickers, craft embellishments related to your major, hot glue.



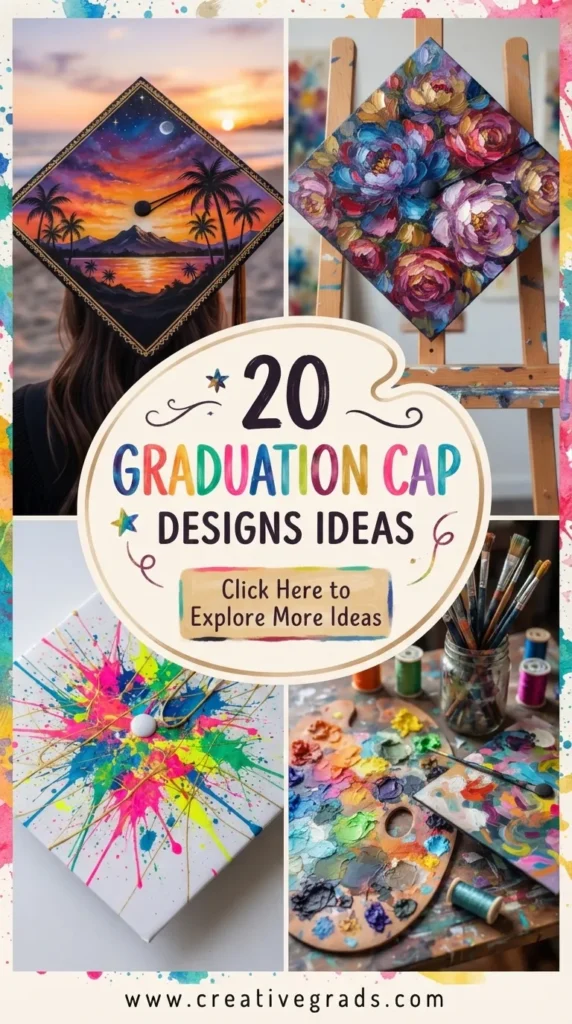
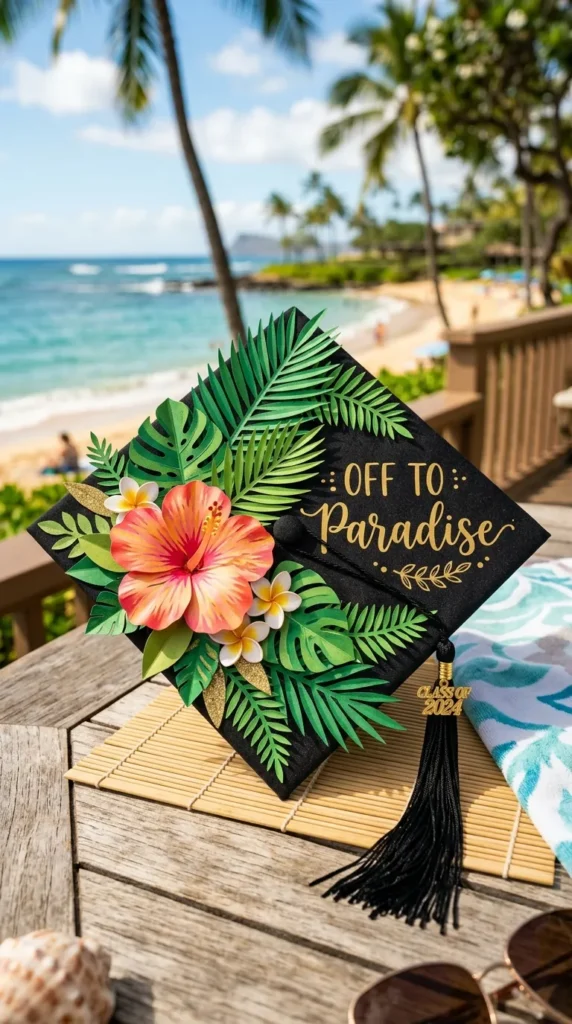
14. The Tropical Paradise
Channel vacation vibes with palm leaves and vibrant colors, perfect for a sunny outdoor ceremony.
- How to make it: Cut large palm leaf shapes out of green cardstock or use high-quality faux silk leaves. Layer them across the cap. Add small tropical flowers like hibiscus for a pop of color.
- Ingredients: Faux palm leaves, paper flowers, strong glue.
15. The LED Starry Sky
Make your cap light up. This is a showstopper for evening ceremonies.
- How to make it: Use a string of thin, battery-operated copper wire LED lights. Poke tiny holes in the cap where you want the “stars” to be. Thread the lights through from underneath and tape the battery pack to the inside underside of the cap where it won’t be seen.
- Ingredients: Battery-operated LED string lights (fairy lights), electrical tape, craft knife (for small holes).
16. The Comic Book Hero
Celebrate your journey like a hero. This bold graphic style is perfect for showing personality.
- How to make it: Print or draw comic book-style word bubbles (POW! GRADUATED!). Use bright primary colors and heavy black outlines. Layer the bubbles to create dimension.
- Ingredients: Heavy cardstock, black permanent marker, primary-colored acrylic paint, glue.
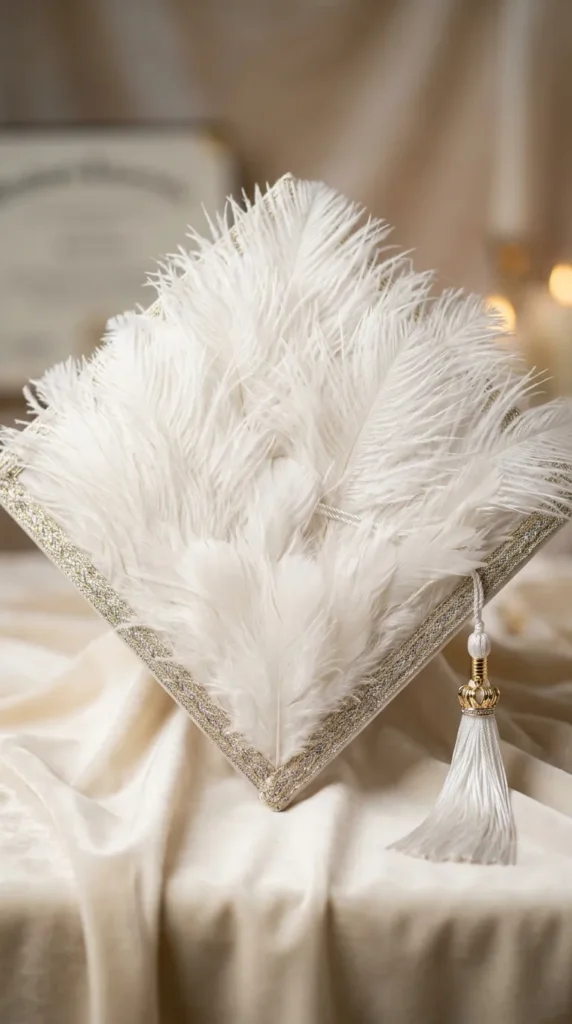
17. The Feathered Flight
Feathers represent freedom and taking flight. This is an ethereal and sophisticated look.
- How to make it: Fan out white or iridescent feathers starting from one corner and fanning out to the edges. Glue them so they slightly overlap. Add a gold or silver ribbon border to keep the feathers contained and clean.
- Ingredients: Craft feathers (ostrich or peacock), ribbon, craft glue.
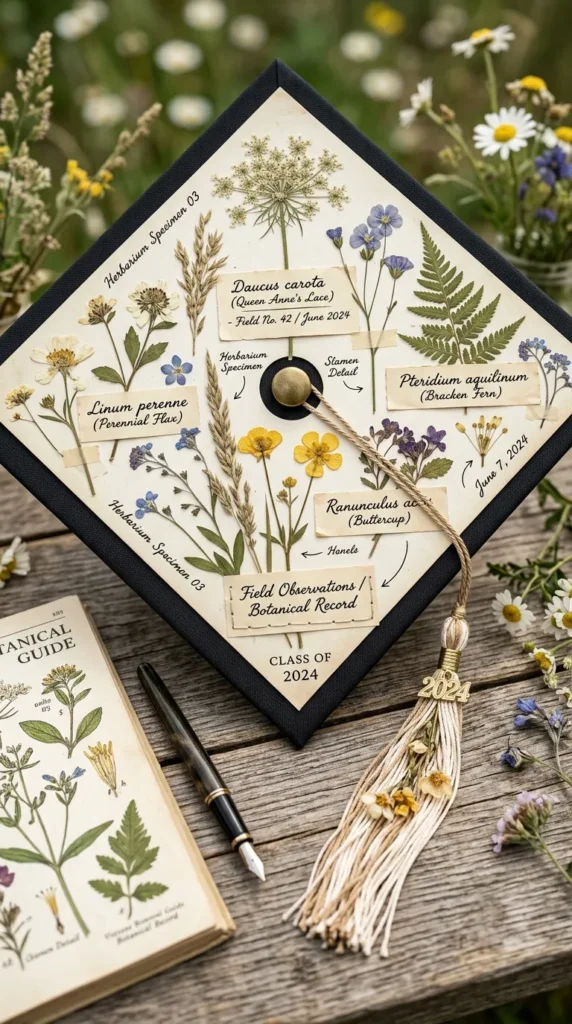
18. The Pressed Wildflower Art
This looks like an antique scientific study and is incredibly aesthetic.
- How to make it: Use real pressed flowers (or high-quality artificial ones) and arrange them on a neutral, cream-colored fabric background. Use a fine-tip pen to write “labels” next to the flowers, as if they were in a nature journal.
- Ingredients: Pressed flowers, cream-colored fabric base, ultra-fine permanent marker.
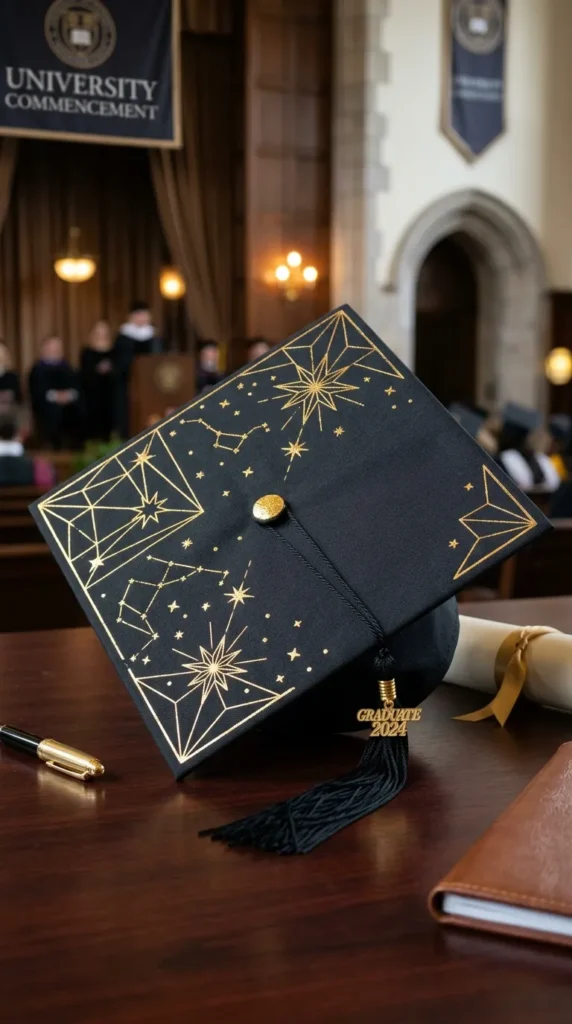
19. The Metallic Gold Foil
Luxury and simplicity combined. This is a very “Pinterest-chic” aesthetic.
- How to make it: Use gold foil transfer sheets. Apply a thin layer of adhesive in the design of your choice (like stars, initials, or geometric lines). Once tacky, press the foil on and peel back to reveal a perfect metallic finish.
- Ingredients: Gold foil sheets, adhesive glue pen, brush.
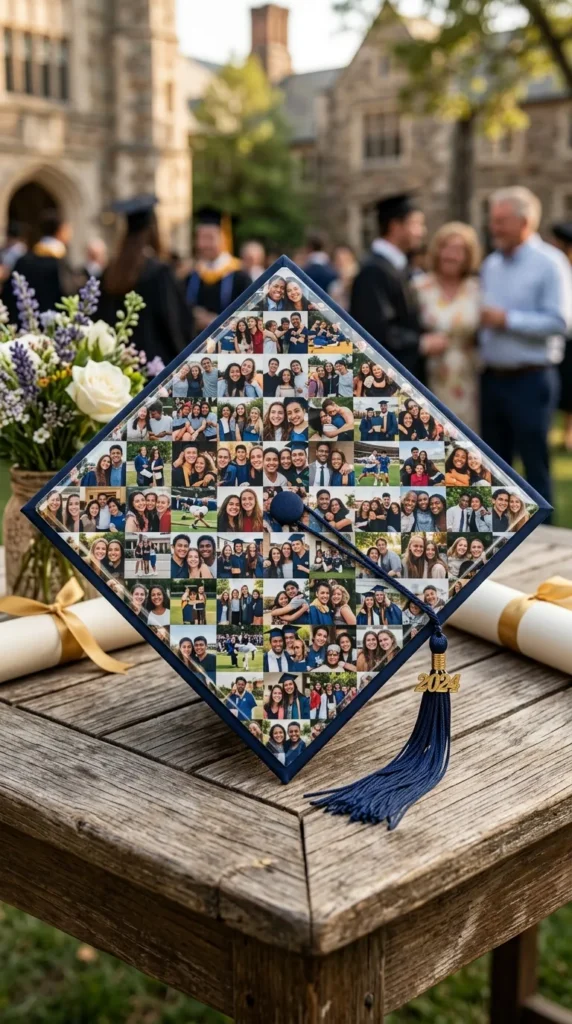
20. The Sentimental Mosaic Collage
Honor the people who helped you get here by turning your cap into a memory board.
- How to make it: Print small, black-and-white photos of friends, family, and memorable college moments. Cut them into squares or circles and arrange them like a mosaic, covering the whole cap. Use clear gloss varnish to seal them in place.
- Ingredients: Small printed photos, decoupage glue (Mod Podge), clear gloss varnish, scissors.