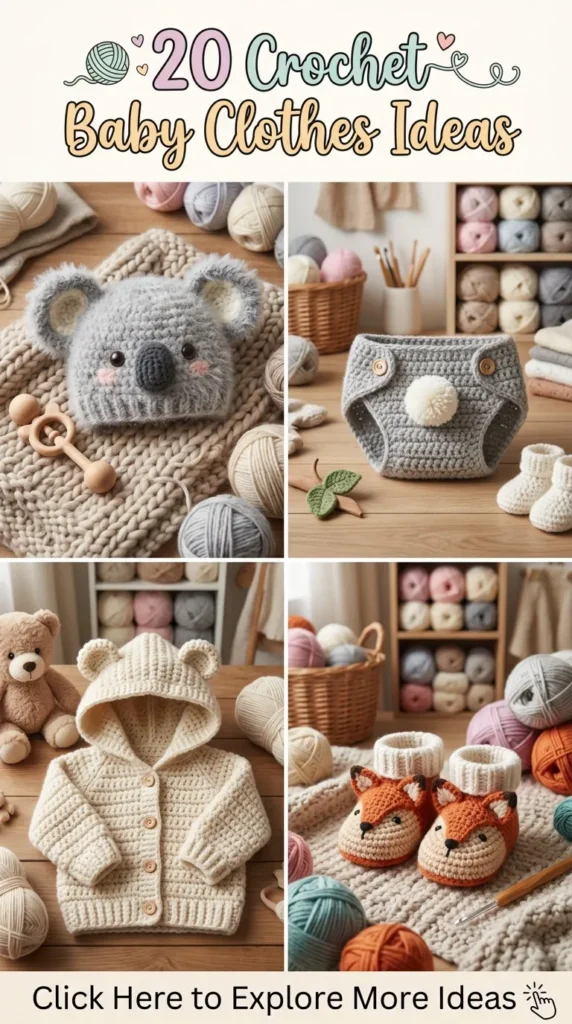
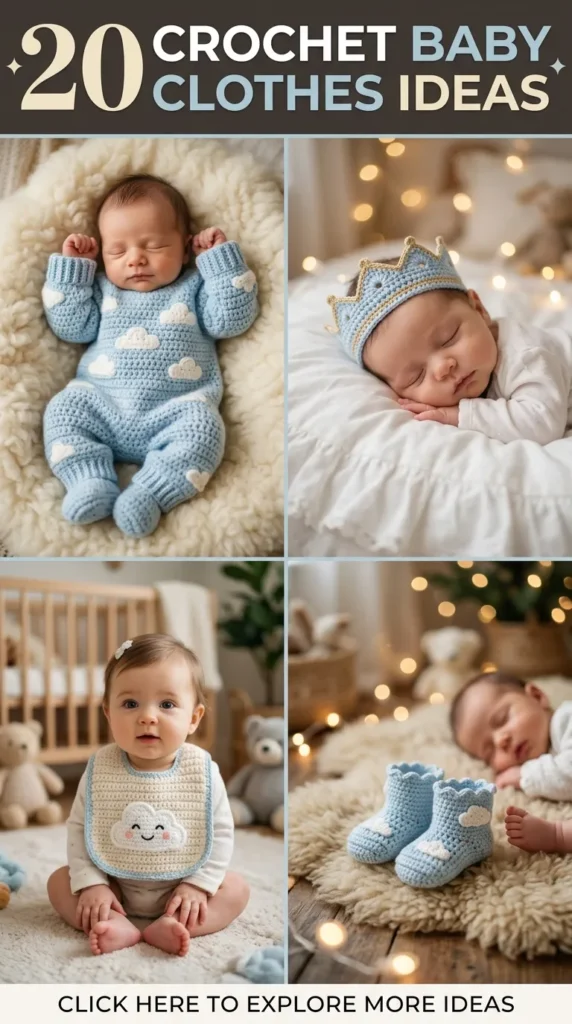
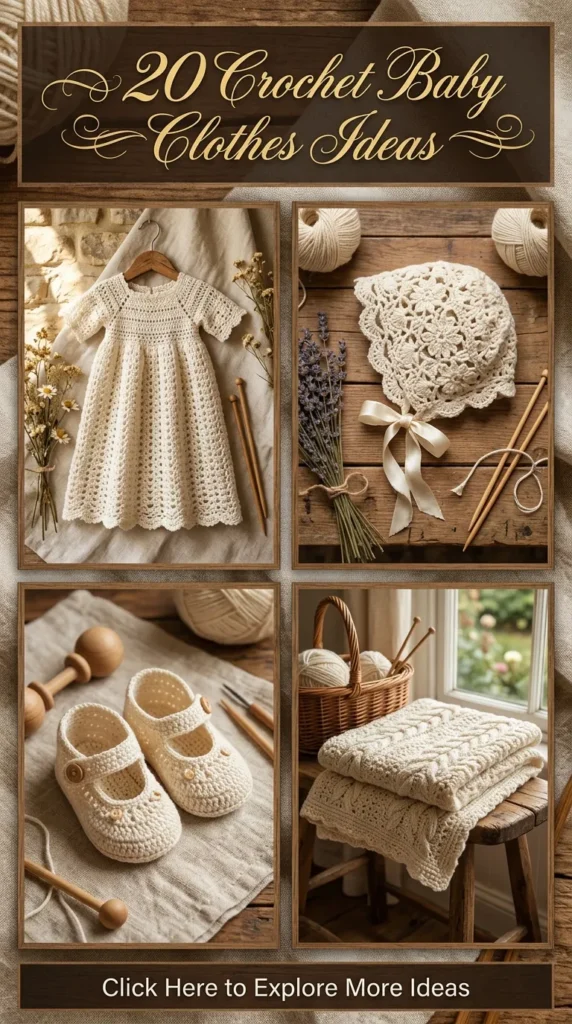
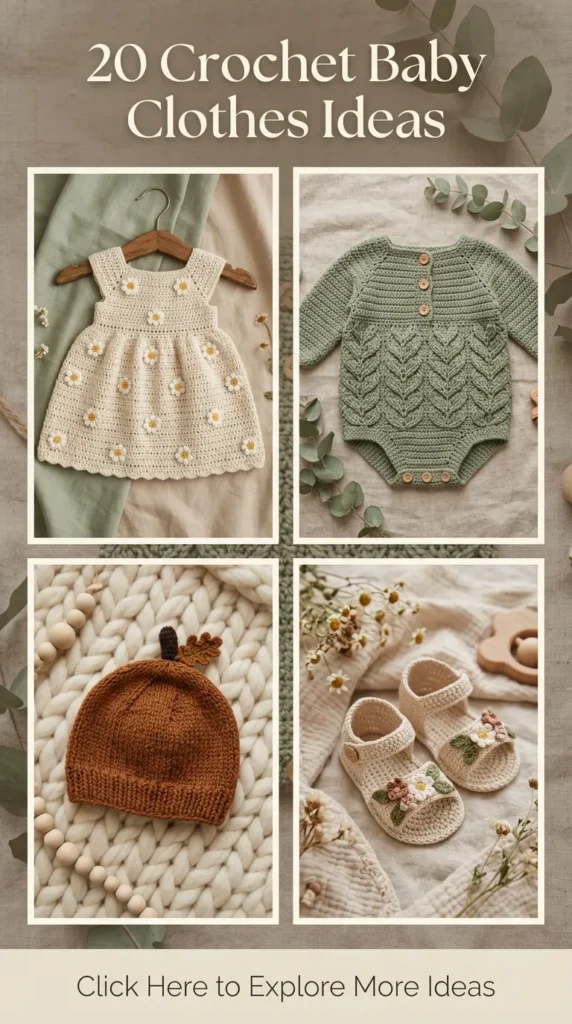
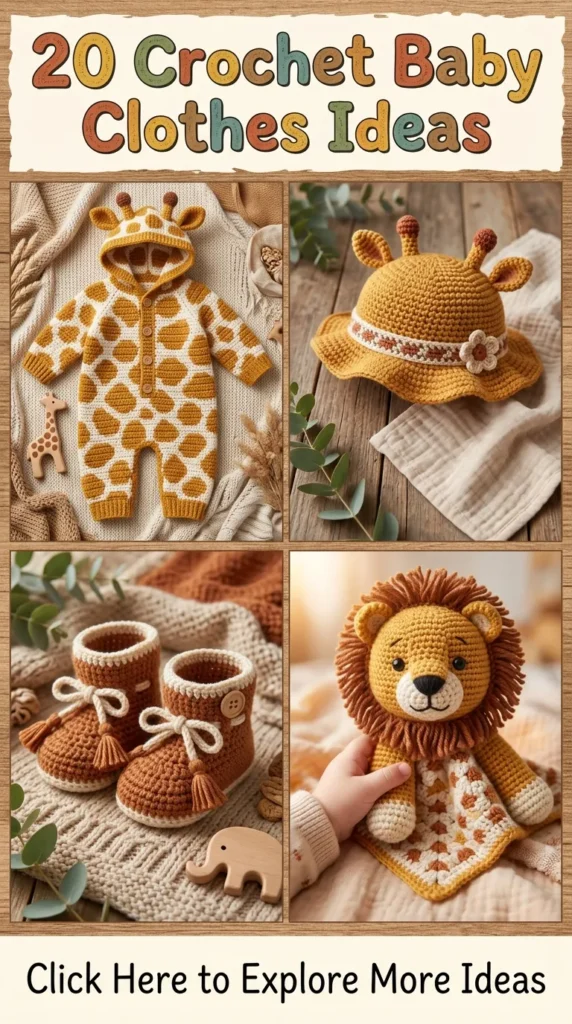
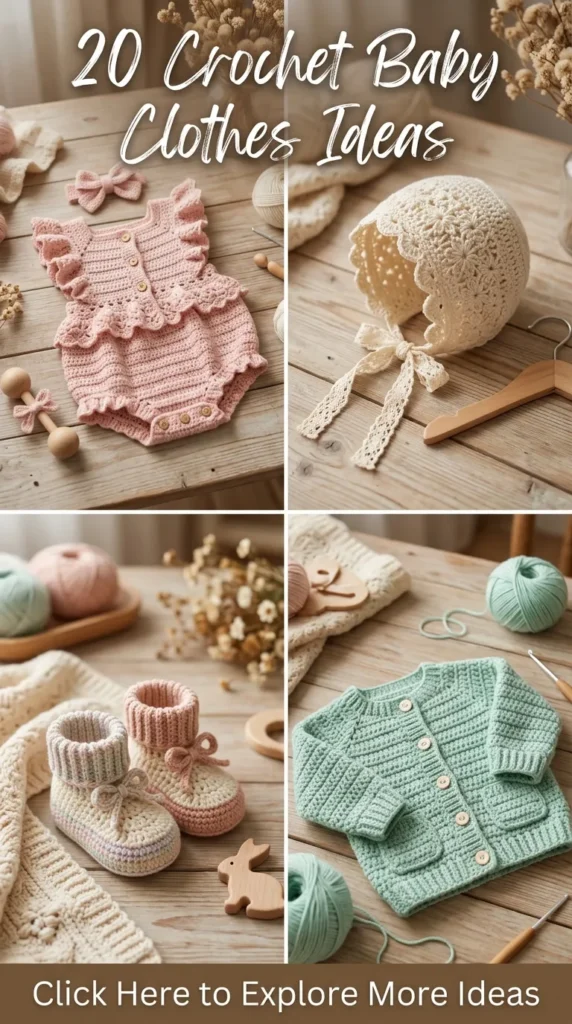
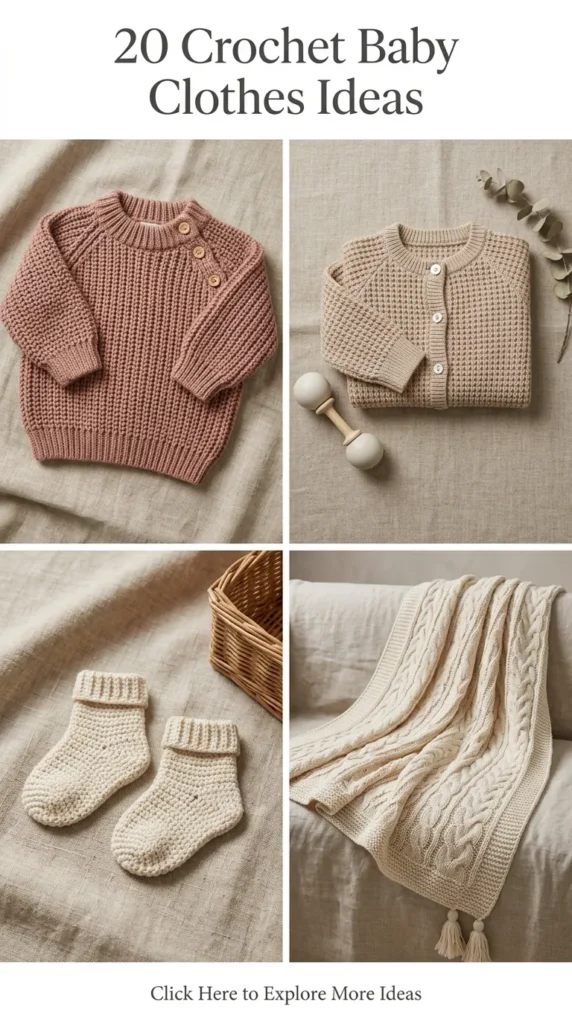
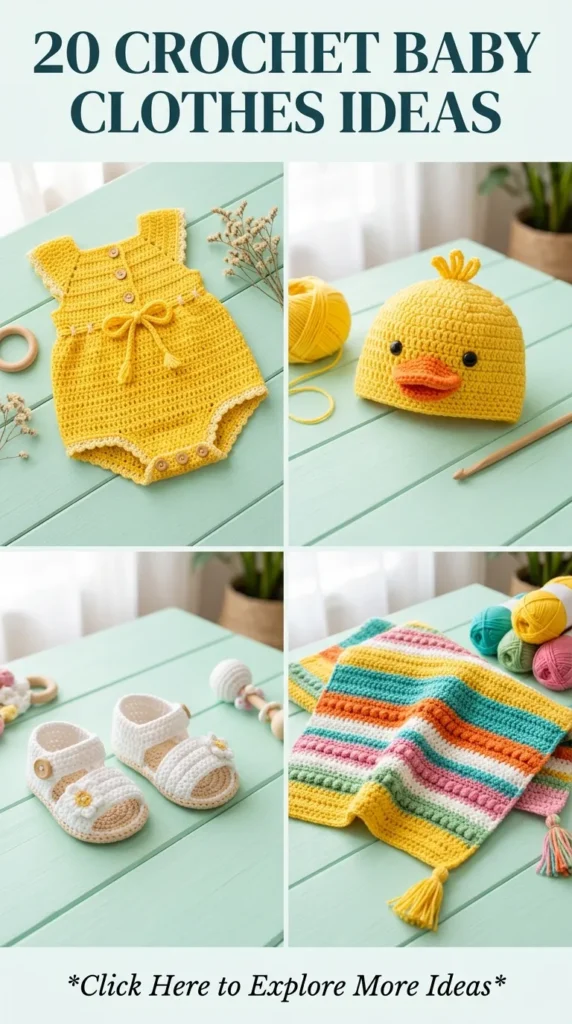
20 Crochet Baby Clothes Ideas
Handcrafted infant apparel combines timeless artisanal charm, heirloom durability, and delicate comfort. Moving far beyond novelty acrylic knits, modern heirloom crochet focuses on breathable plant and animal fibers, muted earth-toned palettes, architectural lace motifs, and ergonomic tailoring. Discover twenty curated, boutique-grade crochet baby clothing concepts designed for contemporary wardrobes, milestone photography, and generational keepsakes.
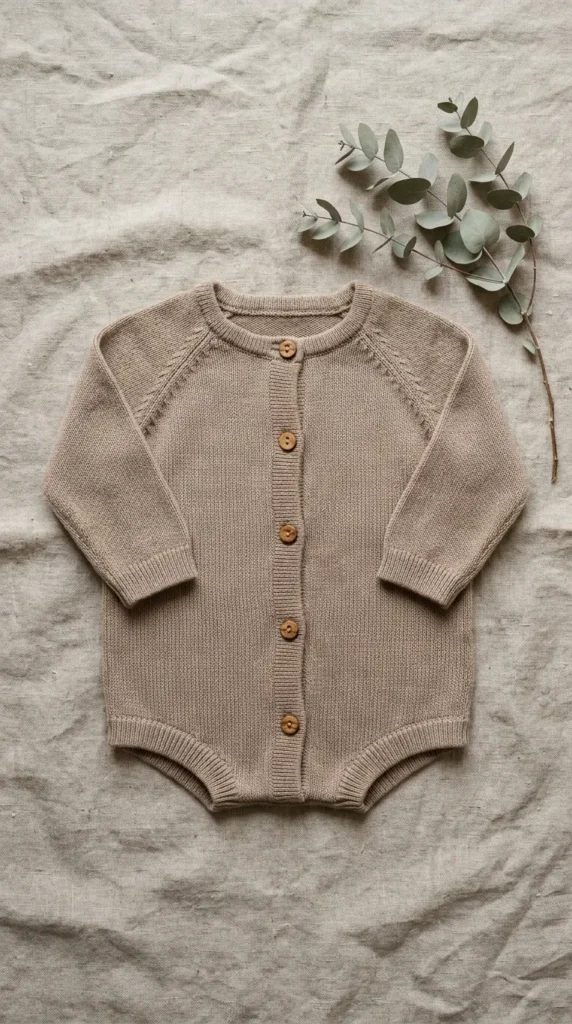
1. Minimalist Sandstone Raglan Romper with Olive Wood Buttons
What This Idea Means
This piece embraces Scandinavian minimalism, functional tailoring, and organic texture. The seamless raglan construction provides continuous drape across delicate infant shoulders without abrasive inner seams, while the muted sandstone hue offers a versatile, gender-neutral foundation.
Materials Needed
- 250 g Sport-weight 100% organic pima cotton yarn in Sandstone
- 3.25 mm (US D/3) ergonomic crochet hook
- 5 natural hand-carved olive wood buttons (12 mm diameter)
- 4 locking metal stitch markers
- Tapestry needle and soft metric measuring tape
How to Make It
- Yoke Construction: Work a foundation neckline chain, join in the flat, and place markers at four corner points to establish the raglan line increases using alternating rows of extended single crochet and linked double crochet.
- Armhole Separation: Work raglan increases until the yoke measures the proper chest depth across all four quadrants. Chain across the underarm spaces and skip the sleeve stitches, conjoining front and back panels.
- Body & Torso: Work down the torso in continuous turning rounds of modified moss stitch (granite stitch) for flexible elasticity, maintaining consistent tension.
- Leg Openings & Inseam: Divide the lower half into front and back flap panels. Shape the leg curves with strategic decreases.
- Gusset Placket: Crochet a ribbed 1×1 front-and-back post double crochet placket along the crotch inseam.
- Finishing: Sew on the olive wood buttons with cross-stitch reinforcement and weave in yarn ends beneath structural ridges.
Tips and Variations
- Fiber Choice: Opt for unmercerized pima cotton to preserve maximum softness and prevent fabric stiffening after machine washing on delicate cycles.
- Sleeve Variation: Extend the short raglan sleeves into full-length tapered sleeves ending in folded ribbed cuffs for autumn wear.
- Button Customization: Replace olive wood with genuine matte mother-of-pearl or untreated coconut-shell buttons.
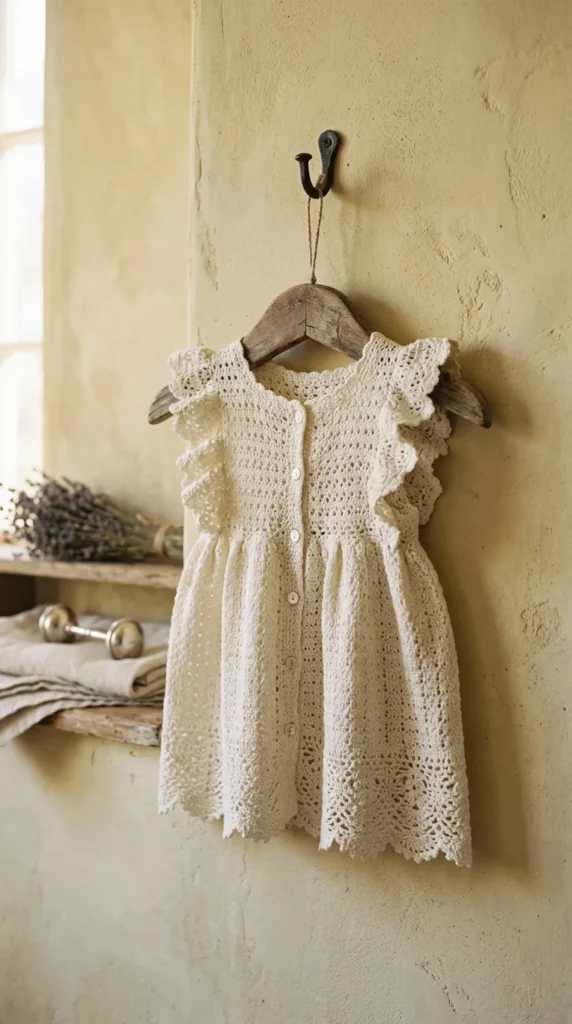
2. French Vintage Pointelle Lace Pinafore Dress
What This Idea Means
Drawing inspiration from late 19th-century French christening gowns and country smocks, this design features open pointelle diamond filigree lace paired with a structured, high-waisted square bodice and soft ruffled pinafore wings.
Materials Needed
- 200 g Fingering-weight bamboo-silk blend yarn in Antique Alabaster
- 2.75 mm (US C/2) steel crochet hook
- 3 micro-sized horn buttons (10 mm)
- Blocking boards and rust-proof stainless steel T-pins
How to Make It
- Bodice Construction: Crochet a firm, double-crochet square bodice base working from the waistline up, leaving open armhole slots.
- Pinafore Flutter Wings: Attach yarn to the shoulder straps and work fan-stitch shell clusters outward, increasing the cluster count on outer rows to create ruffled wings that drape past the shoulders.
- Skirt Foundation: Join yarn at the bottom of the bodice, working an initial row of foundation foundation-sc to gather the skirt waist subtly.
- Pointelle Lace Pattern: Work the skirt downward in repeating 8-row diamond pointelle lace repeats, utilizing chained arches and double-crochet clusters.
- Scalloped Hemline: Finish the hem with picot-topped antique scalloped arches.
- Blocking: Wet block the finished dress aggressively on foam mats to open up the geometric lace eyelets completely.
Tips and Variations
- Layering Utility: Style over a long-sleeve linen onesie with tights in cooler months or wear solo during summer.
- Ombré Tinting: Dip-dye the bottom three inches of the scalloped hem in natural tea or avocado-pit dye baths for a subtle antique gradient.
- Back Tie Finish: Swap the rear button placket for two delicate crocheted cord ties finished with miniature tassel ends.
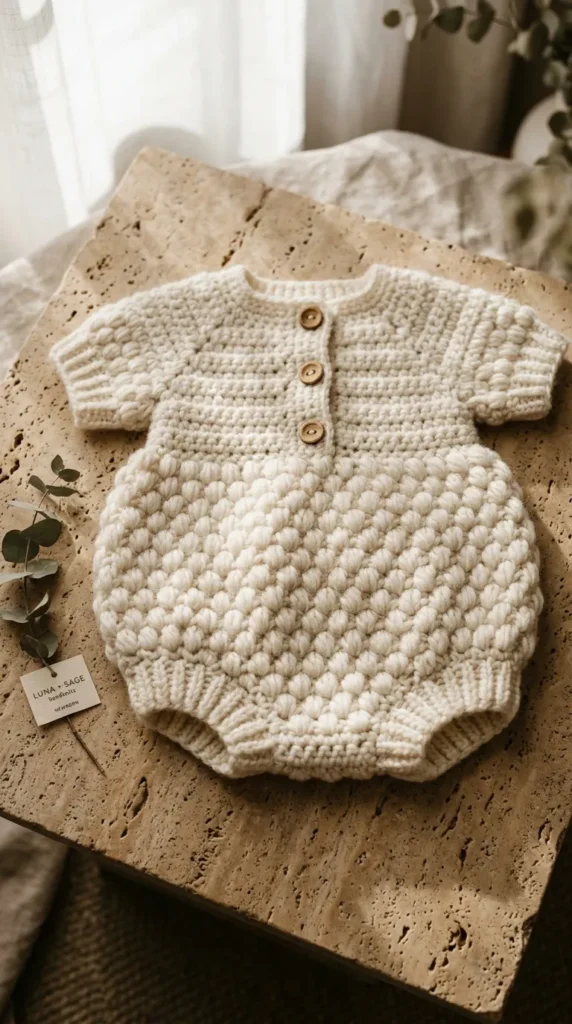
3. Chunky Marshmallow Merino Bubble Romper
What This Idea Means
A celebration of voluminous, rounded silhouettes, the bubble romper uses oversized textured puff stitches to create maximum loft, framing baby thighs in plush, pillowy luxury while ensuring complete mobility.
Materials Needed
- 300 g DK to Light Worsted 100% Superwash Extra-Fine Merino Wool in Soft Ecru
- 4.00 mm (US G/6) crochet hook
- 1/2-inch wide soft cotton elastic banding (for leg gathers)
- Tapestry needle and sewing needle with thread matching the yarn
How to Make It
- Top-Down Bodice: Work a neat, compact half-double crochet square-neck yoke with deep back closure flaps.
- Bubble Volume Transition: Immediately below the chest line, triple the stitch count across a single setup row by working three foundation puff stitches into every existing stitch.
- Body Expansion: Continue down the torso using a honeycomb puff stitch pattern, maintaining generous, airy loops.
- Lower Gathering: Abruptly decrease the stitch volume around the hip circumference using half-double crochet two-together (hdc2tog) decreases across two consecutive rows.
- Elasticated Leg Rims: Crochet ribbed leg cuffs around enclosed strips of soft cotton elastic to hold the rounded bubble shape without restricting the infant’s skin.
- Placket: Complete the base with a functional four-button snap placket.
Tips and Variations
- Tension Awareness: Keep your yarn loops uniformly tall during puff stitch execution; pulling too tight flattens the signature bubble volume.
- Velvet Alternative: Work this pattern in organic chenille or velour-spun cotton yarn for a plush, cloud-like surface sheen.
- Sleeveless Romper: Omit sleeves entirely to create an everyday layering piece suited for transitional seasons.
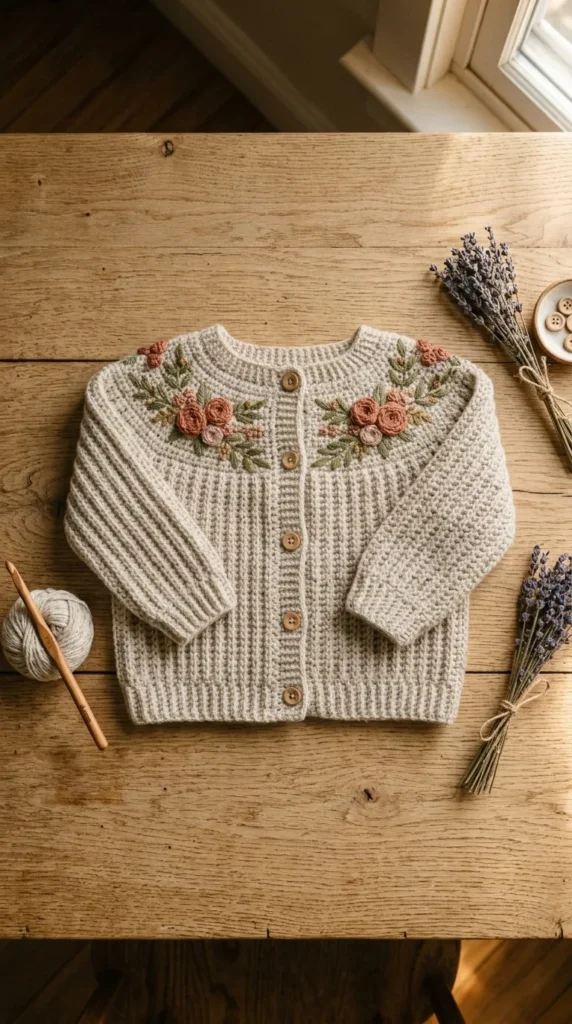
4. Botanical Meadow Embroidered Yoke Cardigan
What This Idea Means
This piece merges structured, dense crochet tailoring with surface embroidery. A classic, fine-gauge cardigan base serves as a clean canvas for miniature botanical floral work inspired by English country meadows.
Materials Needed
- 250 g Sport-weight 100% Cashmere-Merino blend yarn in Heather Oat
- Strands of 6-ply cotton embroidery floss in Olive, Ochre, Terracotta, Blush, and Dusty Lavender
- 3.50 mm (US E/4) crochet hook
- Size 5 embroidery needle
- 6 matte natural horn buttons (13 mm)
How to Make It
- Cardigan Base: Crochet a raglan-style seamless cardigan from the collar down using single crochet through the back loop only (blo-sc) to generate a smooth, fine-ribbed canvas.
- Sleeves: Work continuous hollow round sleeves tapering to snug 1×1 slip-stitch ribbed cuffs.
- Button Bands: Add wide single crochet button and buttonhole bands along the open front edges.
- Surface Embroidery: Map out your floral layout lightly across the upper chest yoke using water-soluble pens.
- Needlework Execution: Embroider French knots for mimosa blossoms, lazy daisy stitches for miniature petals, and delicate bullion knot rosebuds intertwining across the yoke surface.
- Assembly Finishing: Steam lightly from the reverse side to settle the embroidery threads into the crochet stitches.
Tips and Variations
- Backing Protection: If using metallic or multi-strand floss, iron a lightweight, ultra-soft fusible interfacing over the back of the embroidery inside the cardigan to protect sensitive infant skin.
- Monogram Inclusion: Personalize the left chest quadrant with a delicate Victorian cursive initial bordered by leaf sprays.
- Seasonal Themes: Swap meadow flora for alpine pine sprigs and holly berries for festive winter wear.
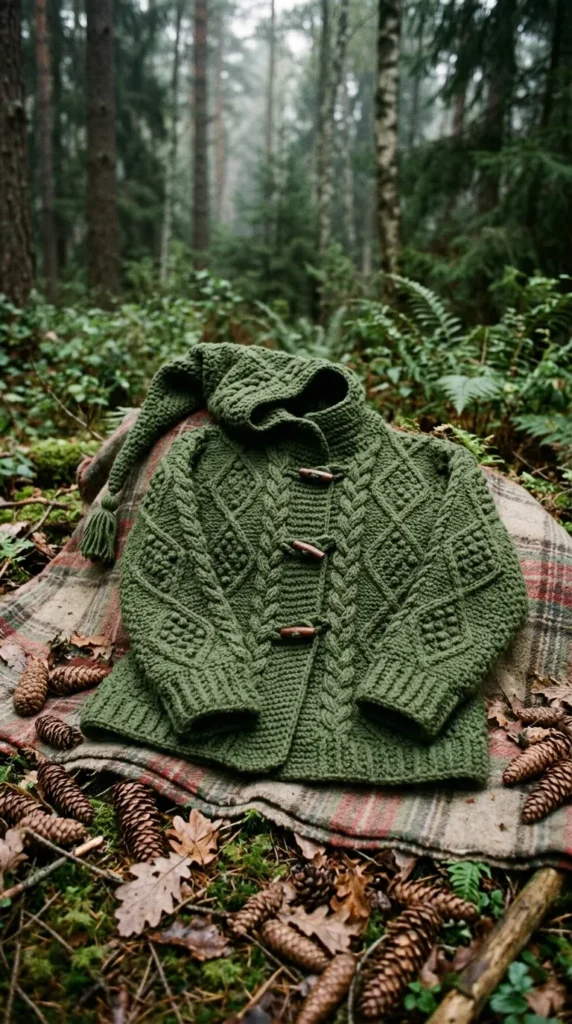
5. Heritage Cable-Knit Style Hooded Pixie Coat
What This Idea Means
Translating classic Aran rope twist techniques into crochet, this hooded coat utilizes front-post and back-post cable overlays to produce structural, insulating ridges, complete with an elongated, whimsical pixie point hood.
Materials Needed
- 400 g Worsted-weight 100% Highland Wool in Deep Moss Green
- 4.50 mm (US 7) and 5.00 mm (US H/8) crochet hooks
- 4 hand-carved toggle buttons (horn, antler, or cedar wood)
- Cable needle or locking stitch markers
How to Make It
- Back & Front Panels: Work three separate body sections from the lower hem upward, employing an alternating pattern of 4-stitch rope cables, diamond trellis stitches, and moss stitch background fillers.
- Shoulder Joins: Join panels at the shoulders using a structural slip-stitch seam.
- Pixie Hood: Pick up stitches evenly around the neckline. Work the cable pattern upward for 9 inches, then fold the top edge in half and join with an invisible seam to form a distinct pointed pixie peak.
- Sleeves: Pick up stitches directly from the armscyes and work downward in textured alpine stitch, finishing with thick ribbed cuffs.
- Toggle Closure: Crochet four durable loop cords along the right edge and fasten natural toggles firmly to the left panel.
Tips and Variations
- Yarn Elasticity: Use a wool yarn with a natural high crimp to keep the post-stitch cables three-dimensional and springy.
- Fleece Lining: Hand-sew a breathable organic cotton sherpa or fleece lining inside the hood and body for sub-zero climate protection.
- Hood Accents: Attach a mini yarn tassel or single wooden bead to the elongated tip of the pixie hood.
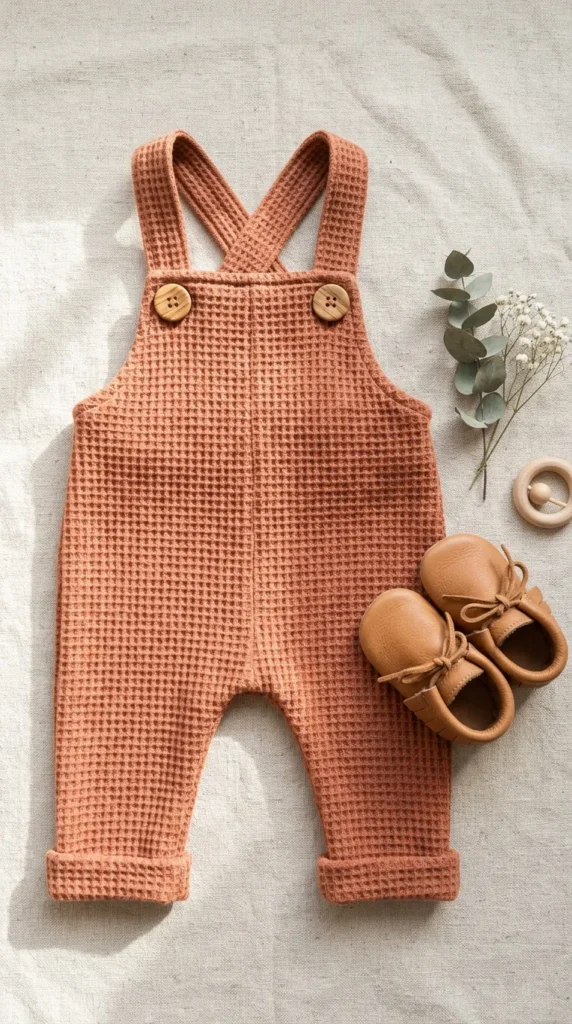
6. Mediterranean Waffle-Textured Dungarees with Cross-Back Straps
What This Idea Means
Inspired by timeless European coastal attire, these dungarees use the deeply indented, three-dimensional waffle stitch to achieve maximum breathability, thermal regulation, and structural durability for active crawlers.
Materials Needed
- 250 g DK-weight 100% Linen-Cotton yarn in Muted Terracotta
- 3.75 mm (US F/5) crochet hook
- 2 large flat wooden buttons (18 mm)
- Stitch markers and measuring tape
How to Make It
- Pant Legs: Crochet two individual pant legs from the ribbed ankles upward using waffle stitch (alternating 1 front-post double crochet with 2 regular double crochets).
- Crotch Join: Join the two legs at the crotch line with a reinforced gusset chain, working in the round up through the hips and torso.
- Bib Extension: Fasten off the back stitches at the mid-waist and continue working solely on the center front stitches to build an upright rectangular chest bib.
- Cross Straps: Anchor yarn at the back waistband corners and crochet two long, dense thermal-stitch straps designed to cross securely over the back.
- Buttonholes: Work reinforced eyelets into the strap ends, securing them to the bib via the front wooden buttons.
Tips and Variations
- Linen Softening: 100% linen-cotton blends soften substantially with each wash; steam block thoroughly during finishing to relax the waffle texture.
- Adjustable Length: Add two sets of buttonhole eyelets along the straps to allow the dungarees to adjust as the baby grows.
- Shortalls Variation: Stop pant leg construction 3 inches above the knee for warm-weather coastal wear.
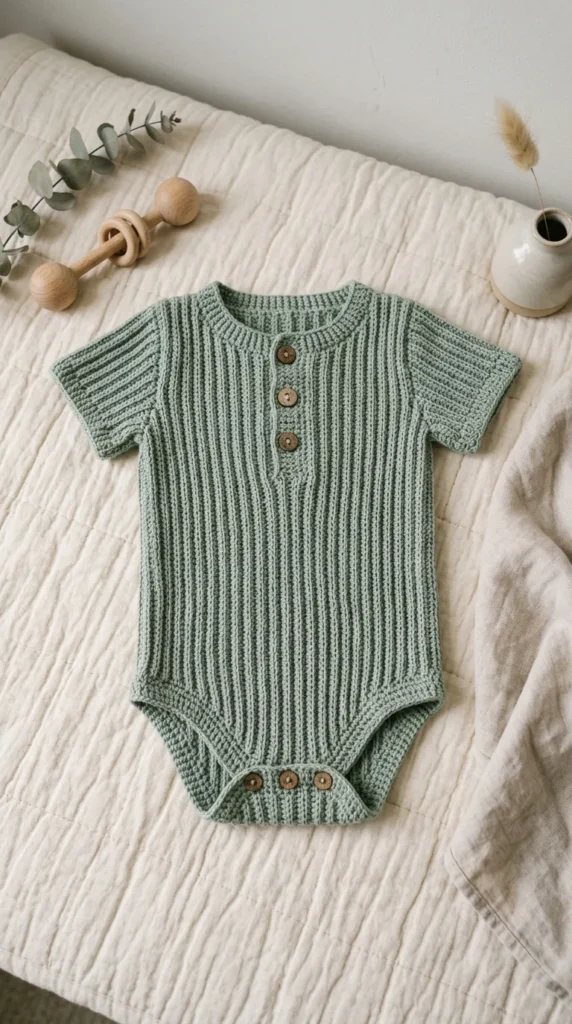
7. Coastal Sage Ribbed Henley Onesie
What This Idea Means
A sleek, modern staple that reimagines everyday infant comfort. This design features an ultra-fine vertical 1×1 rib knit look, paired with a clean three-button neckline placket and an ergonomic contour fit.
Materials Needed
- 200 g Fingering-weight 100% Tencel-Bamboo yarn in Coastal Sage
- 3.00 mm (US D/3) crochet hook
- 3 micro coconut shell buttons (9 mm)
- Metal stitch markers
How to Make It
- Ribbed Panel Work: Work the entire body sideways using single crochet through the back loop only (blo-sc) in fine-gauge yarn to create deep vertical micro-ribs.
- Neckline Slit: Introduce a centered vertical opening along the front torso during horizontal progression to establish the Henley placket cavity.
- Side Seaming: Block the textured rectangle and seam the sides using mattress stitch, leaving precise leg and armhole apertures.
- Sleeves: Work seamless tubular blo-sc sleeves directly outward from the armhole openings.
- Placket Edging: Cleanly frame the neck slit with a firm single-crochet border and sew three functional buttons along the left edge.
- Leg Trim: Finish the leg curves with smooth slip-stitch ribbing.
Tips and Variations
- Drape Control: Bamboo and Tencel fibers offer heavy drape; crochet with firm tension to prevent the garment from sagging over time.
- Contrast Trim: Work the neck placket and leg cuffs in a contrasting cream yarn for an athletic, vintage varsity look.
- Footie Extension: Continue the leg sleeves down into fully integrated ergonomic booties.
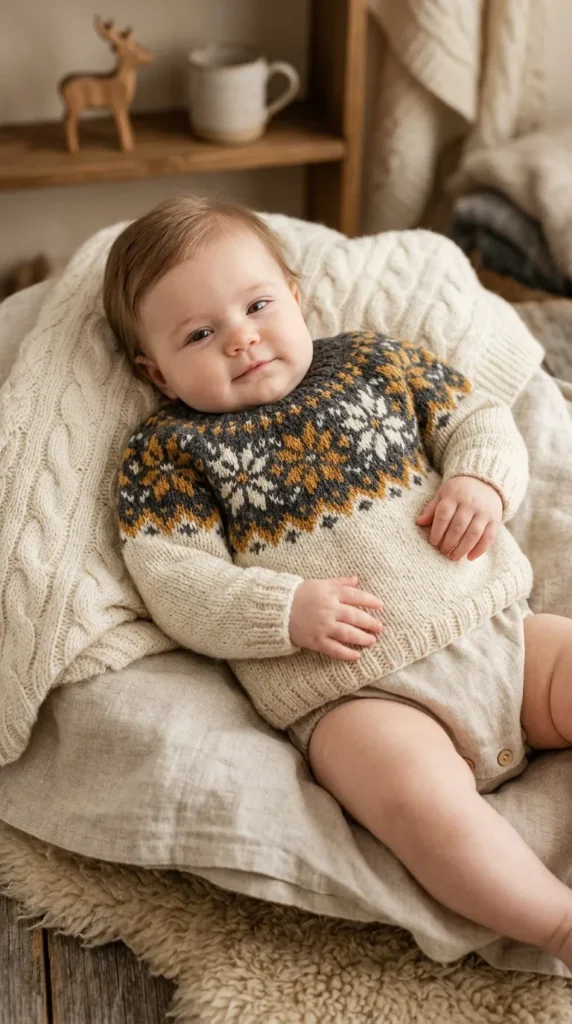
8. Nordic Fair Isle Tapestry Yoke Pullover Sweater
What This Idea Means
Harnessing Scandinavian folk traditions, this seamless circular yoke sweater uses multi-color tapestry crochet to display intricate geometric snowflake and pine tree motifs in contrasting tones.
Materials Needed
- 200 g Main Color (MC) Sport-weight wool in Storm Grey
- 50 g Contrast Color A (CCA) in Raw Cream
- 50 g Contrast Color B (CCB) in Rust Ochre
- 3.50 mm (US E/4) crochet hook
- Tapestry needle for carrying yarn floats
How to Make It
- Neckband Ribbing: Begin at the neck with a twisted single-crochet ribbing strip, join in a ring, and turn 90 degrees to work along the rib edge.
- Circular Yoke: Work in the round using modified waistcoat stitches (knit stitches), carrying secondary yarn colors along the back of the work.
- Fair Isle Colorwork: Follow a charted Scandinavian pattern, steadily increasing stitches symmetrically between geometric color repeats.
- Splitting Rounds: Separate the body and sleeves into three sections once the colorwork yoke reaches past the armpit depth.
- Torso & Sleeves: Continue working down the main torso and hollow round sleeves in solid Storm Grey.
- Bottom Ribbing: Complete all cuffs and the hem with neat 1×1 post-stitch ribbing.
Tips and Variations
- Waistcoat Stitch Alignment: Insert your hook directly between the two vertical legs of the stitch below to ensure the colorwork chart aligns without leaning.
- Float Tension: Keep carried floats relaxed along the interior; tight floats will pull the circular yoke inward, distorting the fit.
- Color Schemes: Try dusty rose combined with charcoal and ecru for an antique, rustic finish.
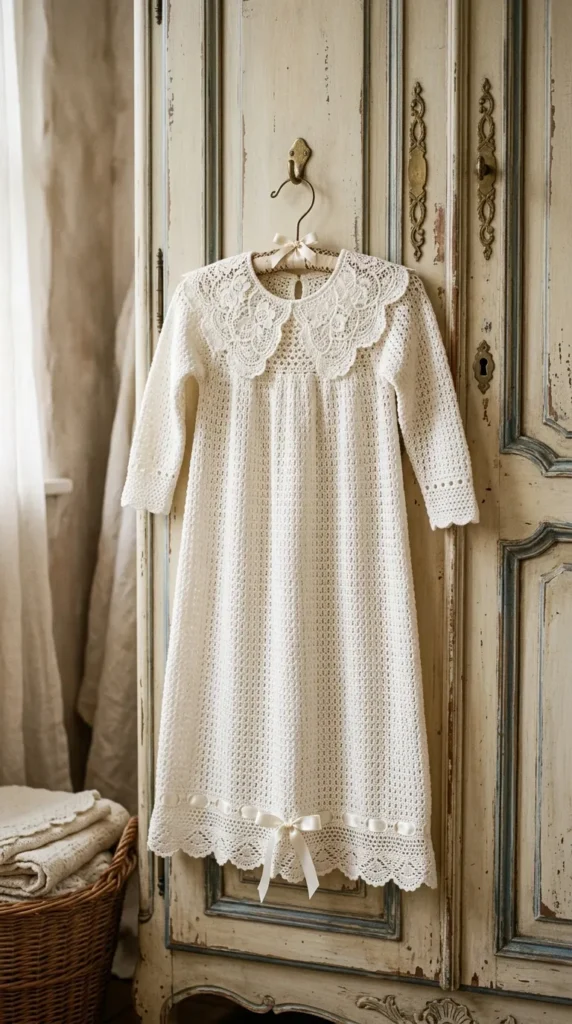
9. Victorian Petal-Collar Pointelle Sleep Gown
What This Idea Means
An homage to traditional nursery layettes, this flowing sleep gown combines airy open-work lace with a wide, structured petal collar that sits flat over the shoulders, offering breathable comfort for newborns.
Materials Needed
- 300 g Lace to Fingering-weight 100% Egyptian Cotton in Milk White
- 2.50 mm (US B/1 or C/2) steel crochet hook
- 1 natural pearl shell button (10 mm)
- 1 yard of 1/4-inch silk satin ribbon
How to Make It
- Peter Pan Petal Collar: Crochet two mirrored curved lace petals using delicate treble-crochet fan formations, working outward from a neckline foundation.
- Yoke Connection: Join the petals at the neck and work downward into a solid-stitch chest panel with a center-back teardrop slit.
- Gown Skirt: Work the skirt downward for 18–20 inches in an airy, flowing Solomon’s knot or pointelle shell pattern, allowing generous leg space.
- Bottom Drawstring Casement: Crochet a continuous row of open-mesh eyelets along the lower hem.
- Ribbon Threading: Weave the silk satin ribbon through the bottom eyelets to create an adjustable gathered pouch for quick nighttime changes.
- Collar Trim: Finish the petal borders with a miniature picot lace edging.
Tips and Variations
- Growth Expansion: The loose, flowing silhouette and open lace pattern allow this gown to transition into a toddler tunic top as the child grows.
- Collar Detachment: Crochet the petal collar as a standalone, detachable accessory to mix and match with other cardigans.
- Color Accents: Weave soft pastel velvet ribbon through the hem instead of standard silk satin.
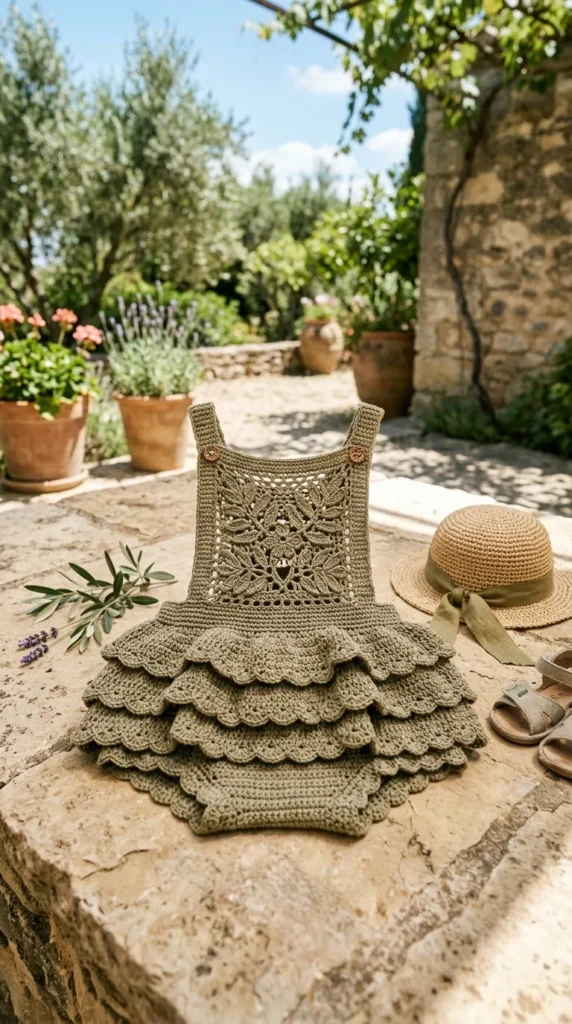
10. Tuscan Olive Leaf Filigree Halter Sunsuit
What This Idea Means
Designed for warm summer days, this sunsuit features an open back, a breathable bib adorned with open-work olive branch filigree lace, and ruffly bloomer bottoms tailored for warm-weather play.
Materials Needed
- 150 g Fingering-weight 100% Organic Mulberry Silk-Cotton in Dusty Olive
- 2.75 mm (US C/2) crochet hook
- 2 small flat wooden buttons (11 mm)
- Soft thin sewing elastic
How to Make It
- Bloomer Base: Crochet the bloomer bottoms from the crotch upward in fine double-crochet clusters, introducing side flare increases.
- Leg Ruffles: Work triple-layer shell stitch ruffles directly around each leg ring for a full, ruffled silhouette.
- Filigree Leaf Bib: Join yarn at the front waistband and work upward, forming an open lace lattice that resembles miniature olive branches.
- Halter Neck Ties: Extend the top of the bib into two soft cord ties, designed to tie comfortably behind the infant’s neck.
- Back Waistband: Finish the back waist with an enclosed channel containing soft, thin elastic for a secure fit.
Tips and Variations
- Sun Protection: Use densely spun silk-cotton blends to provide natural UV resistance while remaining light on the skin.
- Criss-Cross Straps: Convert the halter neck into adjustable criss-cross back straps anchored to the inner waistband for a secure, tie-free fit.
- Matching Sunhat: Pair with a matching wide-brim scalloped crochet sunhat to complete the look.
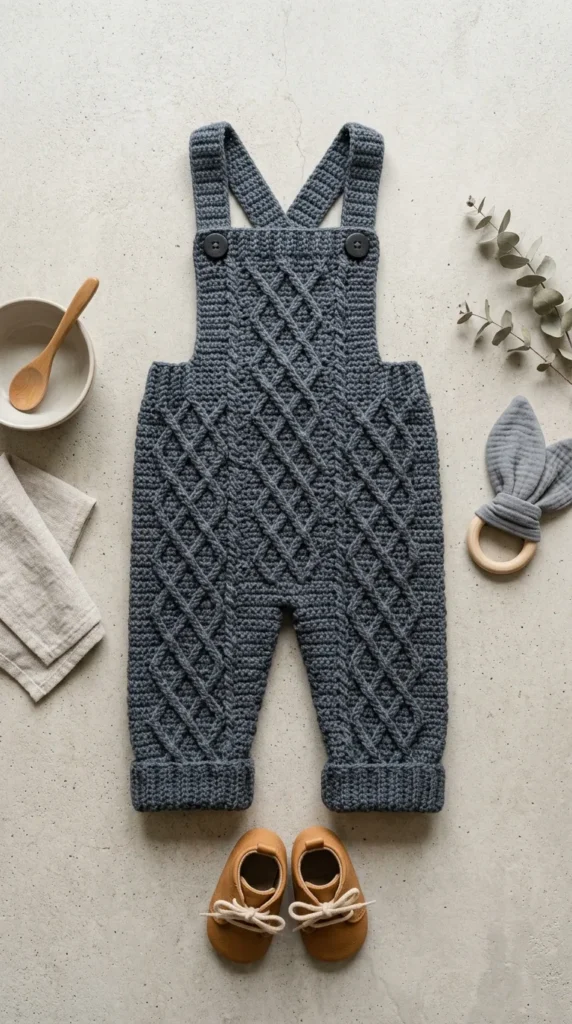
11. Alpine Textured Diamond Trellis Overalls
What This Idea Means
A modern workwear look softened for infants. These overalls feature an interlocking diamond trellis surface created with front-post relief cables, bringing depth, insulation, and durability to an everyday silhouette.
Materials Needed
- 300 g Light Worsted 100% Organic Highland Wool in Slate Charcoal
- 4.00 mm (US G/6) crochet hook
- 4 industrial-style matte black metal buttons (14 mm)
- Locking stitch markers
How to Make It
- Cuffed Ankles: Begin with two individual 2×2 ribbed ankle bands worked flat, joined in a ring, and turned.
- Trellis Legs: Work upward in the round, executing diagonal front-post treble cross stitches over a half-double crochet base to form interlocking diamonds.
- Torso Merge: Merge both legs at the center rise and continue the seamless diamond pattern up through the stomach line.
- Front & Back Bibs: Extend the diamond trellis upward into matching front and back square bib panels.
- Flat-Ribbed Straps: Crochet sturdy, non-stretch slip-stitch suspender straps from the back bib that button cleanly onto the front bib corners.
Tips and Variations
- Knee Patch Reinforcement: Crochet two solid circular disks in coordinating black yarn and sew them over the knees for added crawling protection.
- Crotch Snaps: Insert a concealed row of metal snap fasteners along the inner leg seam to simplify diaper changes.
- Summer Weight: Recreate this design using worsted linen yarn in unbleached cream for a breezy, rustic finish.
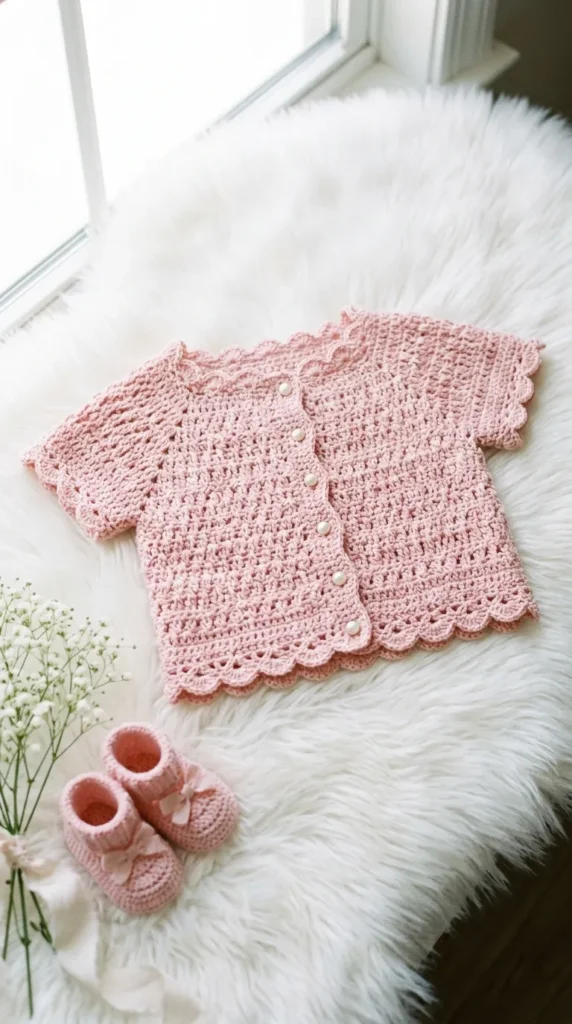
12. Parisian Scalloped Edge Smocked Crop Cardigan
What This Idea Means
Inspired by mid-century Parisian knitwear, this cropped cardigan pairs a textured, smocked-look torso with bold scalloped border accents along the hemline, cuffs, and neckline, making it an ideal companion for high-waisted bloomers.
Materials Needed
- 200 g Sport-weight Merino-Silk blend in Ballet Slipper Pink
- 3.25 mm (US D/3) crochet hook
- 3 genuine freshwater pearl buttons (11 mm)
- Blocking pins and foam styling mat
How to Make It
- Back & Front Yoke: Crochet three cropped rectangular panels using alternating rows of alpine stitch and single crochet to mimic smocking textures.
- Shoulder Seams: Join panels across the shoulders with a low-profile slip-stitch seam.
- Three-Quarter Sleeves: Pick up stitches around the armholes and work downward in textured rows, ending at mid-forearm length.
- Deep Scalloped Trim: Work continuous, multi-tiered scallop arches (composed of 7 double crochets into a single base loop) along the outer perimeter of the sweater.
- Fastener Loops: Work miniature thread-wrapped cord loops along the upper bodice to receive the pearl buttons.
Tips and Variations
- Cropped Proportion: Keep the waistline short so it sits naturally above ruffled bloomer waistbands without bunching.
- Contrast Shell Borders: Work the final picot row of each scallop arch in an antique cream yarn for a layered, two-tone edge.
- Sleeve Options: Lengthen the sleeves and widen the cuffs for an airy bell-sleeve finish.
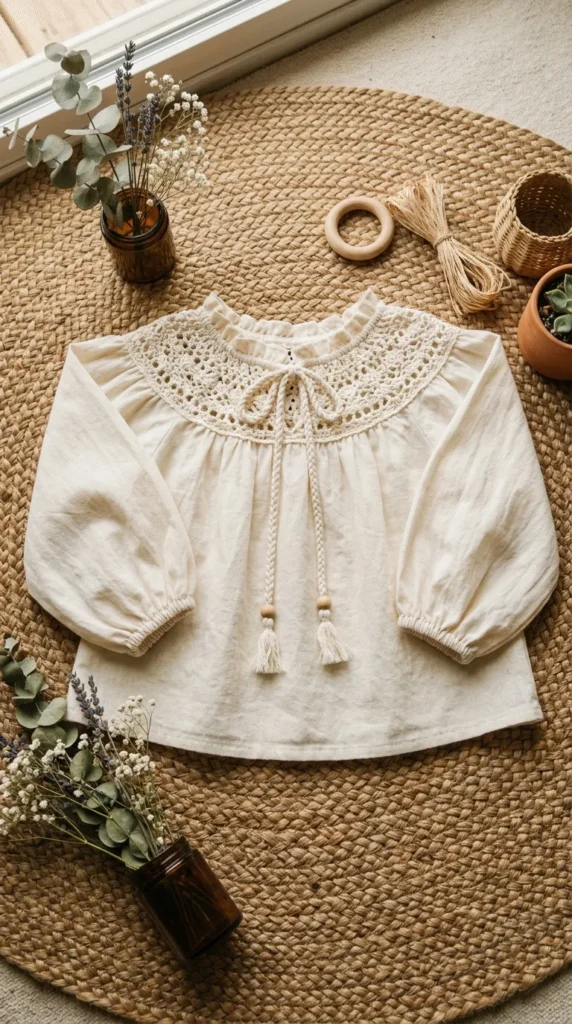
13. Bohemian Tassel-Tie Gypsy Peasant Blouse
What This Idea Means
A breezy, bohemian-inspired top featuring an open, gathered neckline, billowy bishop sleeves, and a split front placket finished with handcrafted micro-tassels and wooden bead accents.
Materials Needed
- 200 g Fingering-weight 100% Unbleached Raw Cotton in Natural Linen
- 3.00 mm (US D/3) crochet hook
- 4 natural unfinished wooden beads (6 mm)
- Tassel-making cardboard guide (2-inch width)
How to Make It
- Raglan Base: Work a loose, open-gauge raglan yoke with extended double-crochet clusters to keep the fabric fluid and flowing.
- Front Split Placket: Leave the center-front vertical neckline open for 3 inches during yoke construction.
- Bishop Sleeves: Expand sleeve stitches beneath the armpits by 30%, working straight downward before gathering into snug, single-crochet cuffs at the wrists.
- Neckline Cord: Crochet a thin foundation chain cord and weave it through the top collar eyelets to create an adjustable gathered neckline.
- Tassel Embellishment: Craft two mini yarn tassels, string a wooden bead above each, and fasten them to the ends of the neck cords.
Tips and Variations
- Bead Safety: Ensure beads are knotted securely and sized appropriately to avoid loose components on infant garments.
- Embroidery Accents: Add cross-stitch patterns in terracotta along the cuffs for an authentic Eastern European peasant smock look.
- Dress Extension: Continue the body downward past the hips for a flowing summer tunic dress.
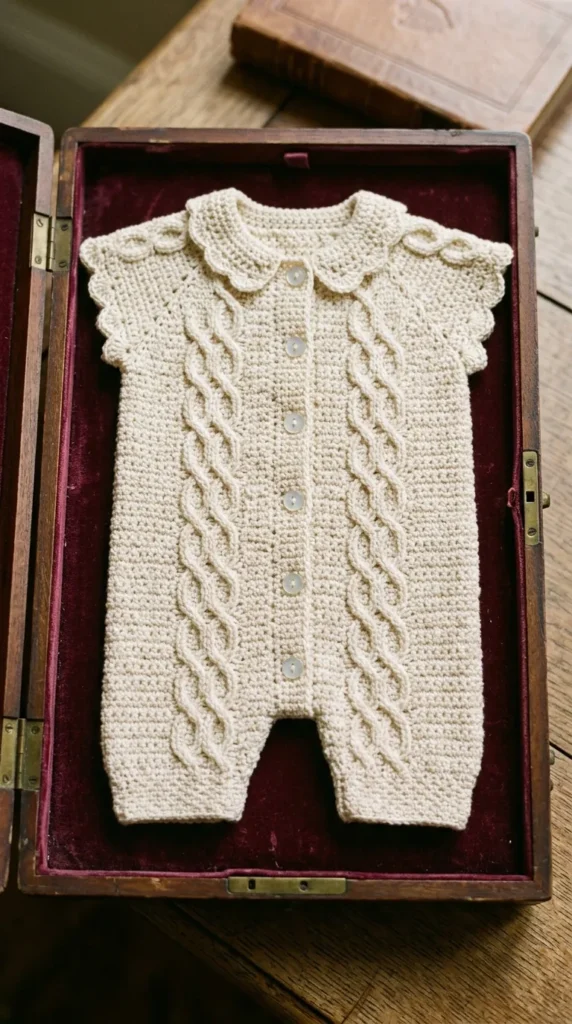
14. Heirloom Honeycomb Aran Baptism Romper
What This Idea Means
Designed for christenings, naming ceremonies, and milestone celebrations, this one-piece romper replaces traditional long gowns with a structured, tailored heirloom silhouette covered in continuous honeycomb cable relief.
Materials Needed
- 300 g DK-weight 100% Fine Organic Merino Wool in Pure Ecru
- 3.75 mm (US F/5) crochet hook
- 6 mother-of-pearl buttons (12 mm)
- Cable needle and measuring tape
How to Make It
- Bottom-Up Legs: Work two tailored thigh cuffs in 1×1 twisted ribbing, then increase inward to establish the leg width.
- Torso Union: Join both legs at the central rise and begin the intricate 8-row repeating Honeycomb Aran cable pattern.
- Upper Chest Yoke: Transition to a clean, flat half-double crochet square yoke at the chest to contrast with the rich cable texture below.
- Cap Sleeves: Add short, structured cap sleeves featuring a central 4-stitch rope cable running down each shoulder line.
- Back Button Closure: Construct a full-length rear button band with fine shell buttons for easy dressing.
- Wet Blocking: Wet block carefully to define the hexagonal honeycomb pockets without flattening the raised relief stitches.
Tips and Variations
- Fibers for Milestones: Choose pure un-dyed wool or fine silk-wool blends to achieve crisp cable definition while retaining a soft, natural hand.
- Removable Skirt: Crochet a sheer, open lace overskirt that buttons around the waist, transforming the romper into a traditional baptismal gown for the formal ceremony.
- Pocket Details: Add two miniature faux welt pockets to the front hips for a tailored look.
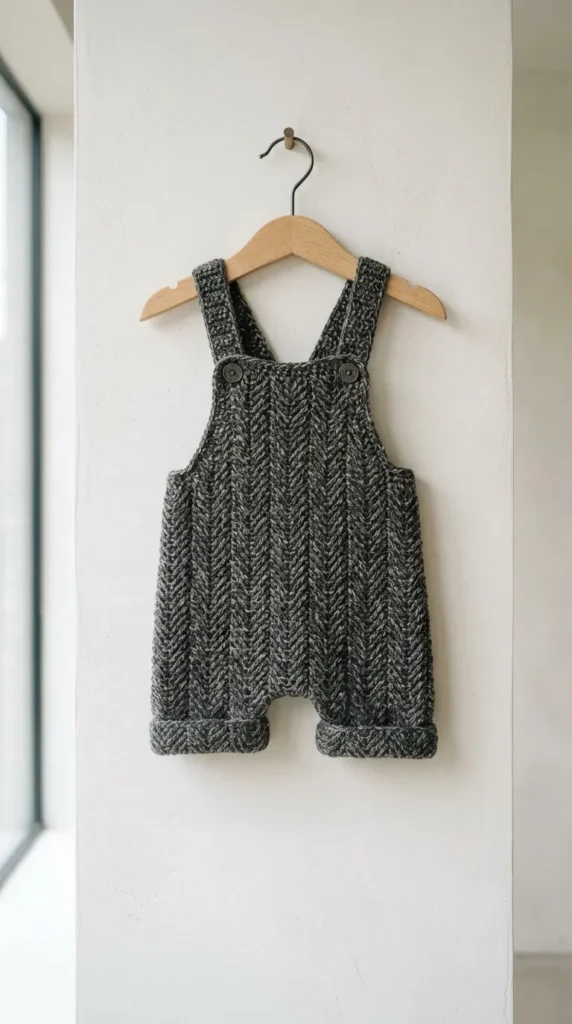
15. Minimalist Charcoal Heather Dungaree Shorts
What This Idea Means
A sleek, urban take on classic baby rompers. This design combines a moody charcoal heather palette, sharp geometric lines, and a dense, woven-look stitch pattern for a contemporary, minimalist aesthetic.
Materials Needed
- 200 g Sport-weight 100% Recycled Cotton-Wool blend in Charcoal Heather
- 3.50 mm (US E/4) crochet hook
- 2 matte brushed-gunmetal metal buttons (15 mm)
- Tapestry needle and scissors
How to Make It
- Shorts Base: Work from the waist down using dense herringbone half double crochet (hhdc) to produce a woven, durable fabric.
- Crotch Gusset: Work an integrated triangular gusset between the legs to provide room for diapers without sagging.
- Turned Cuffs: Crochet clean, permanent folded-up cuffs around each leg opening, securing them with invisible tacking stitches.
- Straight Bib: Work an upright, clean-edged rectangular chest bib from the front waistband.
- Parallel Straps: Construct two wide, dense slip-stitch back straps that cross directly over the back and button to the inner front bib.
Tips and Variations
- Fabric Structure: The herringbone half-double crochet stitch produces a sturdy fabric that resists snagging during active indoor and outdoor play.
- Pinstripe Accents: Surface slip-stitch thin vertical pinstripes down the body using an off-white cotton thread for a tailored look.
- Pocket Options: Add a single, sharp-edged chest pocket to the bib center for utility style.
16. Victorian Eyelet Lace Smock Top with Cap Sleeves
What This Idea Means
A delicate, airy vintage smock that drapes gracefully over bloomers or leggings. It features tiered eyelet lace bands, scalloped edge trims, and delicate cap sleeves that flutter around the upper arms.
Materials Needed
- 200 g Fingering-weight 100% Giza Cotton in Muted Cream
- 2.75 mm (US C/2) crochet hook
- 4 micro mother-of-pearl buttons (10 mm)
- Stainless steel blocking pins
How to Make It
- Square Yoke: Work a classic top-down square yoke using alternating rows of solid double crochet and open mesh eyelets.
- Sleeve Wings: Pick up stitches across the shoulder edges and build out three tiers of layered picot shell lace to form fluttery cap sleeves.
- Flared Smock Body: Increase the stitch count around the underarm line by 50% to create a full, flowing silhouette.
- Eyelet Tiers: Work the body downward in repeating bands of decorative eyelets and solid bands, allowing cool airflow throughout the garment.
- Hem Finish: Complete the bottom border with an intricate scalloped picot edge.
Tips and Variations
- Ribbon Accents: Thread a 1/8-inch silk ribbon through the upper eyelet row beneath the chest, tying it in a bow at the side.
- Yarn Swaps: Try a soft linen-viscose blend for added drape and a fluid, relaxed movement.
- Hem Extension: Continue the lace tiers downward to transform the smock top into an heirloom dress.
17. Earth-Toned Hexagon Granny Motif Playsuit
What This Idea Means
A modern, sophisticated update to traditional granny square work. This playsuit uses oversized geometric hexagons in a curated earth-toned palette (clay, sage, mustard, oat), joined together with clean, structural seams.
Materials Needed
- 250 g Sport-weight Pima Cotton divided into four coordinating shades: Oat (MC), Clay (CC1), Mustard (CC2), and Sage (CC3)
- 3.25 mm (US D/3) crochet hook
- 5 wooden buttons (12 mm)
- Tapestry needle for motif assembly
How to Make It
- Hexagon Construction: Crochet six large, flat hexagons following a modern solid-granny sequence, rotating your four shades on each round.
- Body Assembly: Fold and join two main body hexagons to form the shoulders, chest, and torso sides using flat slip-stitch seams.
- Lower Trunk: Add two modified pentagons to shape the crotch, hip curves, and leg openings.
- Neck & Cuffs: Frame the neckline and leg openings with solid, single-color ribbed trims in Oat.
- Base Inseam: Add a functional button placket along the bottom inseam for straightforward diaper access.
Tips and Variations
- Palette Control: Stick to muted, dusty earth tones rather than bright primary colors to keep the geometric motifs looking modern and elegant.
- Single-Color Simplicity: Crochet all motifs in a single, solid neutral shade like warm ecru or stone grey for an all-over geometric lace look.
- Flat Seams: Use the flat zipper join method when assembling motifs to avoid bulky internal ridges against the baby’s skin.
18. Scandinavian Garter-Look Ribbed Cardigan with Wooden Toggle Buttons
What This Idea Means
Emulating the chunky, textured look of hand-knit garter stitch, this dense and stretchy crochet cardigan uses specialized slip-stitch techniques to build a warm, everyday outer layer inspired by Nordic design.
Materials Needed
- 300 g Worsted-weight 100% Superwash Merino Wool in Oatmeal Heather
- 5.00 mm (US H/8) and 4.00 mm (US G/6) crochet hooks
- 3 hand-carved miniature cedar wood toggle buttons
- Locking stitch markers
How to Make It
- Garter Fabric: Work the entire cardigan sideways in flat sections using flat slip-stitch through the back loop only (blo-slst) with relaxed tension.
- Back & Fronts: Shape the armholes and neckline via short-row turns within the vertical slip-stitch rows.
- Sleeves: Work sleeves vertically from side to side, then seam them into cylinders using an invisible mattress stitch.
- Assembly: Join shoulder and side seams with flat slip-stitches.
- Toggle Loops: Crochet three reinforced cord loops along the right front edge and sew the natural cedar toggles firmly to the left edge.
Tips and Variations
- Tension Gauge: Relax your working hand tension when working slip-stitch ribbing; pulling tight makes the fabric rigid and difficult to stitch into.
- Contrast Trim: Frame the cuffs, hem, and collar with a single row of contrast moss-green single crochet.
- Drop Shoulders: The relaxed, straight-shoulder cut leaves plenty of room for layering over bulky onesies or long-sleeve tops.
19. Moroccan Lattice Open-Work Summer Romper
What This Idea Means
Inspired by Moorish tile patterns and architectural lattice screens, this warm-weather romper features a geometric open-work trellis stitch that maximizes air circulation while creating an eye-catching textured silhouette.
Materials Needed
- 200 g Fingering-weight 100% Mercerized Cotton in Desert Sand
- 3.00 mm (US D/3) crochet hook
- 4 matte horn buttons (11 mm)
- Stitch markers and tapestry needle
How to Make It
- Lattice Pattern: Work the front and back body panels in an open Moroccan diamond lattice lace pattern (using crossed treble stitches and chain arches).
- Solid Brief Base: Transition to dense half-double crochet for the bottom bloomer section to provide full diaper coverage.
- Shoulder Straps: Extend the lattice pattern into two clean shoulder straps that fasten at the back waist with internal buttons.
- Leg Trims: Finish the leg curves with smooth slip-stitch ribbing for a neat, comfortable fit.
- Crotch Placket: Work an under-leg gusset fitted with three buttons for easy dressing.
Tips and Variations
- Texture Contrast: The mix of open lace across the upper torso and dense stitches around the base balances structural integrity with airflow.
- Lining Options: In cooler months, layer this open playsuit over a solid ivory onesie and tights.
- Color Accents: Try rich jewel tones like dusty teal or warm saffron for bold summer photography outfits.
20. Heirloom Aran Hooded Wrap Vest with Celtic Cable Knotting
What This Idea Means
A luxurious layering garment designed to wrap around the torso and secure with an internal tie and outer button. It showcases a large, sculptural Celtic knot cable emblem across the back and an integrated hood for warmth.
Materials Needed
- 350 g DK-weight 100% Extra-Fine Alpaca-Wool blend in Natural Undyed Stone
- 4.00 mm (US G/6) crochet hook
- 1 large flat natural olive wood button (20 mm) and 1 interior clear flat anchor button
- Cable needle and stitch markers
How to Make It
- Back Panel Cable: Begin the back panel with a central 16-stitch Celtic interlace cable framed by side honeycomb textures.
- Front Wrap Panels: Crochet two asymmetric front panels (one underlap, one overlap) worked in continuous alpine stitch.
- Shoulder Seaming: Join panels across the shoulders with a sturdy slip-stitch seam.
- Integrated Hood: Pick up stitches along the neckline and work upward in alpine stitch, seaming the top edge with a flat three-needle join.
- Wrap Closures: Sew the clear anchor button inside the right seam for the inner tie, and place the olive wood button on the exterior left hip.
- Perimeter Edging: Cleanly frame the entire vest border and hood rim with three continuous rounds of moss stitch.
Tips and Variations
- Alpaca Fiber Warmth: Alpaca provides substantial warmth without heavy weight, making it a comfortable choice for baby outerwear.
- Hoodless Variation: Stop at the neckline and add a simple ribbed stand-up collar for a tailored gilet vest look.
- Edge Accents: Add a delicate twisted cord fringe around the hood edge for extra bohemian character