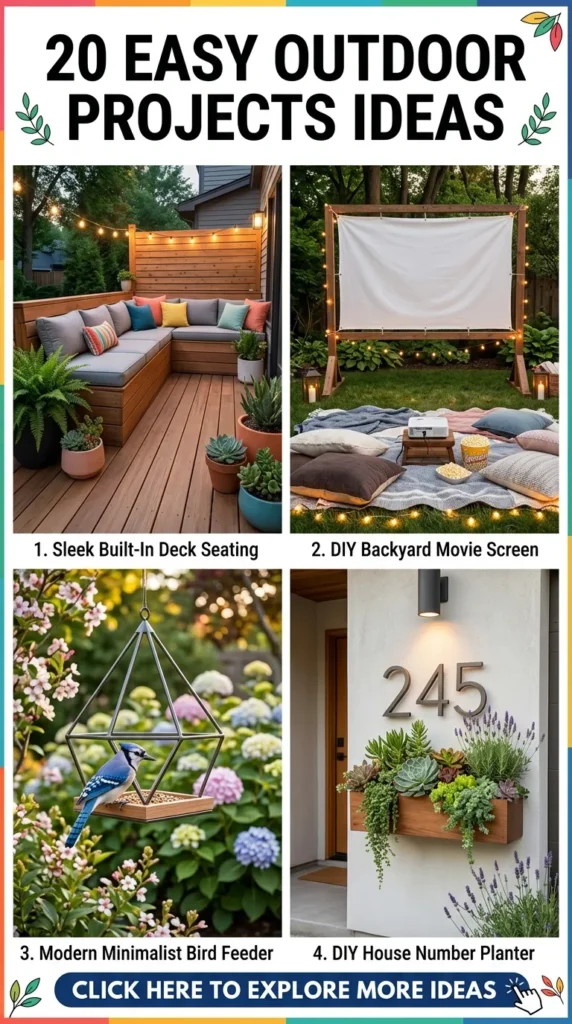
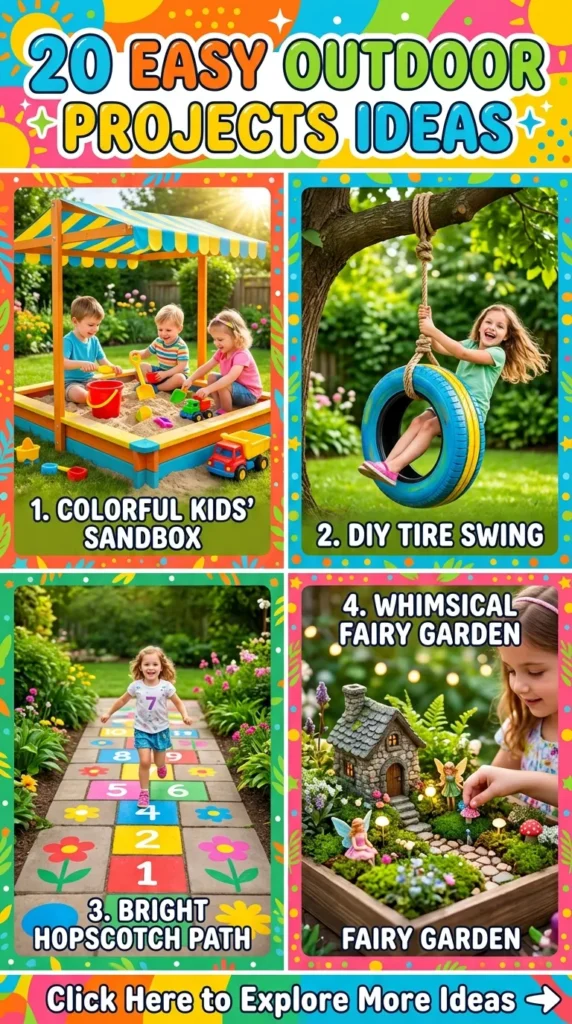
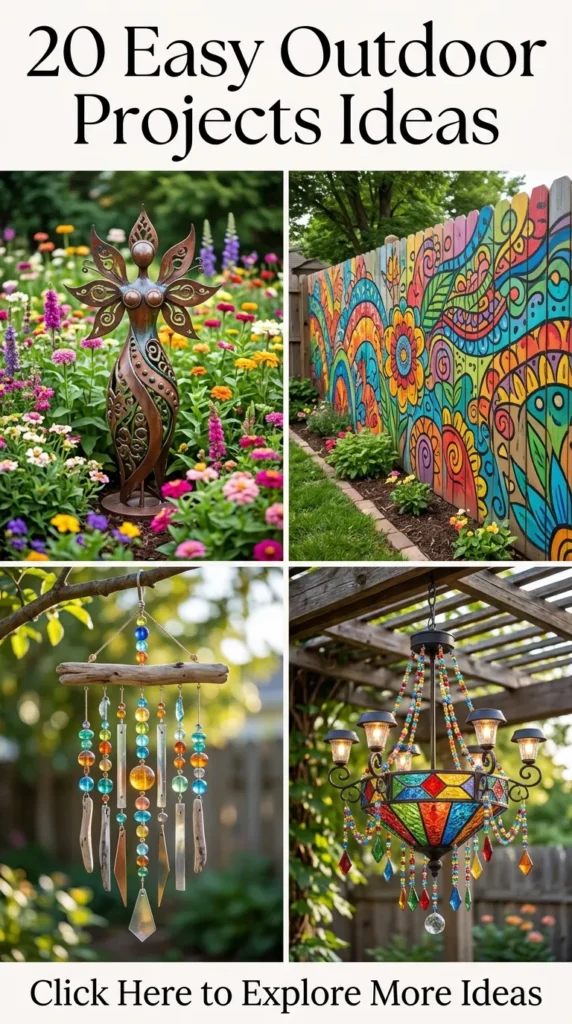
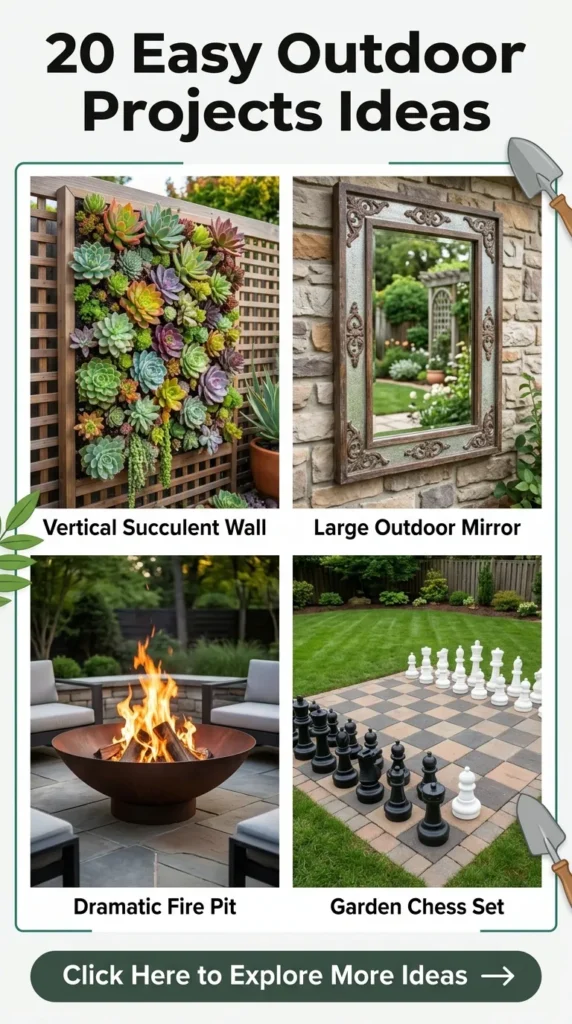
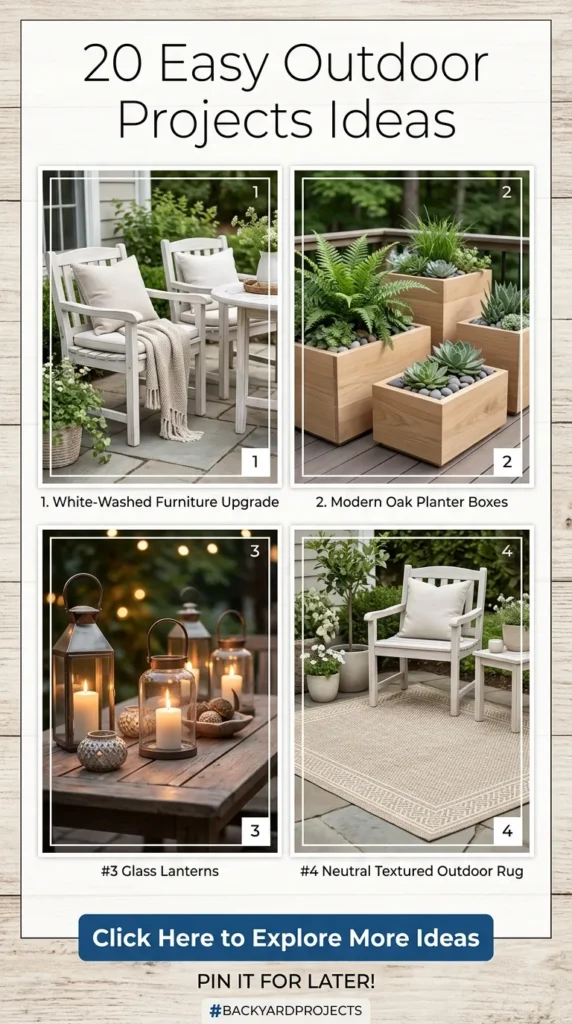
20 Easy Outdoor Projects Ideas
Transforming an outdoor living space does not require a massive renovation budget or an expert construction crew. With intentional planning, accessible materials, and a focus on visual balance, you can create functional, breathtaking exterior zones that elevate your daily routine and garden aesthetic.
Here are 20 curated, easy, and aesthetic outdoor DIY project ideas. Each project includes an introduction, design philosophy, step-by-step creation guide, styling variations, and practical material requirements.
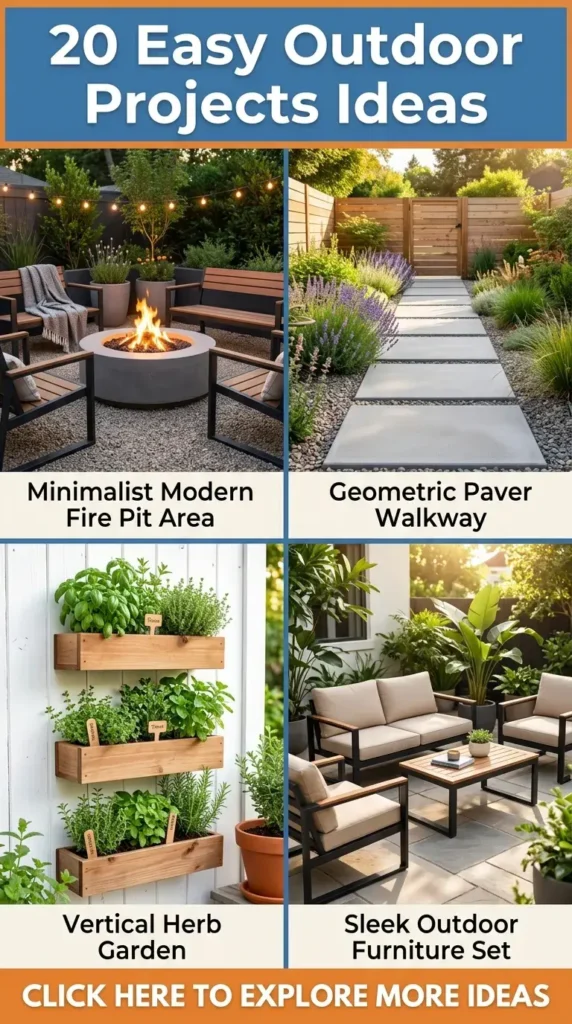
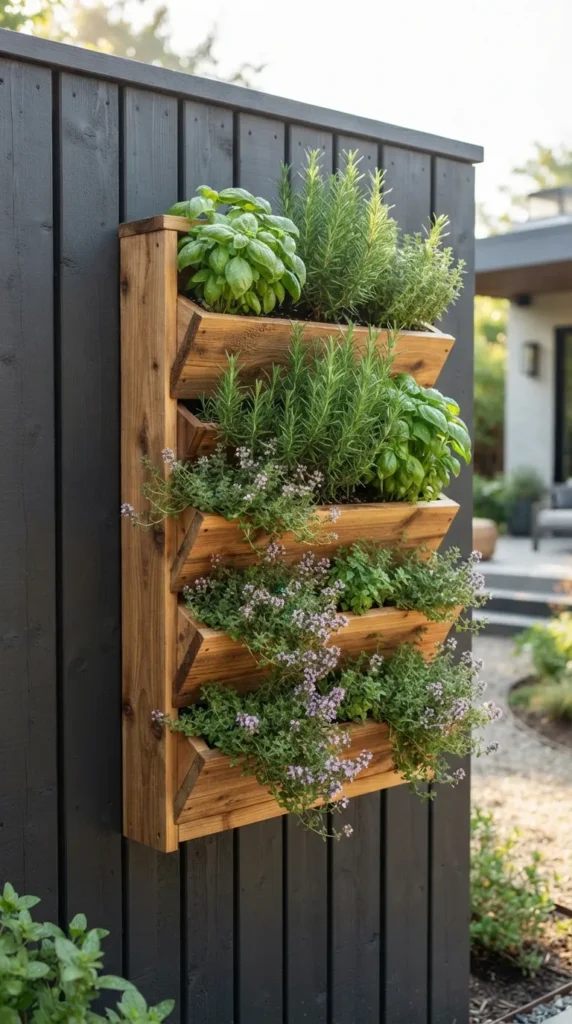
1. Minimalist Tiered Herb Planter Wall
Vertical gardening optimizes small patios, balconies, and side yards by drawing the eye upward and maximizing limited ground space. A tiered herb planter wall combines raw wood textures with lush, edible botanicals, creating a living focal point that is both visually rewarding and practical for home cooking.
- What This Idea Means: This project is about structured verticality and functionality. It turns an empty exterior wall or fence line into an organized, aromatic botanical display using tiered horizontal troughs or cedar planter boxes.
- Needs to Make That Thing:
- Rot-resistant cedar or treated pine boards (1×6 inches)
- Exterior wood screws and heavy-duty wall-mounting brackets
- Drill and driver bits
- Landscape fabric for liner
- Potting soil mix and organic compost
- Assorted culinary herbs (rosemary, thyme, basil, sage, mint)
- How to Make It:
- Measure your available vertical space and cut 3 to 4 uniform cedar boards for the planter boxes (approx. 24–36 inches in length).
- Assemble rectangular trough boxes using exterior wood screws, drilling drainage holes every 4 inches along the bottom panels.
- Line the interior bottom of each box with breathable landscape fabric to prevent soil loss while allowing water to pass through.
- Secure heavy-duty mounting brackets directly into wall studs or sturdy fence posts at staggered vertical intervals of 10–12 inches.
- Mount the boxes securely onto the brackets, ensuring each level is plumb and level.
- Fill with a light, well-draining potting blend and plant your selection of culinary herbs, placing cascading varieties (like creeping thyme) on lower tiers.
- Tips and Variations:
- Variation: Paint the wood frame in matte black or charcoal for a striking Nordic modern aesthetic.
- Pro Tip: Plant invasive herbs like mint in their own enclosed sections to prevent root choking across adjacent plants.
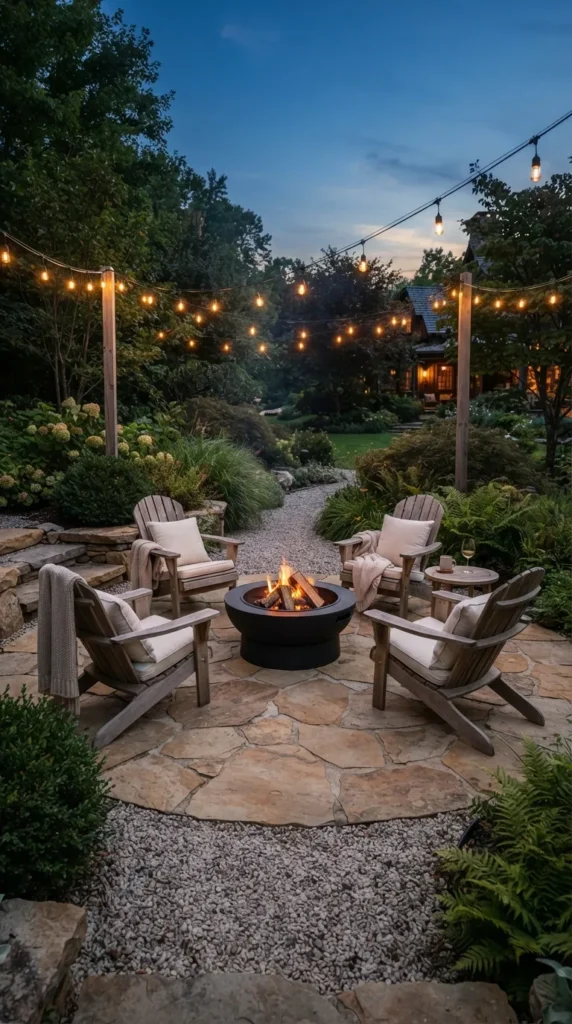
2. Natural Pea Gravel & Flagstone Fire Pit Lounge
An open fire creates warmth, relaxation, and a natural gathering hub for evening entertaining. Pairing organic flagstone slabs with crisp pea gravel creates a modern bohemian lounge area that feels organic and integrated with surrounding landscaping.
- What This Idea Means: This design emphasizes textural contrast and open-air casual seating. By defining the ground plane with gravel and stone, you carve out a dedicated relaxation destination without pouring concrete.
- Needs to Make That Thing:
- Irregular natural flagstone slabs (slate, sandstone, or bluestone)
- Pea gravel or crushed river rock (3/8-inch grade)
- Heavy-duty commercial weed barrier fabric
- Steel or composite landscape edging
- Pre-formed steel fire pit bowl or cast iron basin
- Steel garden rake and hand tamper
- How to Make It:
- Mark out a circular or square perimeter (approx. 10–12 feet in diameter) using landscape spray paint.
- Excavate the top layer of grass and topsoil down to a depth of roughly 3 to 4 inches, compacting the base thoroughly with a hand tamper.
- Install flexible landscape edging along the perimeter boundary to keep gravel neatly contained.
- Lay overlapping sheets of commercial-grade landscape fabric across the excavated dirt, pinning it down with landscape staples.
- Arrange large flagstone pavers as functional walking surfaces and seating pads, ensuring they sit stable and flush.
- Pour pea gravel around the flagstones, raking it smooth to fill all gaps to ground level.
- Position a standalone metal fire pit bowl in the dead center and ring the perimeter with weather-resistant Adirondack chairs.
- Tips and Variations:
- Variation: Replace loose gravel with slate chips or decomposed granite for a firmer walking texture.
- Pro Tip: Keep a minimum clearance of 10 feet between your fire pit edge and any overhanging tree branches or roof eaves.

3. Solar-Powered Bistro Chandelier
Exterior lighting instantly changes the mood of an outdoor space after sunset. A suspended bistro chandelier crafted from an upcycled wooden wheel or metal hoop adds architectural charm above an outdoor dining table or seating pergola.
- What This Idea Means: Rustic elegance meets modern energy efficiency. It repurposes geometric frameworks to cluster ambient fairy or bistro lights, casting a soft downward glow without requiring direct electrical hardwiring.
- Needs to Make That Thing:
- 24-to-30-inch metal hoop, wagon wheel, or wooden embroidery frame
- Warm white solar-powered micro-LED string lights or shatterproof solar Edison bulbs
- Jute twine or black ceiling suspension chain
- Ceiling hook or heavy-duty branch anchor
- Faux or dried eucalyptus garland (optional)
- How to Make It:
- Clean and prep your foundational hoop or wheel, applying a matte outdoor weather seal if using raw wood.
- Attach three equal lengths of chain or jute rope at equidistant points around the hoop’s circumference, bringing them together at a central carabiner.
- Tightly wrap the solar string lights around the circumference and spokes, allowing deliberate loops to hang down slightly for depth.
- Interweave faux greenery or dried botanicals around the wiring to conceal light battery leads and cable ties.
- Hang the assembled chandelier securely from a sturdy patio rafter, pergola beam, or mature garden tree branch.
- Position the solar panel collector in direct sunlight using its integrated extension wire.
- Tips and Variations:
- Variation: Swap the micro-fairy lights for dangling solar filament bulbs at variable drop heights for an industrial look.
- Pro Tip: Secure all wiring firmly with zip-ties matched to your frame color so high winds do not unravel the layout.

4. Modern Slatted Privacy Screen with Integrated Planters
Privacy is essential for creating an intimate, secluded outdoor oasis. A slatted horizontal wood panel system blocks sightlines from neighboring properties while maintaining airflow and sunlight penetration.
- What This Idea Means: Architectural separation with a clean, contemporary silhouette. It acts as an organic room divider that frames specific zones on decks, patios, or side yards.
- Needs to Make That Thing:
- 4×4 pressure-treated posts (for framing)
- 1×2 or 1×3 horizontal cedar battens
- Exterior wood stain (warm walnut, teale, or natural matte clear)
- Galvanized fasteners and pocket hole screws
- Built-in rectangular wooden planter troughs
- How to Make It:
- Build two freestanding vertical support towers by attaching heavy base feet to the 4×4 posts, or set posts into ground footings.
- Sand all horizontal slats to prevent splinters and apply an exterior UV-protective wood stain.
- Fasten the horizontal 1×2 slats across the posts from bottom to top, utilizing a 0.5-inch spacer block to maintain uniform gaps.
- Construct a deep planter box along the base of the frame to serve as both an anchoring ballast and a gardening bed.
- Fasten metal cleat hooks at mid-height to hang secondary decorative ceramic planters.
- Fill base boxes with climbing perennials like jasmine or clematis to naturally wind up the horizontal slats.
- Tips and Variations:
- Variation: Stagger the wood slat spacing—denser at eye level and wider at the top—to maximize light while maintaining seated privacy.
- Pro Tip: Use stainless steel hardware to prevent black moisture streaks from staining your wood finish over time.

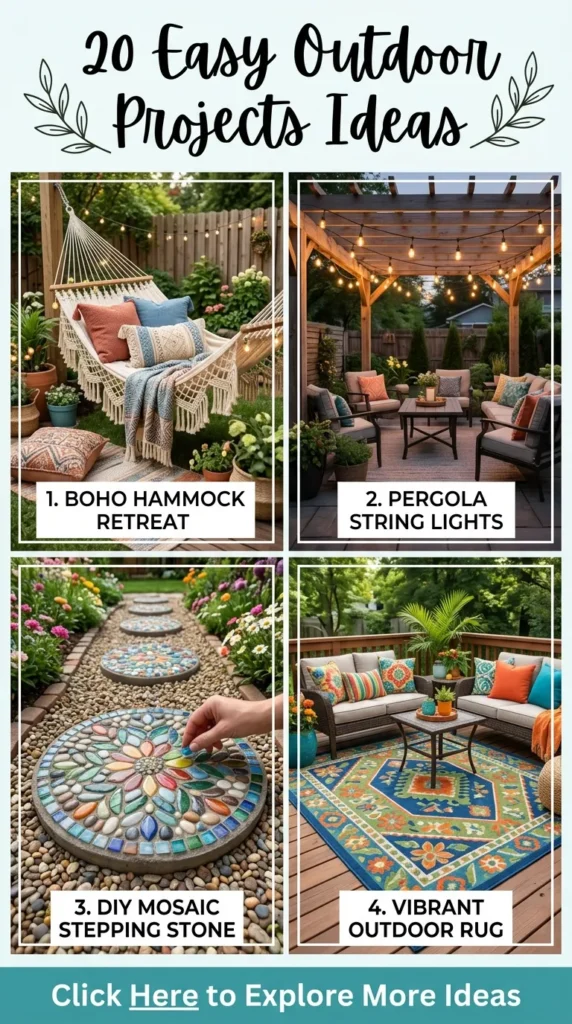
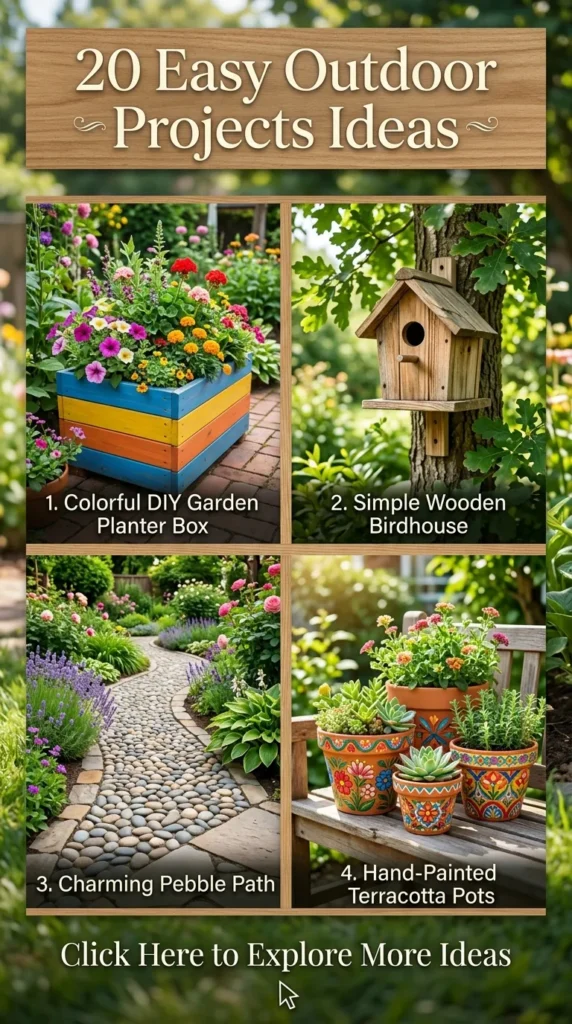
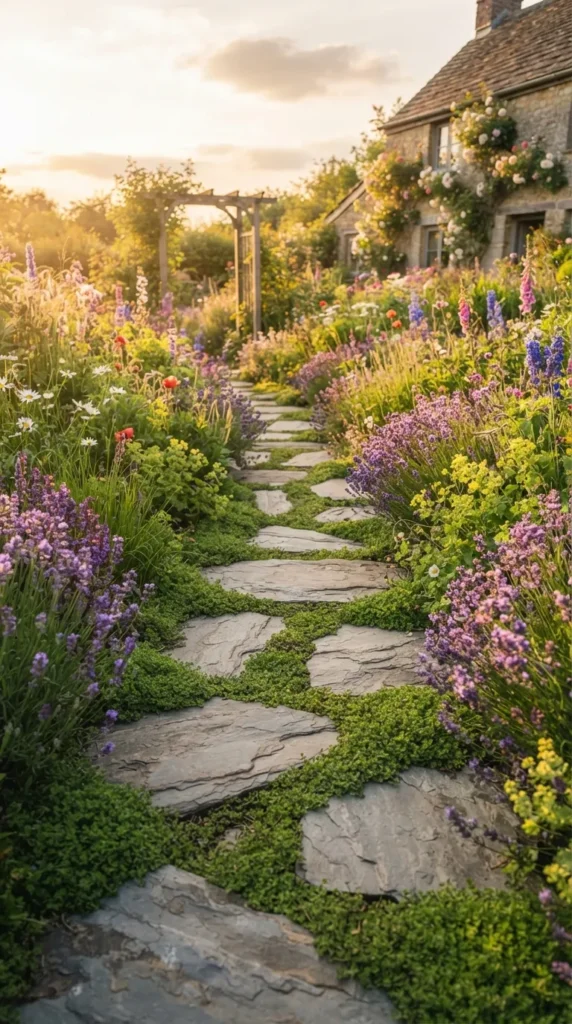
5. Stepping Stone Pathway with Creeping Thyme Borders
Formal pathways can sometimes feel rigid in an organic garden setting. Replacing solid concrete walkways with wide-set irregular pavers bordered by fragrant creeping groundcovers creates a natural, storybook passage through your yard.
- What This Idea Means: This project softens garden transitions. It uses tactile natural stone paired with aromatic groundcover plants that release a gentle herbal scent when brushed against or lightly stepped on.
- Needs to Make That Thing:
- Large, flat natural flagstones or cast concrete architectural slabs
- Coarse leveling sand
- Landscape underlayment fabric
- Creeping thyme (Thymus serpyllum) or dwarf mondo grass plugs
- Shovel, mallet, and garden trowel
- How to Make It:
- Lay out your garden path organically using a garden hose to establish natural walking curves.
- Excavate 2 inches deeper than the thickness of your pavers along the planned path line.
- Lay permeable landscape fabric and cover it with a 1-inch bed of coarse leveling sand.
- Place your large flagstone slabs roughly 18 to 24 inches apart from center to center (matching a natural walking stride).
- Tap each stone with a rubber mallet until firmly settled and level.
- Excavate small pockets in the gaps between stones and plant creeping thyme plugs into rich soil beds.
- Water deeply until groundcovers establish roots and fill out the walking joints.
- Tips and Variations:
- Variation: Use geometric square concrete slabs with Scottish moss for a structured Japanese zen garden look.
- Pro Tip: Keep pavers roughly 0.5 inches above soil level so your lawnmower blade clears the stone edges easily.
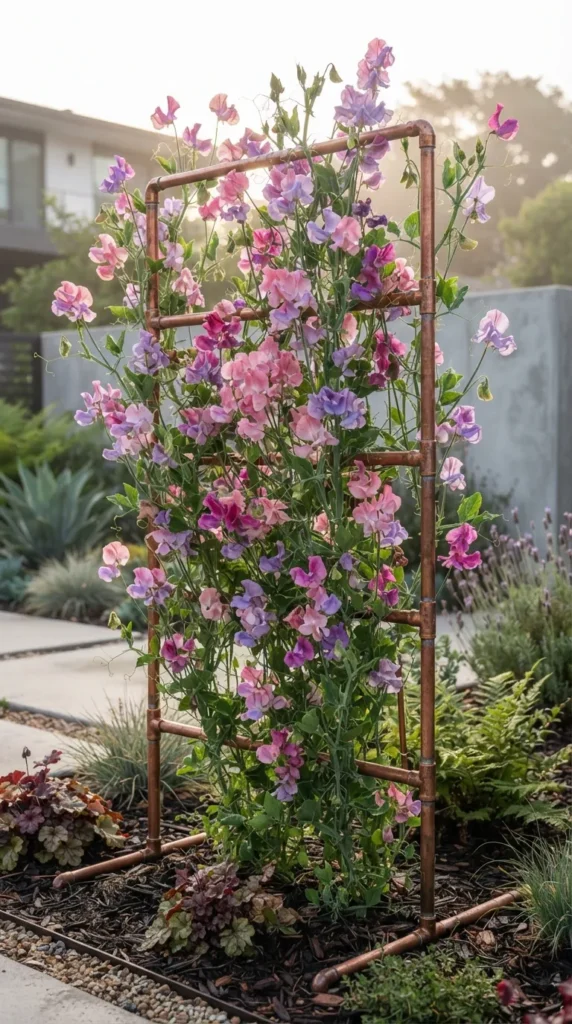
6. Freestanding Copper Pipe Trellis
Climbing flowering vines require structural guidance to display their blooms effectively. Replacing traditional plastic or green-painted trellises with an industrial-chic raw copper framework adds a striking architectural element that patinas gracefully over time.
- What This Idea Means: Blending industrial plumbing elements with soft organic floral growth. Copper brings a warm, reflective metallic tone that contrasts with deep green foliage.
- Needs to Make That Thing:
- 0.5-inch or 0.75-inch rigid copper plumbing pipes
- Copper 90-degree elbows and T-connectors
- Fast-setting epoxy or copper compression fittings
- Pipe cutter tool
- Ground rebar stakes (18-inch lengths) for stability
- How to Make It:
- Plan your dimensions (a standard grid is 6 feet high by 3 feet wide) and cut the copper pipes to size using a hand pipe cutter.
- Lay the pipes on a flat outdoor surface in a grid or ladder pattern.
- Connect all pipe joints using copper T-fittings and 90-degree elbows, securing connections with exterior metal epoxy.
- Hammer two steel rebar stakes halfway into the ground where the trellis will stand.
- Slide the hollow bottom legs of your copper trellis directly over the anchored rebar stakes.
- Guide trailing vines like morning glories, sweet peas, or bougainvillea up the copper rungs.
- Tips and Variations:
- Variation: Coat the copper with a clear automotive clear coat to keep its shiny rose-gold color, or leave it untreated to develop a soft turquoise verdigris patina.
- Pro Tip: Keep the frame anchored deep into the soil to support the heavy weight of mature climbing vines during windstorms.



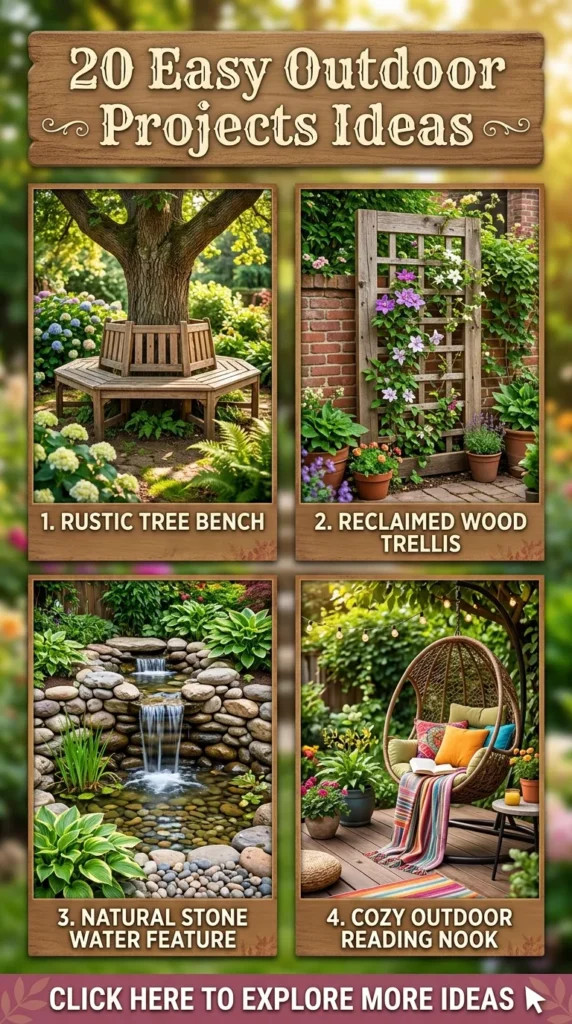
7. Upcycled Wine Barrel Water Feature
The sound of trickling water masks suburban background noise and brings a serene ambiance to outdoor spaces. An upcycled oak half-barrel fountain offers a self-contained, low-maintenance aquatic element suitable for patios of any size.
- What This Idea Means: A rustic aquatic focal point. It uses a reclaimed whiskey or wine barrel fitted with an internal waterproof liner to host small water lilies, aquatic plants, and a gentle cascading fountain pump.
- Needs to Make That Thing:
- Reclaimed oak half-wine/whiskey barrel
- Rigid pre-formed plastic barrel liner or flexible 45-mil EPDM pond liner
- Submersible low-voltage fountain pump with adjustable flow
- Decorative river rocks and smooth slate stones
- Aquatic potted plants (dwarf water lilies, water lettuce, or horsetail rush)
- How to Make It:
- Thoroughly scrub and rinse the interior of the wooden barrel to remove lingering residue.
- Insert the rigid plastic pond liner, ensuring the top edge sits flush beneath the barrel’s wooden rim.
- Place your submersible fountain pump in the bottom center and secure the water riser tube.
- Stack smooth river rocks around the pump base to hide the hardware while keeping water intakes clear.
- Fill the basin with dechlorinated fresh water up to 2 inches below the inner rim.
- Add potted aquatic plants on submerged stone pedestals to vary plant heights.
- Plug the pump into a covered GFCI outdoor electrical outlet and adjust the flow rate to a gentle trickle.
- Tips and Variations:
- Variation: Install a multi-tier spillway bowl over the barrel for a louder, cascading waterfall sound.
- Pro Tip: Add a few drops of organic mosquito dunk solution monthly to keep standing water free of insect larvae without harming visiting birds.
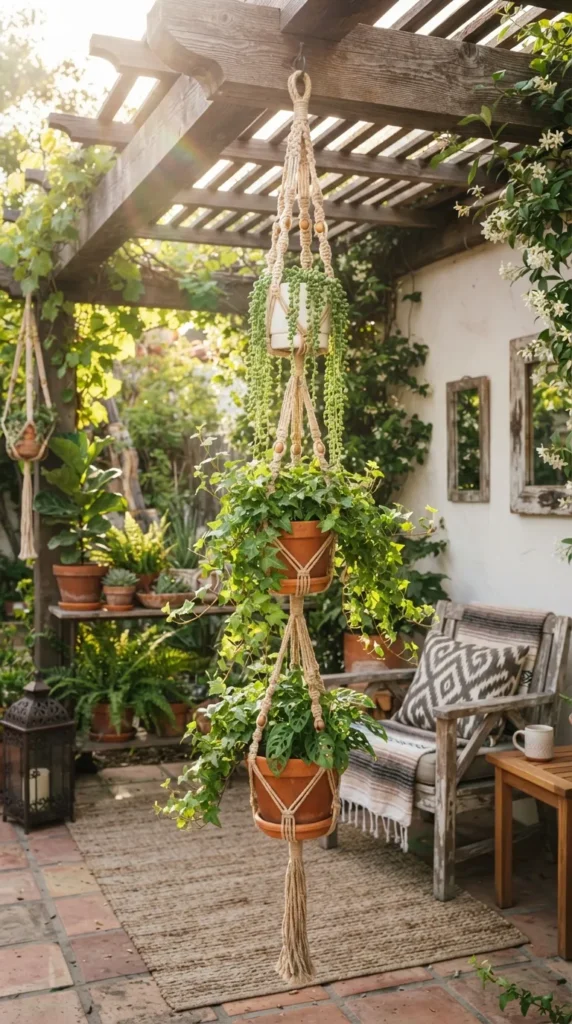
8. DIY Hanging Macrame Plant Chandelier
Vertical hanging planters draw attention upward, softening structural patio rooflines and maximizing floor space for dining furniture.
- What This Idea Means: Bohemian texture and elevated botanical styling. It brings indoor textile craftsmanship outdoors using weatherproof synthetic cords and ceramic pottery.
- Needs to Make That Thing:
- 4mm to 6mm UV-resistant braided polypropylene rope or treated cotton cord
- Solid welded brass or stainless steel rings (2-inch diameter)
- Glazed ceramic or terracotta planters with bottom drainage catches
- Heavy-duty ceiling hooks rated for exterior loads
- Trailing outdoor plants (string of pearls, pothos, trailing ivy, burro’s tail)
- How to Make It:
- Cut eight lengths of cord (approx. 12–15 feet each) and loop them through your metal mounting ring using a secure gathering knot.
- Group the cords into four sets of two and tie square knots down the cords, stopping 12 inches below the ring.
- Alternate cord pairs and tie structural switch-knots to form a diamond mesh cradle that matches your pot diameter.
- Gather all eight cords beneath the pot base and tie a tight, heavy-duty gathering knot to secure the vessel.
- Trim excess tail cords evenly, fraying ends slightly for an intentional tassel finish.
- Drill a pilot hole into a solid patio beam, install a heavy threaded ceiling hook, and suspend the macrame hanger.
- Place your potted trailing plants securely into the woven net basket.
- Tips and Variations:
- Variation: Thread large raw wooden beads along the cord lines before knotting for added organic texture.
- Pro Tip: Use synthetic rot-proof cord rather than untreated natural cotton if the hanger will be exposed to direct rainfall.
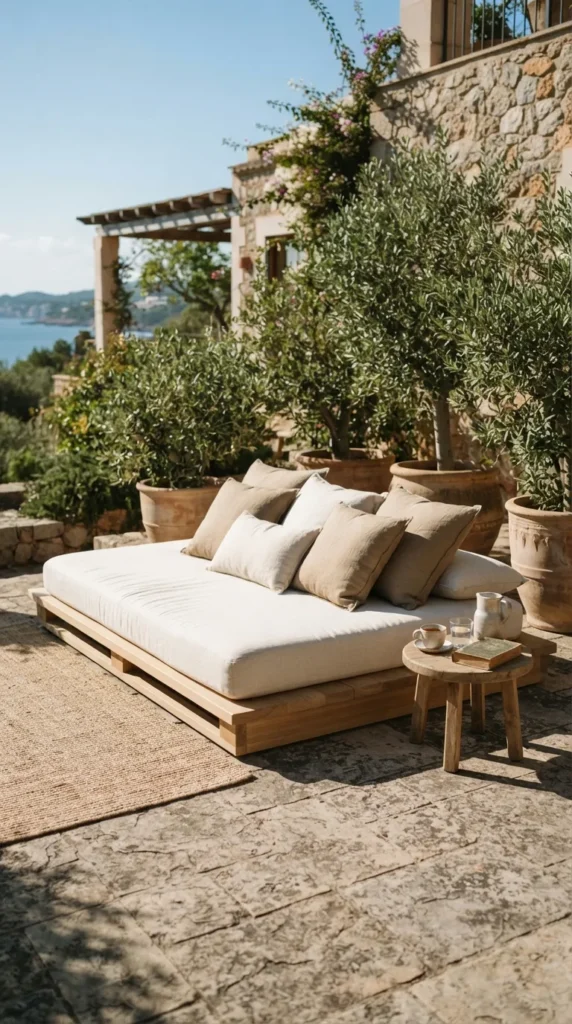
9. Outdoor Pallet Daybed with Linen Cushions
Lounging in the garden calls for deep, comfortable seating where you can read, nap, and enjoy warm afternoons. A low-profile pallet daybed offers a simple, modular platform that pairs well with relaxed linen textiles.
- What This Idea Means: Low-slung, resort-style lounging built from clean, recycled wooden shipping pallets, topped with weather-resistant mattresses and textured throw pillows.
- Needs to Make That Thing:
- 4 to 6 heat-treated (marked “HT”) wooden pallets of uniform size
- Heavy-duty locking caster wheels (4-inch polyurethane)
- Orbital sander with 80-to-220 grit sanding pads
- Exterior wood primer and matte exterior paint/stain
- Standard twin mattress wrapped in a waterproof outdoor cover, or custom foam bench cushions
- French seam linen cushion covers
- How to Make It:
- Source clean, heat-treated wooden pallets. Sand all surfaces thoroughly with an orbital sander to eliminate splinters and rough grain.
- Apply an exterior-grade wood stain or matte exterior paint to seal the timber against weather and moisture.
- Stack pallets two high and join them securely using galvanized mending plates and wood screws.
- Fasten heavy-duty locking caster wheels to the four bottom corners for effortless repositioning around the patio.
- Place a durable, outdoor-rated twin mattress or high-density foam cushion over the base.
- Top with neutral linen bolster pillows, textured throws, and outdoor-safe accents.
- Tips and Variations:
- Variation: Attach an extra pallet vertically to the back or side to create an integrated sofa backrest.
- Pro Tip: Keep cushion inserts protected with water-resistant inner liners beneath the decorative outer fabric to prevent mildew during humid seasons.
10. Floating Deck Island for Garden Meditation
A dedicated ground-level platform tucked into a garden nook creates a distinct destination for meditation, morning coffee, or reading among nature.
- What This Idea Means: A small, freestanding platform built without digging deep foundation holes. It hovers lightly above the grass or mulch, framing a quiet garden retreat.
- Needs to Make That Thing:
- Deck block concrete piers (floating foundation blocks)
- 2×6 pressure-treated joist framing lumber
- 5/4-inch cedar or composite decking surface boards
- 3-inch exterior structural framing screws and decking fasteners
- Bubble level and speed square
- How to Make It:
- Level a designated 8×8-foot ground footprint in a private, quiet corner of your yard.
- Place 4 to 9 concrete deck block piers across the footprint, using a level and sand base to keep them even.
- Build an outer 2×6 frame, dropping joists directly into the designated slots of the concrete deck blocks.
- Install interior joist spans spaced 16 inches on center across the entire framework.
- Cut cedar or composite deck boards to length and fasten them perpendicular to the joists with uniform 1/8-inch gaps.
- Trim outer board edges flush with a circular saw for a clean, architectural perimeter.
- Stage the platform with a minimal wooden bench, low table, or outdoor floor cushions.
- Tips and Variations:
- Variation: Integrate soft under-deck LED strip lighting along the perimeter to create a glowing floating effect at night.
- Pro Tip: Lay landscape fabric beneath the framework prior to dropping deck boards to prevent weed growth through the deck seams.
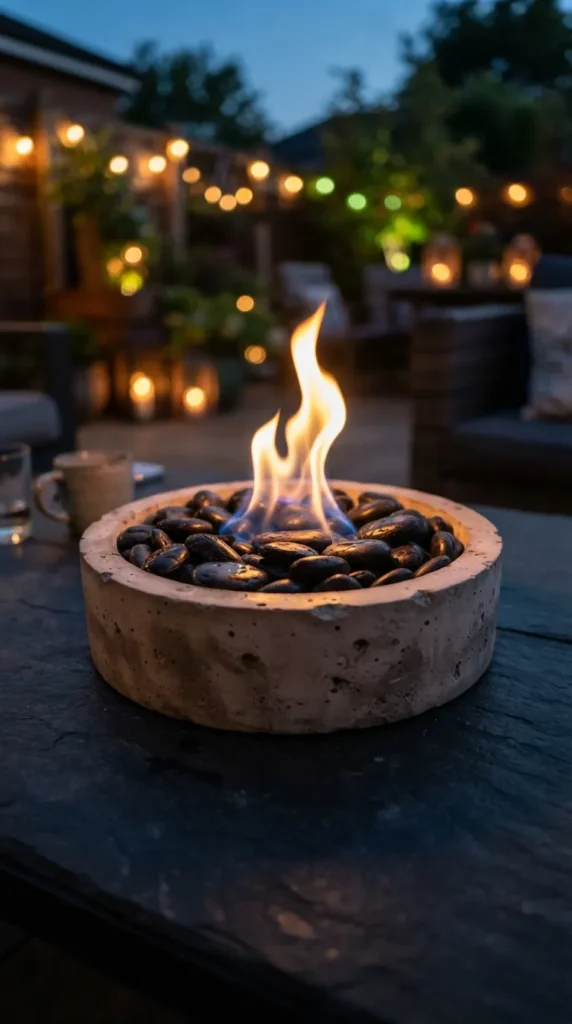
11. Concrete Tabletop Fire Bowl
For compact balconies and smaller patios where a full in-ground fire pit isn’t practical, a tabletop fire bowl provides real flame ambiance on a manageable scale.
- What This Idea Means: A modern cast-concrete accent bowl that sits on an exterior dining table or coffee stand, burning clean, smokeless gel fuel or bioethanol.
- Needs to Make That Thing:
- Two nested plastic bowls of differing sizes (e.g., 14-inch outer, 10-inch inner)
- Rapid-setting commercial concrete mix
- Cooking spray or vegetable oil (for release mold agent)
- Stainless steel bioethanol burner cup or canned gel fuel insert
- Smooth fire-safe lava pebbles or tumbled sea glass
- How to Make It:
- Coat the inner surface of the larger bowl and the outer surface of the smaller bowl with cooking spray.
- Mix rapid-setting concrete according to package instructions until it reaches a thick batter consistency.
- Fill the larger outer bowl halfway with mixed concrete.
- Press the smaller bowl firmly into the center of the wet concrete, weighting it down with rocks until the concrete rises evenly to the top rim.
- Let the concrete cure undisturbed for 48 hours in a shaded area.
- Remove both plastic mold bowls and sand down any rough edges with a diamond-grit sanding sponge.
- Place your stainless steel burner cup in the center void and surround it with fire-rated lava pebbles.
- Tips and Variations:
- Variation: Add charcoal pigment powder to the wet concrete mix to create an industrial matte-slate finish.
- Pro Tip: Use only certified fire-safe tumbled glass or volcanic rock; regular garden stones can crack or pop when exposed to direct heat.
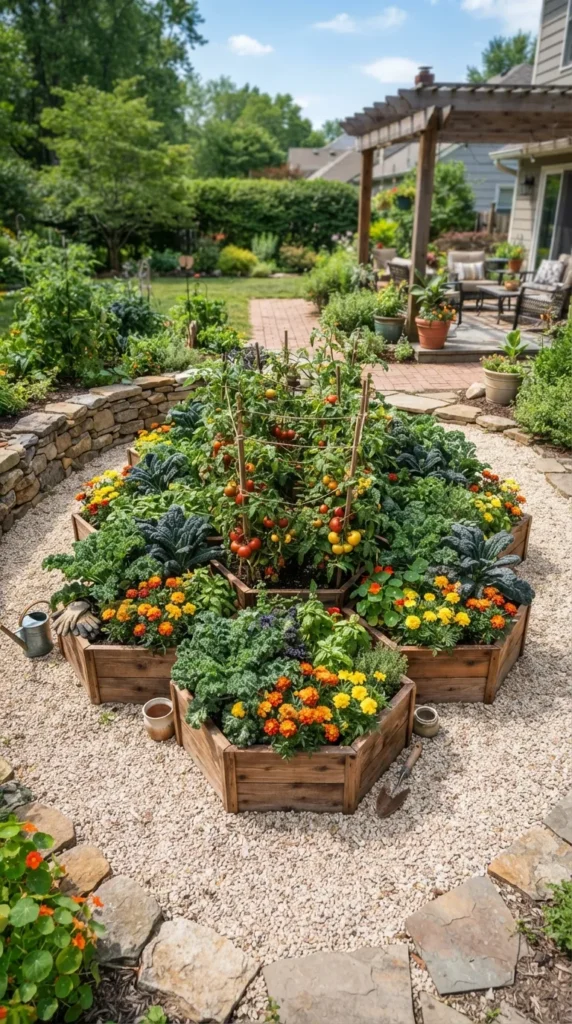
12. Geometric Raised Garden Bed Clusters
Raised garden beds improve soil drainage and ease maintenance while adding clean visual structure to vegetable and cut-flower gardens.
- What This Idea Means: Replacing traditional, utilitarian farm beds with intentional geometric layouts—such as staggered hexagonal or L-shaped designs—that look curated year-round.
- Needs to Make That Thing:
- 2×8 or 2×10 natural untreated cedar or redwood timbers
- Heavy-duty corner brackets with black rustproof coating
- Stainless steel timber screws
- Hardware cloth (wire mesh) for gopher/pest deterrence
- Organic garden soil, leaf compost, and aged mulch
- How to Make It:
- Cut cedar timbers to match your geometric design (such as a cluster of three staggered hexagons or an interlocking U-shape).
- Fasten timber joints using heavy-duty exterior corner brackets and timber screws.
- Clear and level the ground site, removing excess weeds.
- Staple 1/2-inch galvanized hardware cloth along the bottom perimeter of the frames to block burrowing pests.
- Position the assembled wooden beds into place, checking for level alignment across all corners.
- Fill beds using the “hugelkultur” method: start with rotting wood logs at the base, followed by dry leaves, compost, and rich organic topsoil.
- Plant coordinated groupings of heirloom tomatoes, flowering dahlias, and leafy greens.
- Tips and Variations:
- Variation: Add a wide horizontal cedar flat board along the top edge to serve as an integrated garden bench for resting tools and drinks.
- Pro Tip: Avoid pressure-treated wood if you are growing edible vegetables to prevent any preservative chemical leaching into your soil.
13. Outdoor Curtains & Sheer Fabric Pergola Canopy
Draping soft fabric over outdoor structures softens rigid pergola lines, diffuses harsh midday sun, and adds a relaxed Mediterranean coastal feel.
- What This Idea Means: Flowing, UV-resistant fabric swags hung along patio rafters to create movement, privacy, and gentle shade.
- Needs to Make That Thing:
- Outdoor-rated weather-resistant polyester or solution-dyed acrylic fabric panels
- Stainless steel aircraft wire cable kit with turnbuckles
- Carabiner ring clips or grommet eyelets
- Drill, masonry anchors, or wood-eye hooks
- Tieback cords made of natural leather or marine rope
- How to Make It:
- Measure the length of your pergola rafters or patio ceiling spans.
- Install stainless steel eye bolts into the structural beams at both ends of your pergola span.
- Thread the aircraft wire cable through your curtain grommets or sliding ring clips.
- Attach the wire to the eye bolts, tightening the integrated turnbuckle until the cable is taut and sag-free.
- Space fabric swags evenly across the overhead rafters to create soft, undulating fabric dips.
- Install matching side panels along the perimeter posts, using marine rope tiebacks to secure them during breezy days.
- Tips and Variations:
- Variation: Use natural raw linen for covered porches protected from heavy rain, or marine-grade Sunbrella for exposed sunny spaces.
- Pro Tip: Ensure curtains have bottom grommets anchored to a lower guide wire to prevent wild flapping in high winds.
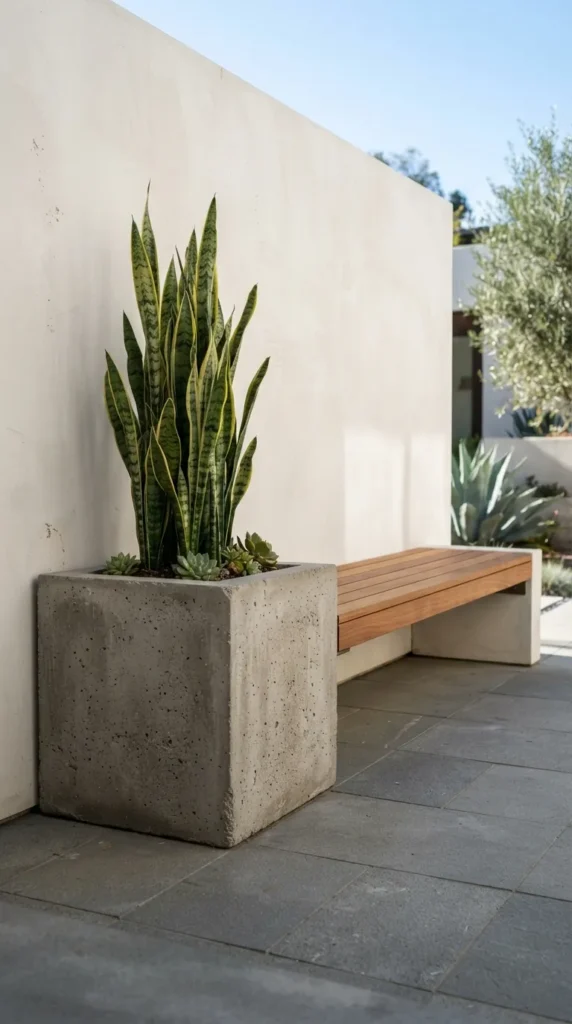
14. Modern Wooden Slat Bench with Integrated Concrete Planter
Combining warm organic wood with structural raw concrete creates a balanced, architectural seating element that works well on modern patios.
- What This Idea Means: A dual-purpose garden installation featuring a low-slung horizontal timber bench supported on one side by a cast-concrete planter.
- Needs to Make That Thing:
- Large, square concrete architectural planter vessel
- 2×4 or 3×3 hardwood timber slats (teak, ipe, or cedar)
- Heavy-duty steel L-mounting brackets and concrete expansion anchors
- Exterior polyurethane wood sealant
- Ornamental grass or architectural statement plant (such as snake plant or dwarf olive tree)
- How to Make It:
- Position your heavy concrete planter where you want the corner of your seating area to sit.
- Construct a low wooden bench seat frame using clean 2×4 timber slats spaced with 1/2-inch gaps for water drainage.
- Sand the wood smooth and apply three coats of outdoor UV-blocking polyurethane finish.
- Anchor one side of the timber bench directly into the side wall of the concrete planter using concrete masonry anchors.
- Build a matching wooden leg frame or use a low stone support to anchor the opposite end of the bench to the ground.
- Add soil to the planter and place a structural ornamental plant, such as blue fescue grass or a dwarf olive tree, inside.
- Tips and Variations:
- Variation: Add hidden LED under-glow lighting along the bottom edge of the wooden bench to illuminate the ground plane at night.
- Pro Tip: Keep the planter’s bottom drainage hole completely clear when anchoring internal fasteners.
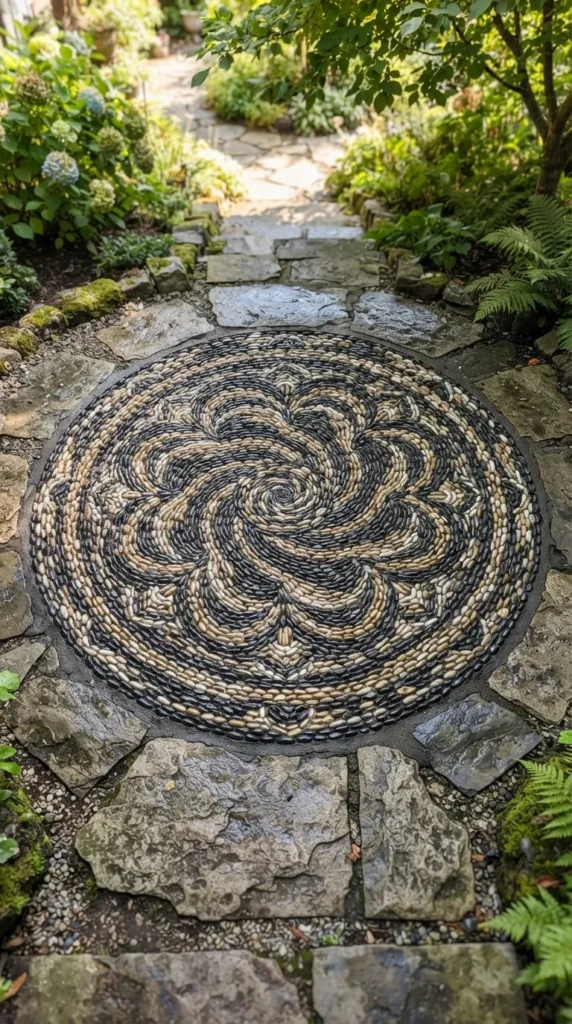
15. Mosaic Pebble Garden Mosaic Inlay
Hand-set pebble mosaics bring artisan craftsmanship to ordinary garden pathways, patio thresholds, or outdoor shower floors.
- What This Idea Means: Traditional stone artistry. Naturally rounded beach pebbles of varying colors are set on edge into wet mortar to form organic spirals, mandalas, or geometric patterns.
- Needs to Make That Thing:
- Smooth, rounded beach pebbles (contrasting black, white, and terracotta tones)
- Exterior masonry sand and Portland cement mortar mix
- Wooden perimeter mold framework or landscape edging
- Spray bottle with water, sponge, and a stiff wire brush
- How to Make It:
- Create a framed boundary using flexible wood or landscape edging in the ground.
- Lay a compacted gravel base topped with a 2-inch layer of damp, stiff mortar mix.
- Sort your pebbles by color, size, and shape before beginning your layout.
- Push each pebble vertically into the wet mortar on its narrow edge, packing stones tightly together to follow your drawn pattern.
- Place a flat wood board over the stones and tap it gently with a mallet so all stone tops sit at an even, flat plane.
- Allow the mortar to firm up for 2 hours, then carefully brush away excess surface mortar with a damp sponge and wire brush.
- Keep the mosaic damp under plastic sheeting for 3 days to cure the cement slowly for maximum strength.
- Tips and Variations:
- Variation: Form a spiral nautilus design that flows outward from a water fountain base.
- Pro Tip: Setting stones on their narrow edge rather than flat gives the mosaic significantly higher durability against foot traffic.



16. Upcycled Galvanized Stock Tank Plunge Pool
Stock tanks designed for livestock can easily be repurposed into durable, aesthetic plunge pools or soaking tubs for warm summer afternoons.
- What This Idea Means: Farmhouse practicality turned into a chic backyard oasis. A 6-to-8-foot galvanized metal or poly stock tank transformed into a filtered dipping pool.
- Needs to Make That Thing:
- 8-foot round galvanized steel stock tank
- Small above-ground pool sand filter and pump unit
- 1.25-inch hole saw drill bit and exterior waterproof silicone sealant
- Pool inlet/outlet strainer fittings and flexible pool hoses
- Foam pipe insulation wrap (for top metal rim protection)
- How to Make It:
- Clear, level, and tamp a flat base of packed sand or pea gravel where the tank will sit.
- Drill two holes in the side of the steel tank using a hole saw bit (one high for water return, one low for suction).
- Install the pool strainer valves, sealing connections thoroughly with exterior pool-grade silicone gaskets.
- Connect the hoses to your external sand pump and filter system.
- Line the top outer metal lip with foam insulation or a split garden hose to create a soft resting rim.
- Fill the tank with clean water, treat it with mild pool sanitizing minerals or chlorine, and run the filter pump.
- Tips and Variations:
- Variation: Wrap the entire outer perimeter of the metal tank in vertical wood reeded slats for an upscale Scandinavian aesthetic.
- Pro Tip: Paint the inner bottom of the stock tank with blue marine-grade epoxy to prevent rust and give the water an inviting blue hue.
17. Bamboo & Living Willow Living Tunnel
Living willow structures, or “fletching,” blend living architecture with traditional gardening. Stems are trained and braided together into arches that continue to grow foliage overhead.
- What This Idea Means: A natural, living shade canopy. Fresh green willow rods or flexible bamboo poles are planted directly into the ground and woven into a lush, shaded walking tunnel.
- Needs to Make That Thing:
- Fresh-cut live willow rods (Salix) or flexible bamboo poles (8–10 feet long)
- Biodegradable jute garden twine
- Shovel and trenching spade
- Organic mulch and compost
- How to Make It:
- Dig two parallel trenches 4 to 6 feet apart along your chosen pathway.
- Insert living willow rods deeply into the trenches every 10 inches at a 45-degree angle.
- Plant an overlapping set of rods in the opposite direction to create an open lattice diamond pattern.
- Bend the top ends of opposing rods toward the middle to meet overhead, securing them with jute twine to form a vaulted arch.
- Backfill the trenches with rich compost and water deeply to encourage rapid root establishment.
- As fresh green shoots emerge, weave them into the existing diamond framework to build a dense, living canopy.
- Tips and Variations:
- Variation: Train climbing flowering vines like wisteria or honeysuckle through non-living bamboo arches for heavy seasonal blooms.
- Pro Tip: Build living willow structures in late winter or early spring when harvested rods are dormant and root readily.
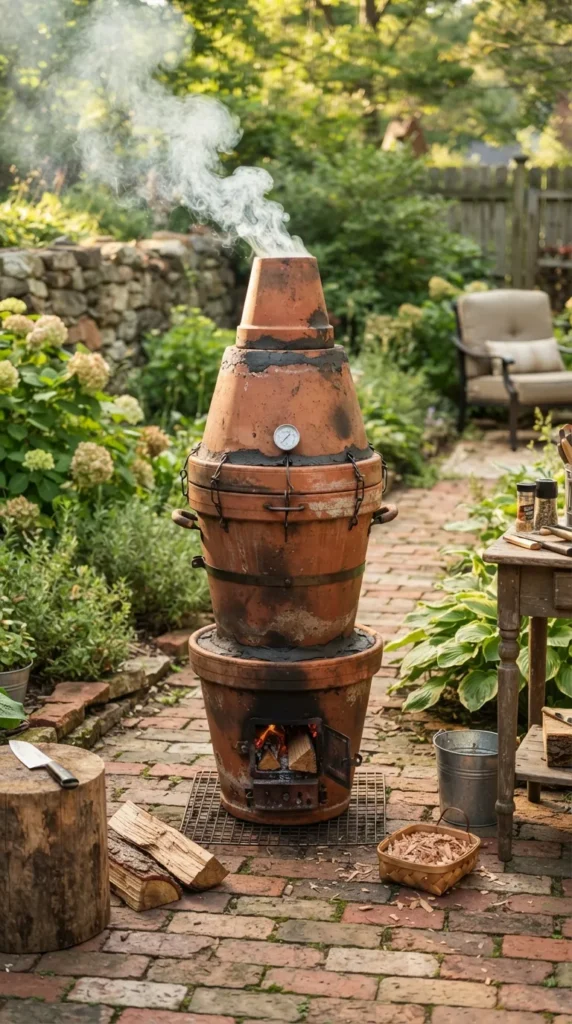
18. Terracotta Pot Outdoor Smoker & Tandoori Oven
This compact outdoor cooking station uses heat-retentive terracotta pottery to create an effective, small-footprint smoker or tandoor oven.
- What This Idea Means: Practical culinary craftsmanship. It repurposes large unglazed terracotta pots to trap and radiate heat for smoking meats or baking naan.
- Needs to Make That Thing:
- Large, thick unglazed terracotta clay pot (minimum 18-inch diameter) with a matching terracotta base dish
- Small single-burner electric hot plate (or lump charcoal basin)
- Heavy-duty circular stainless steel grill grate
- Outdoor oven thermometer gauge
- Cast iron wood chip smoking pan
- How to Make It:
- Ensure the terracotta pot is unglazed and free of cracks or chemical seals.
- Place an electric hot plate or cast iron charcoal basin inside the base of the terracotta pot.
- Route the power cord out through the bottom drainage hole to keep the setup clean.
- Place your cast iron skillet filled with seasoned applewood or hickory chips directly onto the heat source.
- Install three stainless steel bolts through the pot walls at mid-height to support the circular grill grate.
- Invert the shallow terracotta saucer on top to serve as an insulated lid, adding a top thermometer gauge to monitor heat levels.
- Tips and Variations:
- Variation: Use it as a flatbread tandoor by heating the internal clay walls with clean lump hardwood charcoal.
- Pro Tip: Keep the unit covered during freezing winter weather; wet terracotta can crack if water freezes inside its pores.
19. DIY Scandinavian A-Frame Firewood Haven
Storing firewood does not have to look messy. An architectural A-frame firewood shed keeps wood dry and seasoned while serving as an attractive geometric backdrop for your patio or yard.
- What This Idea Means: Functional Nordic woodwork. It pairs clean, angular lines with practical off-ground wood seasoning, turning logs into an intentional outdoor design feature.
- Needs to Make That Thing:
- 2×4 pressure-treated framing lumber (approx. eight 8-foot boards)
- Corrugated black metal roofing panels
- 3-inch exterior timber screws
- Wood preservative oil (natural pine tar or dark walnut finish)
- Miter saw and drill
- How to Make It:
- Cut four 2×4 lumber pieces at 60-degree angles to assemble two identical A-frame triangular ends.
- Join the two A-frames at the base and ridge line using four horizontal 2×4 cross-ties (approx. 4 to 6 feet long).
- Install raised floor slats along the base to keep stored firewood elevated 6 inches above damp ground.
- Apply two coats of exterior wood preservative oil across the entire timber frame.
- Fasten corrugated black metal roofing panels to both sloping A-frame roofs to shed rain and snow.
- Stack split firewood neatly inside, alternating log orientations for optimal airflow and visual texture.
- Tips and Variations:
- Variation: Add a small enclosed shelf at the top apex of the A-frame to store dry kindling, matches, and fire starters.
- Pro Tip: Position the open sides of the shelter toward the prevailing wind to speed up firewood seasoning time.
20. Zen Sand Garden with Raked Patterns & Moss Islands
A miniature Japanese dry landscape (karesansui) creates an outdoor space focused on calm, balance, and quiet reflection.
- What This Idea Means: A minimalist zen garden that uses fine granite sand, sculptural stones, and moss mounds to represent natural landscapes like mountains and running water.
- Needs to Make That Thing:
- Crushed white granite sand or fine light silica sand
- Weathered landscape boulders (odd-numbered groupings: 3 or 5)
- Living sheet moss (Hypnum or cushion moss)
- Cedar 2×4 framing boards for a clean border box
- Handcrafted wooden garden rake with wide teeth
- How to Make It:
- Build a low, square or rectangular boundary frame using smooth cedar 2x4s laid flat.
- Clear the base soil, compact it firmly, and line it with heavy-duty permeable weed barrier fabric.
- Arrange your weathered boulders in asymmetrical, odd-numbered groupings to anchor the space.
- Plant cushion moss mounds around the bases of the stone groupings to evoke miniature mountain foothills.
- Pour 2 to 3 inches of crushed white granite sand across the remaining open area, leveling it flat.
- Use a wooden tooth rake to draw concentric ripple patterns around stones and parallel waves across open expanses.
- Tips and Variations:
- Variation: Add a single low stone water basin (tsukubai) and a dripping bamboo spout along one side.
- Pro Tip: Use crushed fine granite sand rather than beach sand; its angular grains hold raked ripple patterns much better during light breezes.