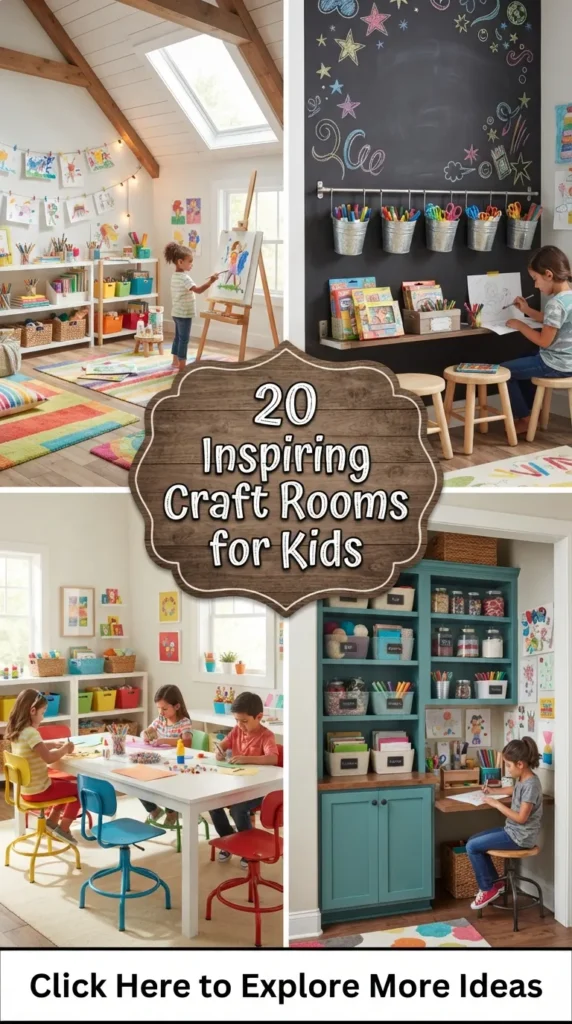
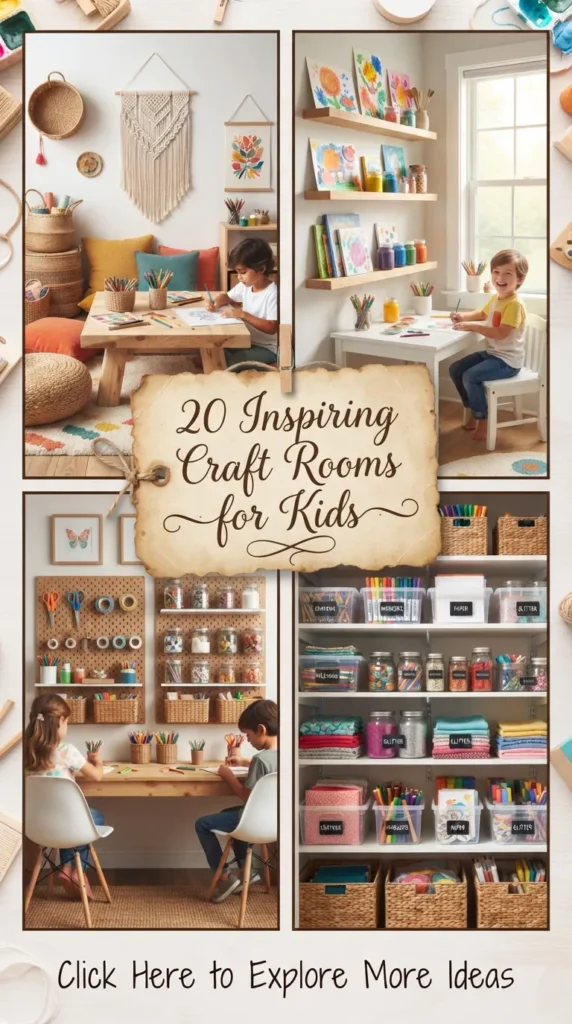
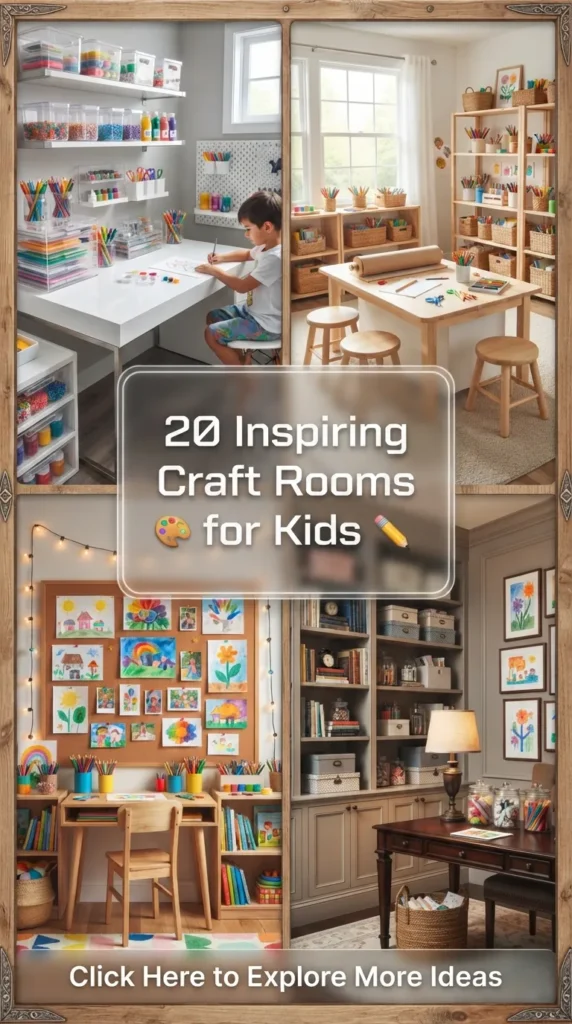
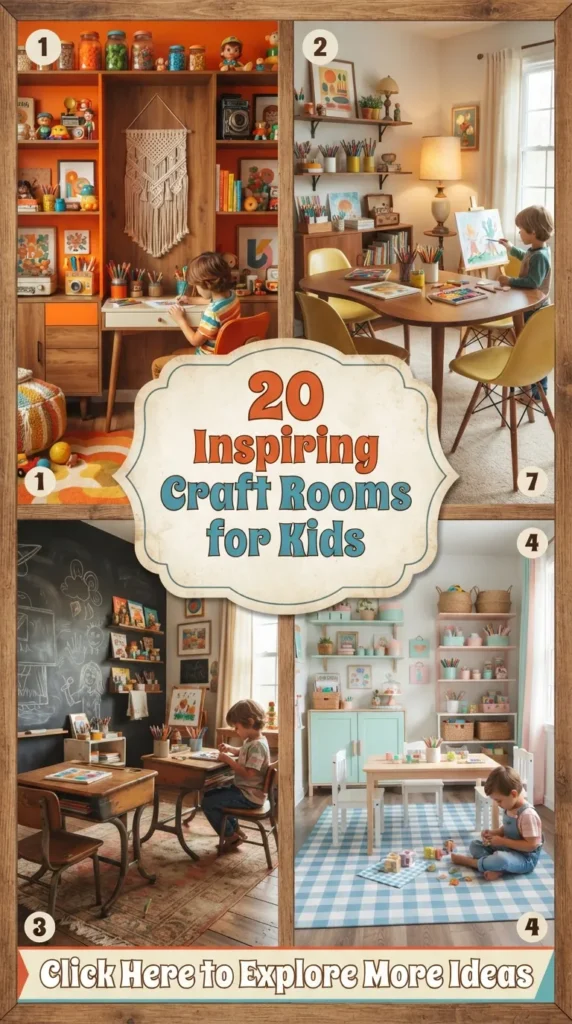
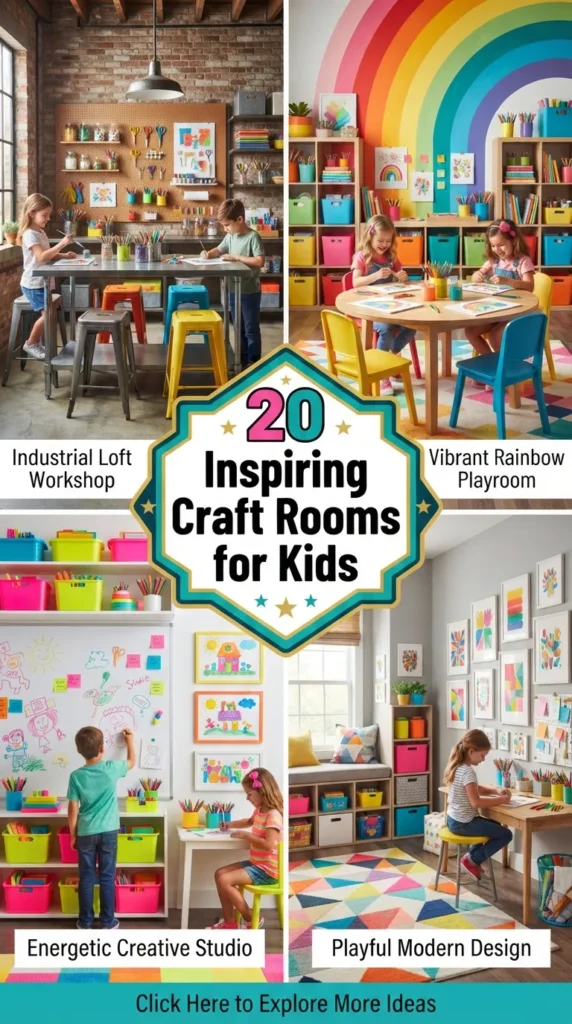
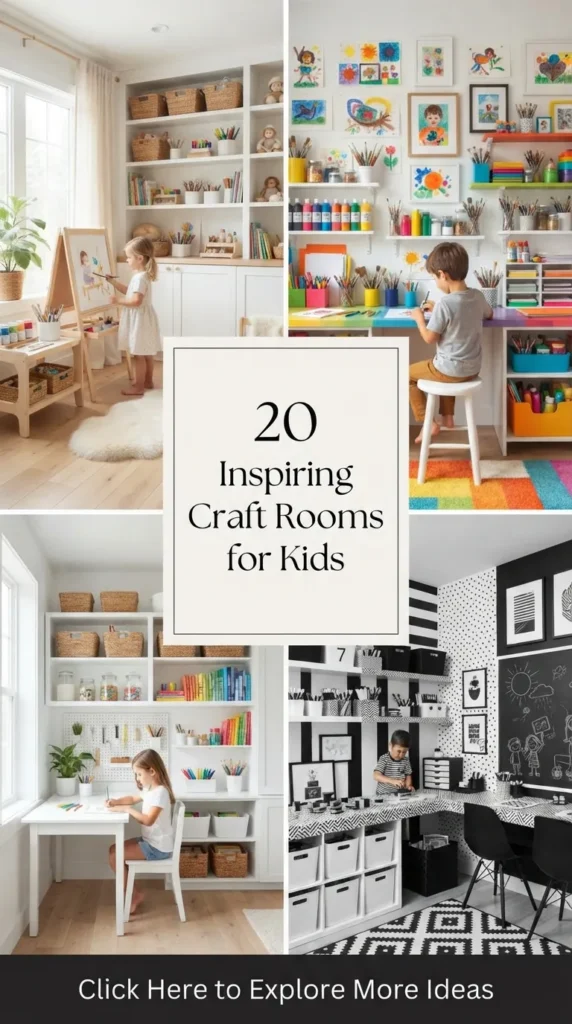
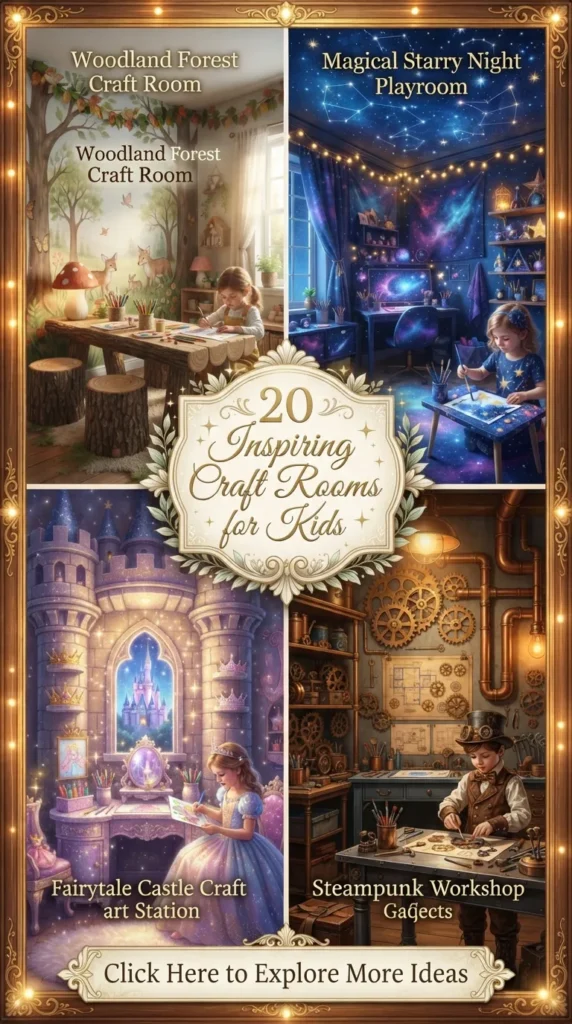
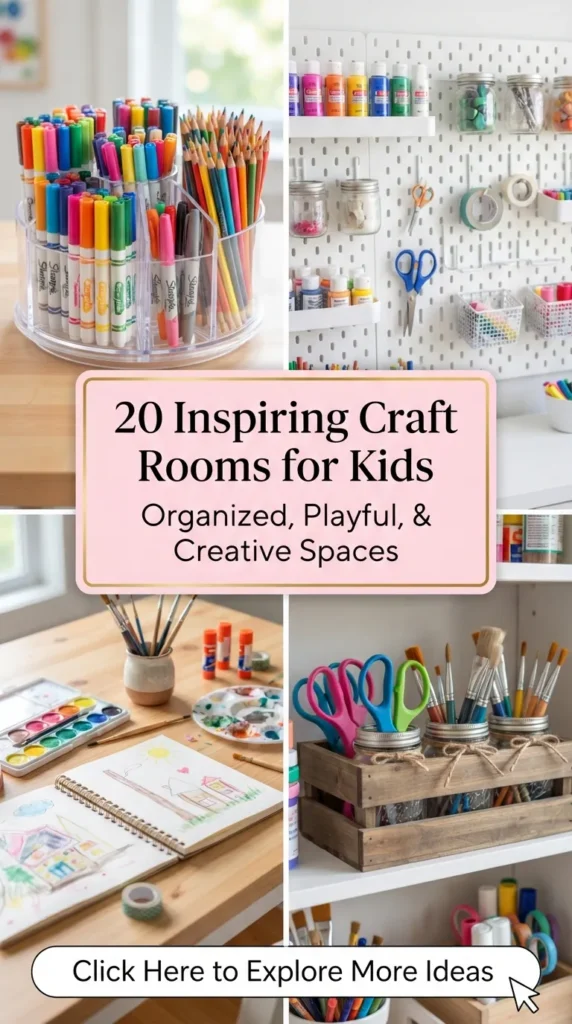
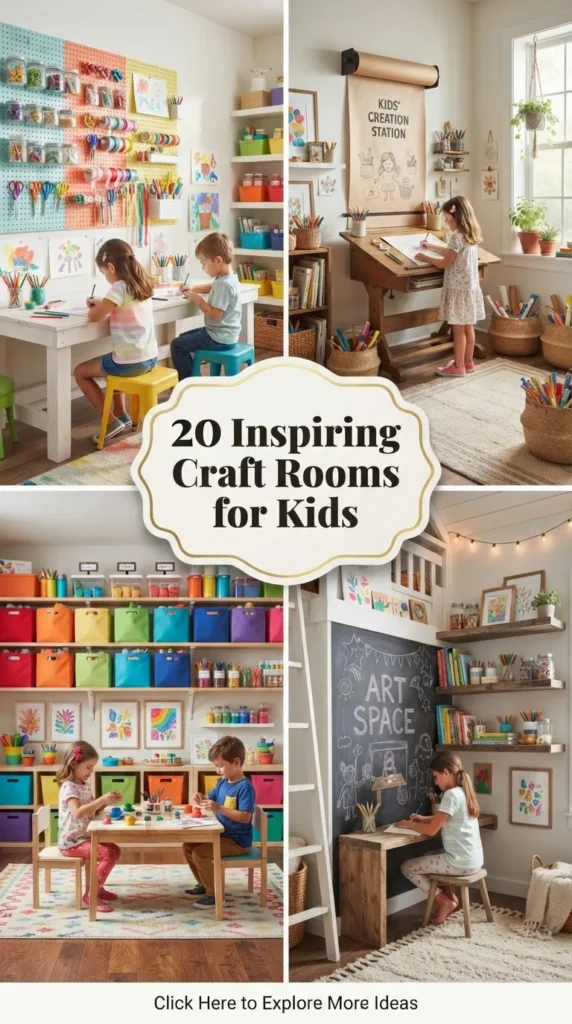
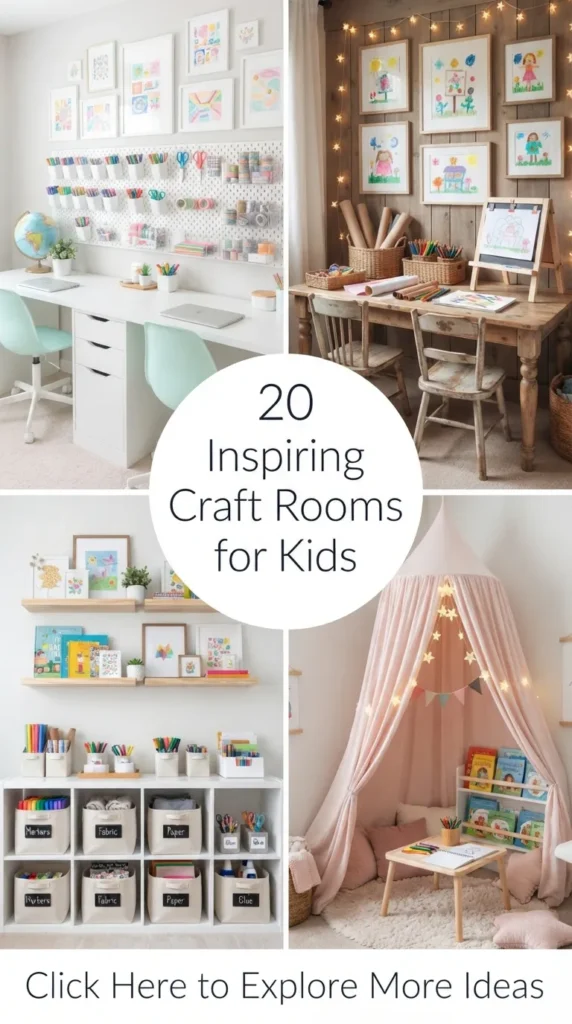
20 Inspiring Craft Rooms for Kids
Creating a dedicated craft room or creative zone for kids is one of the most rewarding home design projects you can undertake. A well-designed craft space does more than just contain the creative chaos of paint, glitter, and paper scraps; it empowers children to explore their artistic potential, build independence, and develop problem-solving skills in a space tailored to their scale and interests.
Whether you have an entire spare room, a cozy basement nook, or an underutilized corner in a playroom, this comprehensive guide to 20 Amazing & Inspiring Craft Rooms for Kids delivers functional layout ideas, storage solutions, and decor inspiration to build a space that grows alongside your child’s imagination.
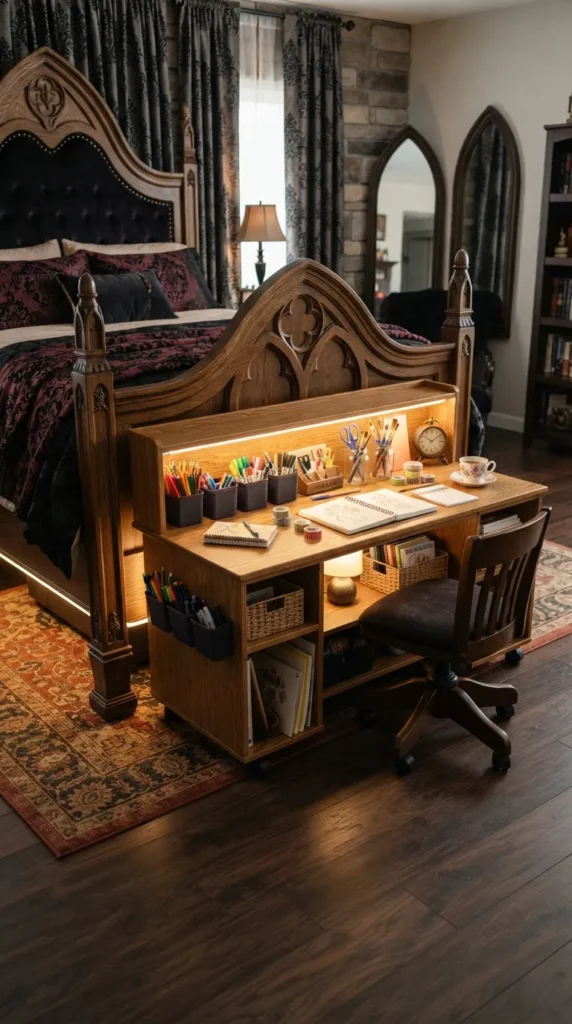
1. The Pastel Montessori Low-Reach Craft Studio
Introduction
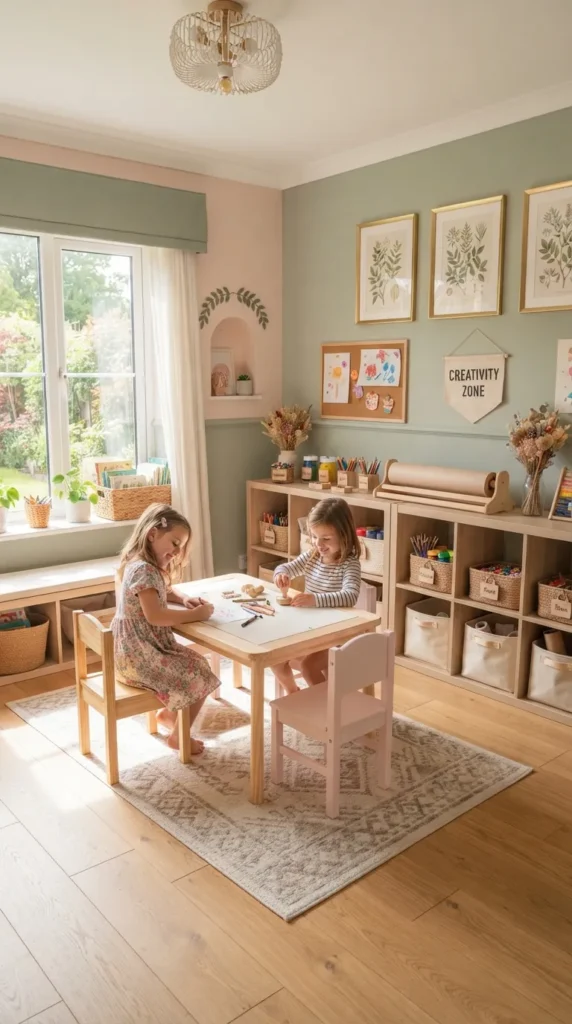
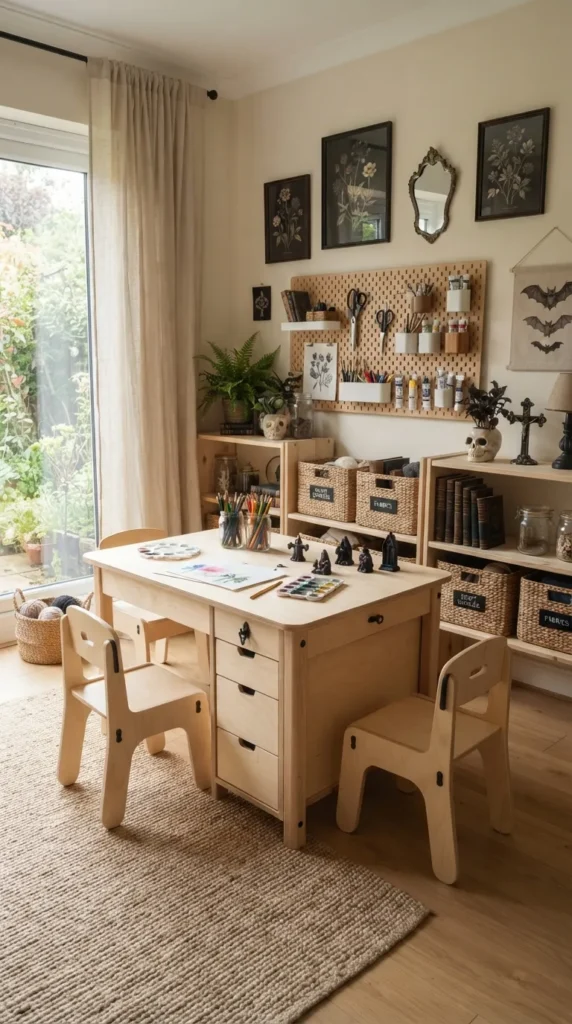
Designed around child independence, the Pastel Montessori Low-Reach Craft Studio brings every artistic supply down to your child’s eye level. This floor-to-ceiling kid-centric layout encourages self-directed creation without requiring constant adult assistance.
What This Idea Means
Montessori design principles prioritize accessibility, order, and child-scale proportions. In a craft setting, this layout translates into open, low shelving units where children can independently select, use, and return their art materials.
Materials Needed
- Low, wide open wooden shelving units (cubby style)
- Clear storage bins or woven baskets with visual picture labels
- Kid-sized wooden table and ergonomic wooden chairs
- Soft washable floor rug or play mat
- Washable wall paint in soft pastel shades (sage, blush, or warm cream)
How to Make It
- Anchoring safety first, secure low wooden shelving units directly to wall studs using wall-anchoring straps.
- Group craft materials by category—such as clay, paper, stamping, and coloring tools—into separate, lightweight bins.
- Attach clear picture labels to the front of each basket or bin so pre-readers can easily identify contents.
- Position a sturdy, child-height wooden table in the center of the room with ample walking space around all four sides.
- Lay a washable rug under the work area to catch accidental drops and protect flooring.
Tips and Variations
- Tip: Limit the number of visible supplies on open shelves to avoid sensory overload; rotate materials monthly to keep interest fresh.
- Variation: Replace standard wooden chairs with floor cushions or low stools to encourage flexible seating postures.
2. The Bright Pegboard & Rainbow Modular Wall
Introduction
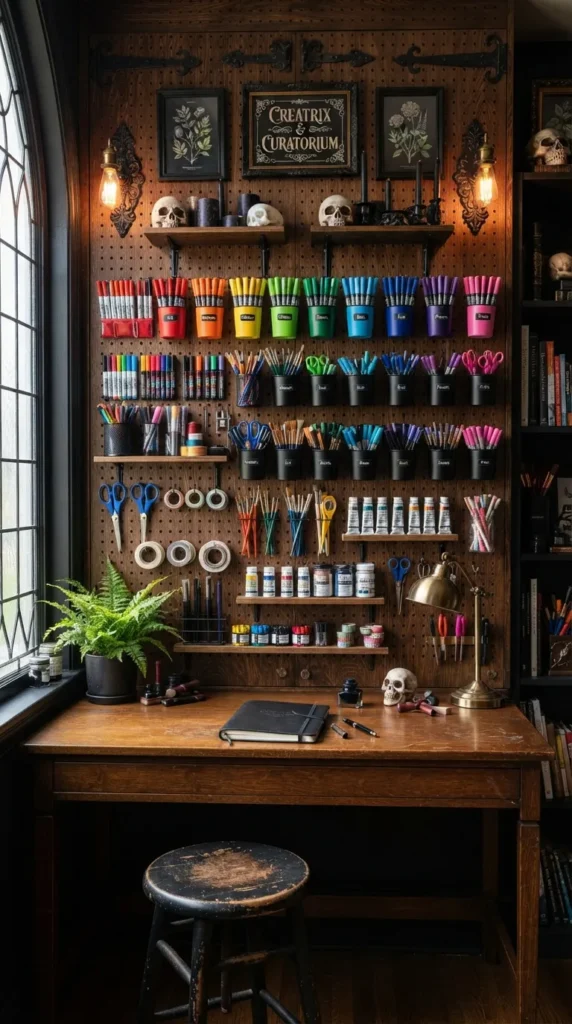
Make full use of vertical wall space with a full-height, vibrant pegboard system. The Bright Pegboard & Rainbow Modular Wall keeps craft tools organized, visible, and off the floor while doubling as a colorful piece of functional wall art.
What This Idea Means
Modular wall storage adapts seamlessly as your child grows and their artistic hobbies evolve. Moving hooks, shelves, and pots on a pegboard allows for instant reconfiguration without drilling new holes in the wall.
Materials Needed
- Large wooden or heavy-duty metal pegboard panels
- Pegboard hooks, wooden dowels, wire baskets, and hanging cup holders
- Bright acrylic paints (rainbow color palette)
- Wall mounting hardware and spacers
- Assorted jars and plastic cups for supplies
How to Make It
- Paint sections of the wooden pegboard in a subtle rainbow gradient or color blocks before installation.
- Mount the pegboard securely to the wall using proper spacers so hooks can slide in smoothly behind the board.
- Install hanging metal cups near the bottom of the board for accessible scissors, markers, and paintbrushes.
- Position small wooden ledge shelves higher up for displaying completed sculptures or storing paint jars.
- Arrange art supplies by color on the pegboard to create a striking rainbow visual display.
Tips and Variations
- Tip: Hang a small dustpan and hand broom directly on a lower pegboard hook so kids can sweep up paper scraps independently.
- Variation: Use natural pine pegboards with oversized wooden dowels for a Scandinavian aesthetic instead of bold primary colors.
3. The Rustic Botanical Nature & Pottery Workshop
Introduction
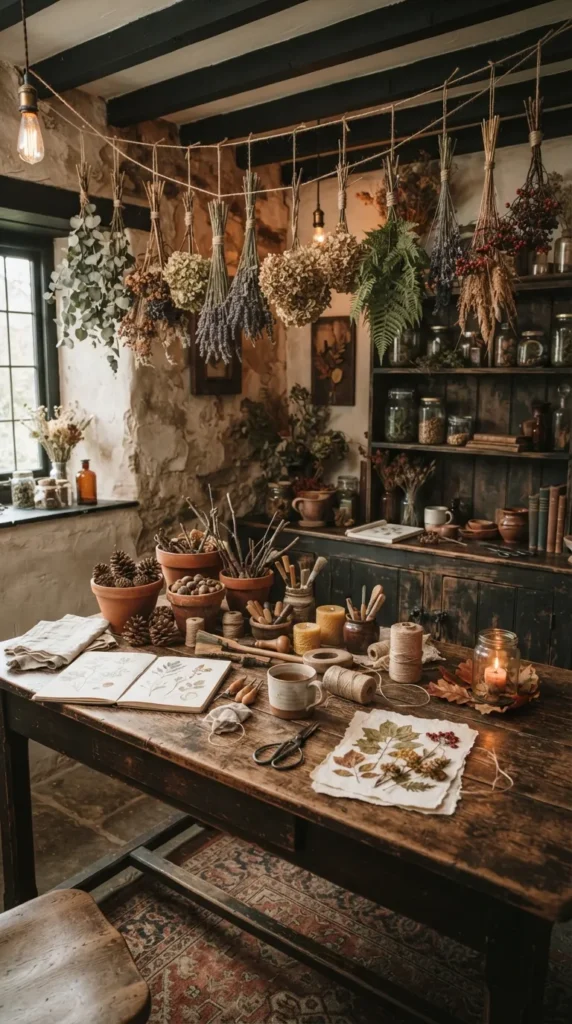
Bring the beauty of the outdoors inside with a nature-inspired craft room focused on botanical printing, clay sculpting, and eco-friendly DIY projects.
What This Idea Means
A nature craft workshop connects kids with organic textures and natural materials. Using earth tones, raw wood, and plant displays fosters a calm, grounded environment ideal for hands-on sculpting and pressing flowers.
Materials Needed
- Unfinished solid wood work table or reclaimed wood bench
- Terracotta pots and woven jute storage baskets
- Hanging drying racks or twine with wooden clotheslines for flowers and herbs
- Natural linen window curtains and stone-look vinyl flooring
- Open floating wooden shelves
How to Make It
- Install a heavy-duty reclaimed wood work table that can withstand clay work, water, and messy raw materials.
- Mount horizontal twine lines or a wooden clothes drying rack overhead for drying pressed leaves, paper mache, or botanical prints.
- Store clay tools, pinecones, twigs, and stone collections in breathable terracotta pots and jute baskets.
- Set up an indoor potted plant corner near natural window light to inspire botanical sketching.
- Keep the color palette neutral with warm warm taupe, forest green, and natural wood stains.
Tips and Variations
- Tip: Seal raw wooden tabletops with food-safe beeswax or tung oil to protect against moisture while keeping the natural grain texture.
- Variation: Add a dedicated magnifying light station for inspecting leaves, rocks, and insects prior to drawing.
4. The Modern Minimalist White & Birch Art Gallery
Introduction
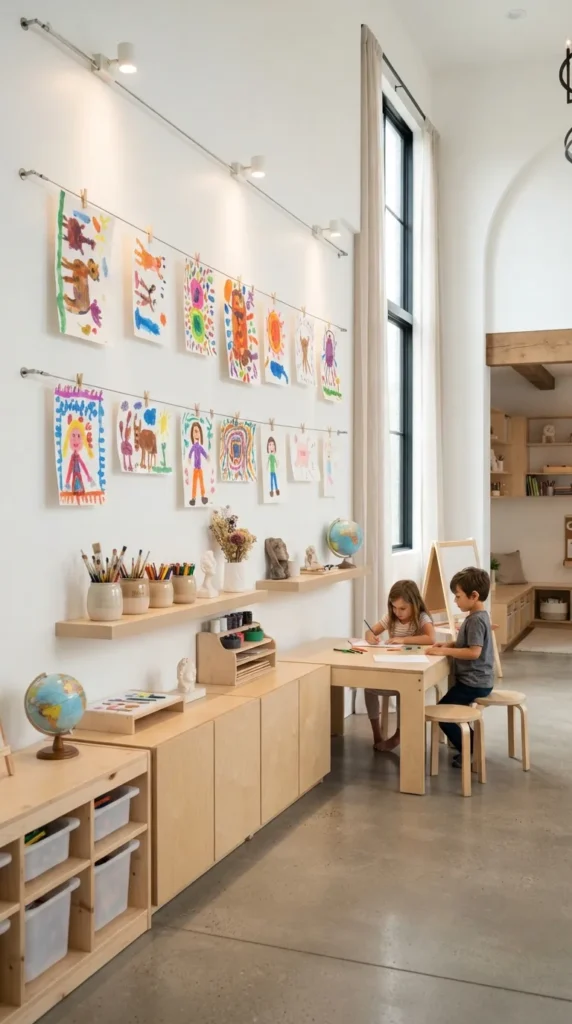
For families who prefer a clean, serene aesthetic, the Modern Minimalist White & Birch Art Gallery combines clutter-free concealed storage with a sophisticated gallery-style display area for children’s artwork.
What This Idea Means
Minimalist design reduces visual distractions, allowing children to focus intensely on their creative projects. Using crisp white surfaces paired with light birch wood creates a bright, museum-like backdrop where the child’s artwork takes center stage.
Materials Needed
- Baltic birch plywood tables and custom storage cabinets
- Seamless white wall paint
- Cable wire art hanging system with sleek metal clips
- White closed storage cabinets with hidden soft-close doors
- Integrated recessed LED strip lighting
How to Make It
- Paint all walls in a crisp, clean white shade to maximize natural light reflection.
- Install minimalist white closed cabinetry along one wall to keep bulk supplies out of sight.
- Set up a simple birch wood work table in the center with matching birch stools.
- Run stainless steel cable lines across the main wall at varying heights.
- Use minimalist metal clips to hang freshly finished drawings, changing out pieces easily as new art is created.
Tips and Variations
- Tip: Store supplies inside opaque white boxes inside cabinets so the overall room remains completely visual-clutter-free.
- Variation: Frame a select few favorite artworks in thin birch wood frames with matting for a formal gallery wall layout.
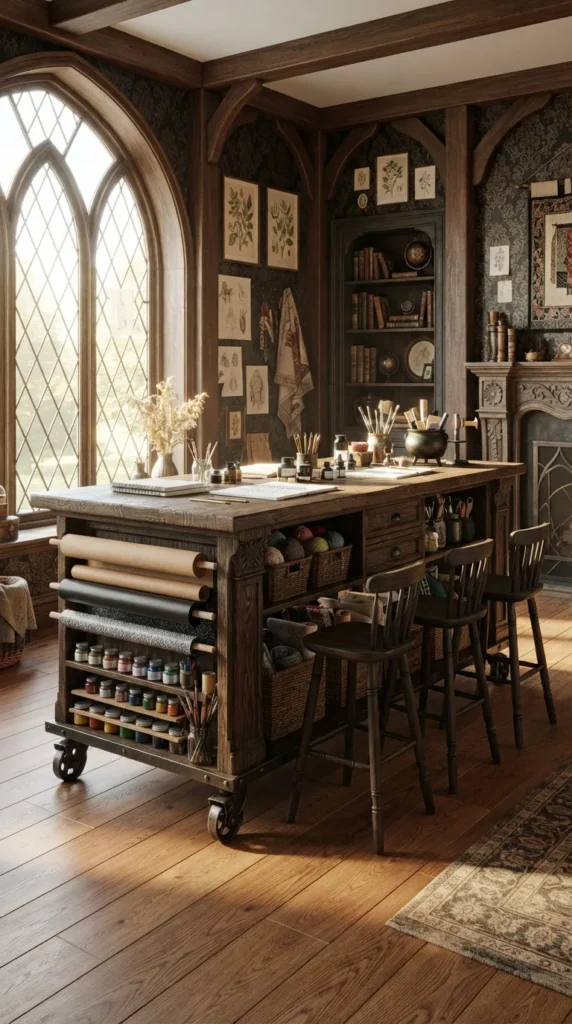
5. The Double-Sided Mobile Island Craft Hub
Introduction
At the center of this dynamic craft room sits a large, custom rolling kitchen-style island designed specifically for kids. The Double-Sided Mobile Island Craft Hub provides 360-degree access for group projects, playdates, and large-scale poster painting.
What This Idea Means
A central mobile island removes wall barriers, enabling multiple children to work simultaneously around the same table. Built-in storage beneath the tabletop ensures every side of the island serves a functional purpose.
Materials Needed
- Heavy-duty kitchen island base or two back-to-back bookshelves on heavy-duty lockable caster wheels
- Large durable laminate or butcher block top surface
- Built-in side cubbies and under-counter paper roll dispenser
- Sturdy stools that tuck completely underneath
- Lockable wheel hardware
How to Make It
- Connect two sturdy low bookshelf units back-to-back to create a solid island base.
- Attach four heavy-duty locking caster wheels to the bottom four corners for smooth mobility and safety when locked.
- Secure a wide, smooth butcher block or laminate countertop over the base structure.
- Install a heavy wooden dowel horizontally on one side of the island to hold a large butcher paper roll that feeds onto the tabletop.
- Fill open end-cubbies with paper trays, paints, and daily craft bins.
Tips and Variations
- Tip: Always engage the caster wheel locks before children sit down to prevent unexpected sliding during active painting sessions.
- Variation: Cover half of the countertop surface with a self-healing cutting mat for precise paper crafting and modeling.
6. The Chalkboard Accent Wall & Mural Studio
Introduction
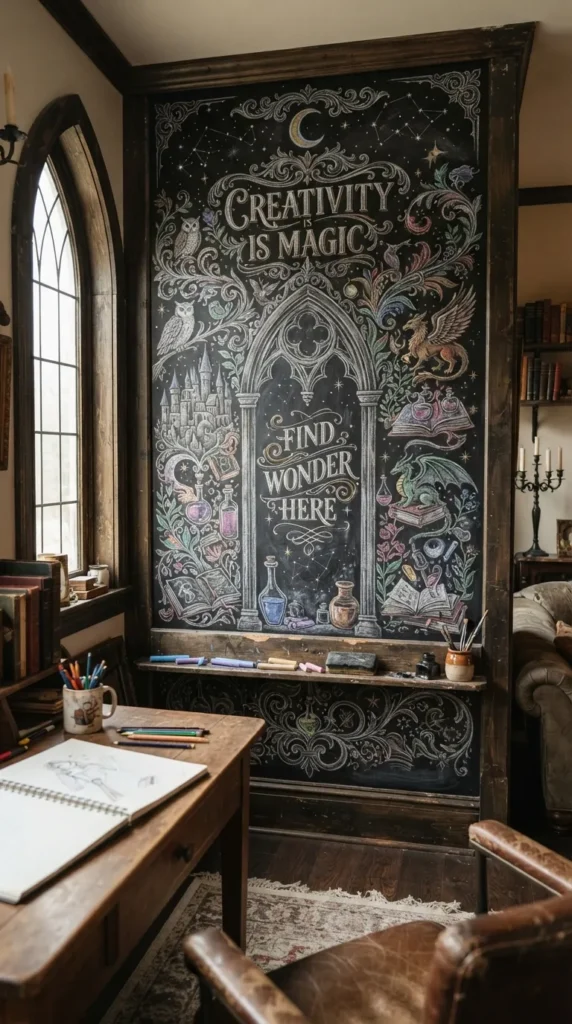
Unleash big-picture thinking with a full floor-to-ceiling chalkboard wall. This craft room concept treats an entire wall as a dynamic, erasable canvas where kids can sketch giant murals, practice hand lettering, or design stage backdrops.
What This Idea Means
Large-scale vertical drawing encourages whole-body physical movement, shoulder joint development, and spatial planning that small paper sheets cannot provide.
Materials Needed
- Quality dark charcoal or black chalkboard wall paint
- Dustless white and vibrant liquid chalk markers
- Picture ledge chalk troughs installed along the baseboard
- Drop cloth or easy-clean flooring along the wall edge
- Wall painter’s tape and sanding block
How to Make It
- Sand the selected accent wall completely smooth, as any wall texture will show through chalk drawings.
- Apply two to three coats of dark chalkboard paint, following drying times carefully between coats.
- Install a shallow wooden picture ledge trim at the base of the wall to catch chalk dust and hold chalk sticks.
- Condition the wall by rubbing the side of a white chalk stick over the entire surface and wiping it off with a damp cloth.
- Provide dustless chalks and liquid chalk pens in hanging wall baskets nearby.
Tips and Variations
- Tip: Keep micro-fiber cloths and water spray bottles in wall holders nearby so kids can erase and reset their drawing wall independently.
- Variation: Use magnetic chalkboard paint as your base layer so the wall can hold magnets and paper sheets alongside chalk drawings.
7. The Cozy Attic Nook Fiber & Sewing Studio
Introduction
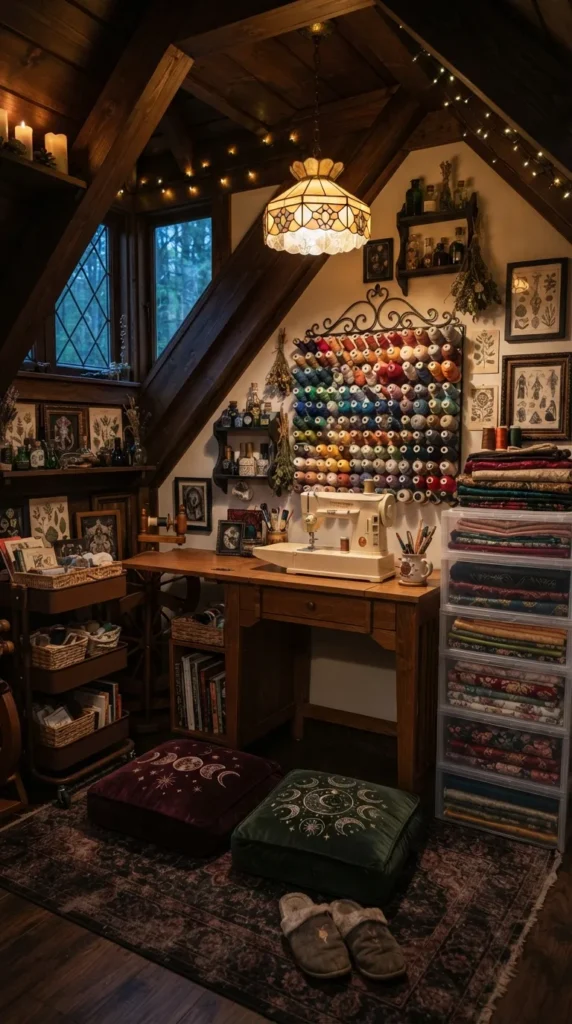
Tucked beneath angled eaves, the Cozy Attic Nook Fiber & Sewing Studio transforms a sloped ceiling space into a warm, inviting retreat for weaving, knitting, embroidery, and basic machine sewing.
What This Idea Means
Attic spaces offer unique architectural charm. Capitalizing on low sloped walls creates a hideaway atmosphere where older kids and teens can dive deep into detailed fiber art projects.
Materials Needed
- Low-profile storage drawers fitting under sloped eaves
- Sewing machine table or sturdy low desk
- Clear plastic ribbon and yarn dispenser boxes
- Overhead warm pendant lighting or floor lamps
- Plush floor cushions and comfortable desk seating
How to Make It
- Build or place low drawer units directly under the lowest point of the sloped roofline to utilize dead space.
- Position the primary sewing table under the highest point of the ceiling or directly beneath a skylight for natural working light.
- Store yarn skeins, embroidery floss, and fabric bolts by color in transparent drawers or open cubbies.
- Mount a thread spool rack directly on the wall above the work table for easy thread color selection.
- Create a cozy fitting and hand-sewing corner nearby with soft floor cushions and a full-length floor mirror.
Tips and Variations
- Tip: Ensure ample lighting by installing adjustable LED task lamps directly onto the sewing desk surface.
- Variation: Install a felt pinboard wall along the sloped roof to pin up fabric swatches, pattern cutouts, and inspiration boards.
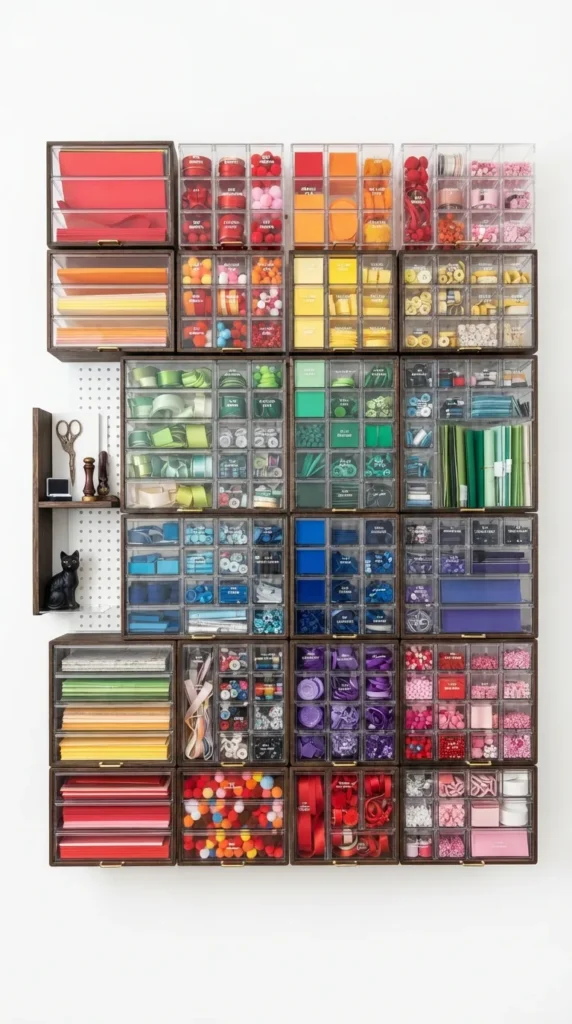
8. The Color-Coded Rainbow Sorting Room
Introduction
Organized strictly by the spectrum of the visible light color wheel, the Color-Coded Rainbow Sorting Room turns storage itself into a high-energy decor statement that makes organizing fun for young children.
What This Idea Means
Organizing by color leverages natural visual association. Kids can instantly categorize, locate, and clean up supplies based on hue, fostering tidy habits through visual play.
Materials Needed
- Wall-mounted grid shelving or cubby units
- Transparent storage bins or drawers
- Supplies categorized strictly by red, orange, yellow, green, blue, purple, pink, black, and white
- Rainbow patterned area rug
- Solid white background walls
How to Make It
- Paint room walls neutral white to allow the rainbow supplies to pop visually.
- Install a grid array of uniform open cubbies across the main wall.
- Sort art supplies—construction paper, pom-poms, pipe cleaners, markers, and yarn—into distinct color groups.
- Place supplies into matching clear bins and arrange the bins across the shelving in chromatic rainbow order (ROYGBIV).
- Accent the space with a rainbow runner rug or color-blocked desk chairs matching the storage colors.
Tips and Variations
- Tip: Use clear acrylic drawers so children can see the vibrant color blocks without needing to open every bin.
- Variation: Paint the interior back panels of each cubby hole in the corresponding color of the supplies stored inside it.
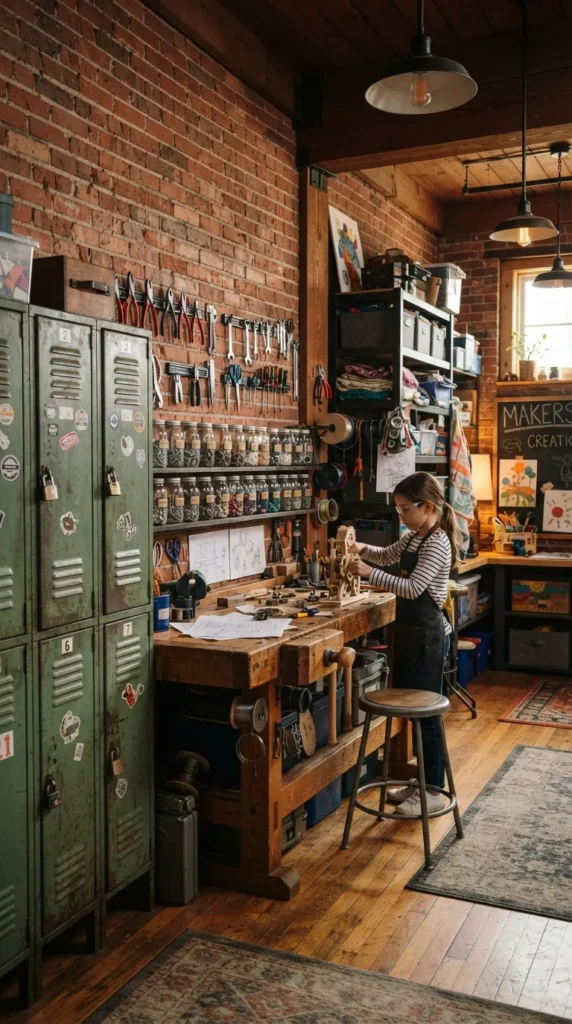
9. The Vintage Upcycled Industrial Makerspace
Introduction
Combining industrial charm with eco-conscious upcycling, the Vintage Upcycled Industrial Makerspace features reclaimed metal lockers, wooden crates, and galvanized tub storage designed for tinkerers and young inventors.
What This Idea Means
A makerspace approach encourages engineering, assembly, and 3D building using recycled items, cardboard, and hardware materials alongside standard craft supplies.
Materials Needed
- Vintage metal school lockers or metal utility shelving
- Industrial metal-and-wood workbenches
- Galvanized steel buckets, mason jars, and vintage wooden crates
- Magnetic tool holder strips
- Heavy-duty utility stools
How to Make It
- Place a heavy-duty industrial workbench with a thick wood top in the center of the room.
- Install vintage tall metal lockers along one wall for storing large supplies, cardboard boxes, and building kits.
- Mount strong magnetic tool strips on the wall to hold metal rulers, safety scissors, and small craft pliers safely out of reach of younger siblings.
- Store nuts, bolts, washers, wood scraps, and gears inside clear mason jars arranged on metal shelves.
- Use vintage wooden crates lined up on the floor for heavy scrap cardboard and building tubes.
Tips and Variations
- Tip: Label metal drawers using vintage metal label holders and stamped label tape to reinforce the industrial aesthetic.
- Variation: Paint one wall with magnetic metallic paint to allow testing and building with magnetic construction toys.
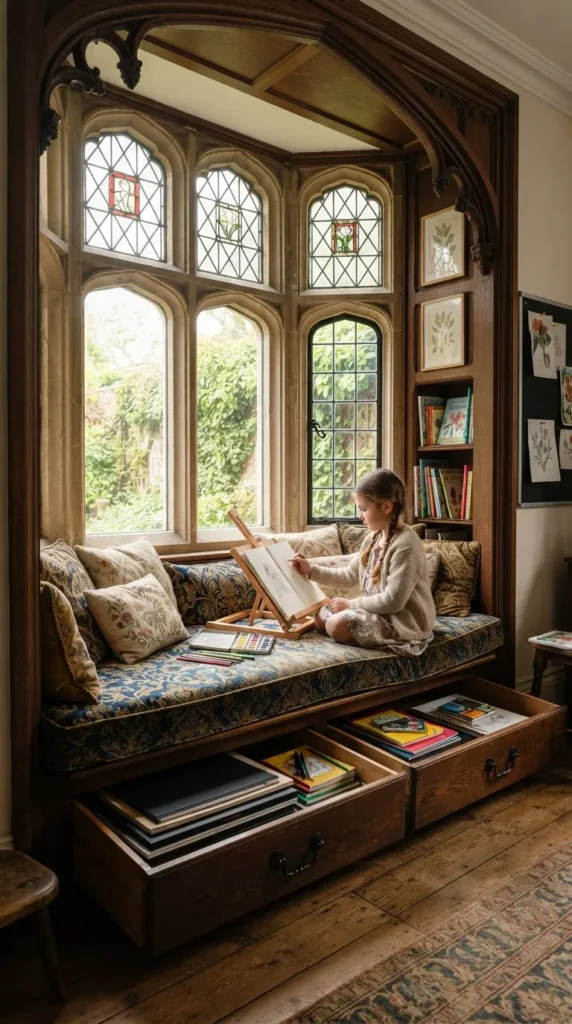
10. The Sunshine Window-Seat Paint & Sketch Lounge
Introduction
Framed by bright natural daylight, the Sunshine Window-Seat Paint & Sketch Lounge turns a window bay into a cozy studio bench equipped with built-in storage drawers and folding easel trays.
What This Idea Means
Natural daylight provides the truest color rendering for painting and sketching. Combining window seating with creative storage creates a sunlit sanctuary for quiet drawing and watercolor painting.
Materials Needed
- Built-in window seat bench with deep pull-out drawers below
- Tailored bench cushion with stain-resistant, washable fabric cover
- Adjustable tabletop easels or swing-arm desk trays
- Sheer sun-filtering window blinds
- Wall-mounted brush holders and water cup trays
How to Make It
- Construct or install a sturdy window seat bench directly under a large natural light window.
- Equip the base of the bench with smooth-gliding deep drawers to hold large watercolor pads, canvas boards, and portfolios.
- Top the bench with a dense foam cushion upholstered in liquid-repellent outdoor fabric.
- Place portable tabletop wood easels on the bench surface or use a swivel-arm desk tray that swings over the bench.
- Install shallow wall pockets on either side of the window frame for paint palettes, brushes, and sketching pencils.
Tips and Variations
- Tip: Choose solar window shades that diffuse harsh direct sunlight while maintaining maximum bright daylight entering the room.
- Variation: Add small swing-out spotlight lamps on side walls for continued sketching sessions after sunset.
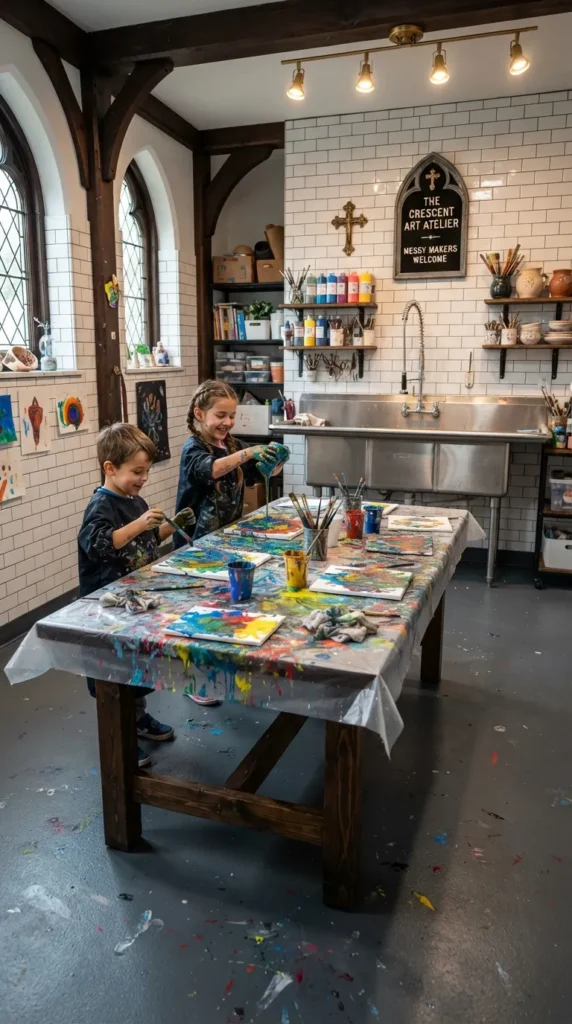
11. The Vibrant Splash & Mess-Proof Wet Studio
Introduction
Built specifically for high-mess artistic endeavors like splash painting, fluid acrylic pouring, clay throwing, and paper mache, the Vibrant Splash & Mess-Proof Wet Studio takes the stress out of cleanup.
What This Idea Means
When parents and children aren’t worried about ruining carpets or staining walls, creative freedom flourishes. Every finish in a wet studio is completely washable, waterproof, and durable.
Materials Needed
- Commercial linoleum or epoxy-coated waterproof flooring
- Stainless steel utility sink with a tall swivel faucet and sediment trap
- High-gloss tile or melamine wall paneling (easy wipe-down)
- Plastic or stainless steel work tables
- Hanging drying racks and drainboard trays
How to Make It
- Install seamless epoxy flooring or thick sheet vinyl with curved baseboards to hold spills safely inside the room.
- Cover work zone walls with smooth, washable white plastic panels or ceramic subway tile up to shoulder height.
- Install a deep stainless steel utility sink equipped with a clay/sediment trap beneath to prevent drain clogs.
- Set up non-porous plastic or stainless steel work tables that can be wiped clean with a single damp sponge pass.
- Wall-mount a multi-tier wire drying rack directly next to the sink area for freshly painted canvases.
Tips and Variations
- Tip: Keep a stack of rubber aprons and a roll of heavy-duty shop paper towels mounted on the wall right beside the sink.
- Variation: Install a floor drain in the center of the room for absolute maximum ease during major fluid art projects.
12. The Under-Bed Pull-Out Mini Craft Station
Introduction
Perfect for compact homes or shared bedrooms, the Under-Bed Pull-Out Mini Craft Station converts hidden bed frame space into a fully functional fold-out or roll-out creative hub.
What This Idea Means
Small-footprint design ensures every child can have a dedicated craft area, regardless of home size. Concealing the studio under a bed keeps the rest of the bedroom neat when crafting is finished.
Materials Needed
- Large shallow rolling trundle cart or custom wooden drawer frame
- Folding leg table mechanisms or hinged desktop panels
- Shallow organizer trays with snap-tight lids
- Low-profile LED strip lights with battery packs
- Folding collapsible stools
How to Make It
- Measure the exact clearance under your child’s bed frame to choose or build a fitting trundle platform on smooth wheels.
- Build or attach a hinged desktop panel to the top of the trundle that lifts up and locks into a stable writing table.
- Fit shallow, compartmented plastic storage trays inside the base for paper, pencils, markers, and stickers.
- Mount thin stick-on LED light strips under the bed frame to illuminate the pull-out desk area clearly.
- Pair with a lightweight collapsible stool that folds flat and slides under the bed alongside the trundle.
Tips and Variations
- Tip: Use containers with snap-locking lids so supplies remain firmly in place when the drawer rolls smoothly in and out.
- Variation: Convert a closet under-stairs space with a fold-down Murphy desk using similar compact layout principles.
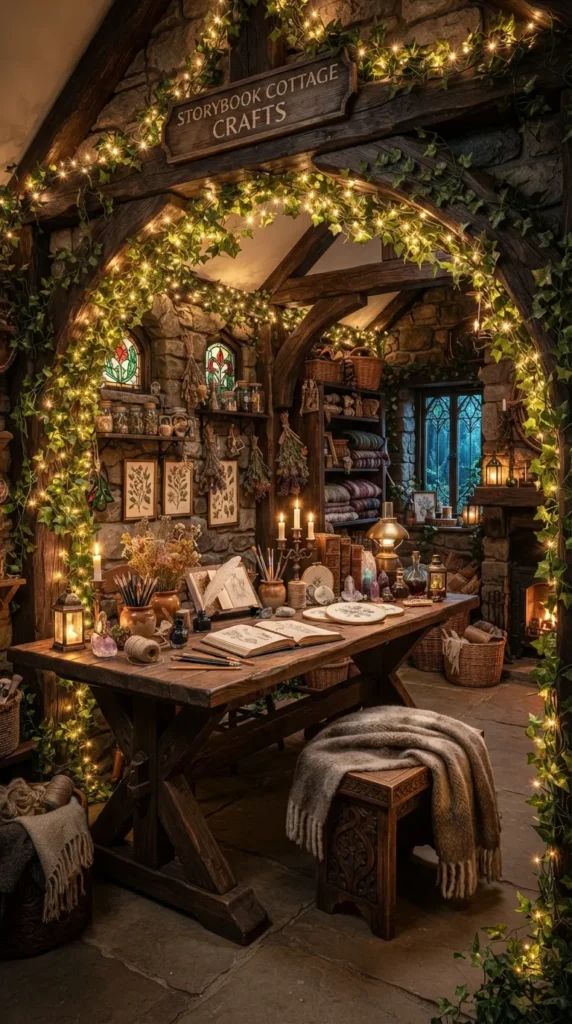
13. The Storybook Fantasy Cottage Craft Nook
Introduction
Stepping into the Storybook Fantasy Cottage Craft Nook feels like entering a fairytale forest studio, featuring whimsical curved woodwork, faux greenery, stone textures, and magical accent lighting.
What This Idea Means
Theme-based craft environments spark imaginative roleplay alongside artistic making. A whimsical atmosphere makes storytelling, puppet making, and fantasy painting feel immersive.
Materials Needed
- Faux ivy vines, faux flower garlands, and wooden branch motifs
- Stone-look wallpaper or warm wood plank wall panels
- Rustic wooden trestle table and carved wooden chairs
- Fairy string lights and lantern lamps
- Woven willow baskets and vintage-style tin trunks
How to Make It
- Cover an accent wall with textured stone-print wallpaper or warm distressed timber planks.
- Frame door arches and ceiling corners with lush faux ivy vines wrapped around warm fairy light strings.
- Position a rustic wooden trestle table and carved wooden chairs in the center of the nook.
- Store craft supplies inside woven willow baskets, wooden treasure chests, and vintage tin boxes.
- Hang warm lantern-style pendant lights overhead to create a cozy, enchanting glow.
Tips and Variations
- Tip: Ensure fairy lights use low-heat LED bulbs to keep faux greenery cool and safe.
- Variation: Add a small puppet theater stage built into a wall corner with velvet curtains for performing storybook crafts.
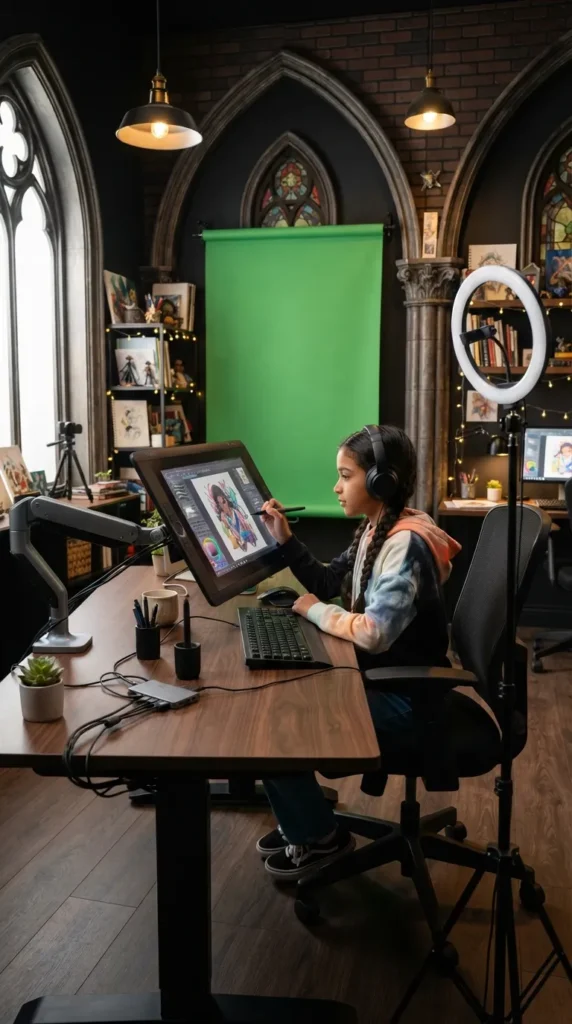
14. The Tech-Integrated Digital Art & Media Lab
Introduction
Designed for modern youth artists, the Tech-Integrated Digital Art & Media Lab bridges traditional hands-on crafting with digital illustration, 3D printing, stop-motion animation, and graphic design.
What This Idea Means
Creative expression for older kids often involves digital tools. Providing a space equipped with cable management, screen arm mounts, and proper lighting supports digital creation alongside traditional sketching.
Materials Needed
- Ergonomic computer desk with built-in cable management channels
- Adjustable monitor arm mounts and drawing tablet stands
- Ring lights and overhead softbox lamps for filming or stop-motion
- Green screen pull-down roller shade mounted to wall
- Surging protector power strips and USB charging hubs
How to Make It
- Install a wide, sturdy desk featuring built-in grommets and under-desk cord trays to manage power cables cleanly.
- Mount a digital drawing tablet or monitor onto an adjustable articulated arm for comfortable ergonomic posture.
- Install a pull-down green screen roller shade on the wall behind the desk for video editing and animation backdrops.
- Set up an overhead tripod or articulated arm holding a smartphone or camera over a flat work mat for overhead craft recording.
- Provide dedicated charging docks and padded storage cases for digital pens, tablets, and 3D printing pens.
Tips and Variations
- Tip: Use color-accurate 5000K daylight LED desk bulbs so digital screen colors match physical art printouts accurately.
- Variation: Include a traditional paper sketching desk directly adjacent to the computer station for fast drafting before digital rendering.
15. The Shared Sibling Split-Zone Craft Room
Introduction
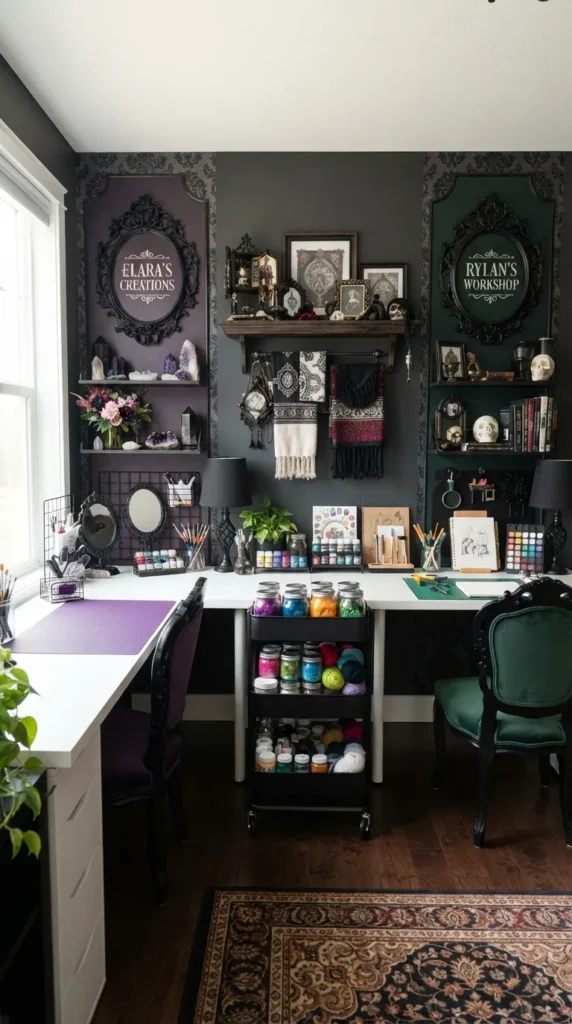
Say goodbye to arguments over craft supplies! The Shared Sibling Split-Zone Craft Room creates individual, customized work zones for two or more children while providing shared central supply hubs.
What This Idea Means
Shared-space design respects individual personal boundaries and differing age abilities while encouraging collaborative play. Color coding distinct zones helps each child take personal ownership of their space.
Materials Needed
- Long continuous countertop divider or two separate desks placed end-to-end
- Individual wall-mounted storage shelves over each desk zone
- Central shared mobile supply trolley
- Color-coded desk chairs and matching desk pads
- Wall dividers or floating shelf partitions
How to Make It
- Install a long continuous wall-to-wall desk counter split down the center with a low floating partition or drawer unit.
- Assign each child a dedicated side, painting the wall or installing desk accessories in their individual favorite color palette.
- Mount personalized bulletin boards and open supply shelves directly above each child’s desk space.
- Place a shared rolling utility cart containing communal supplies (like glue, scissors, and scrap paper) directly between the zones.
- Equip each zone with an individual desk light and personalized name plaque.
Tips and Variations
- Tip: Tailor desk heights individually using adjustable desk legs if sharing the room between toddlers and older school-age kids.
- Variation: Use a double-sided tall bookshelf standing perpendicular to the wall as a central room divider to give each sibling more visual privacy.
16. The Eco-Friendly Upcycling Scrap Studio
Introduction
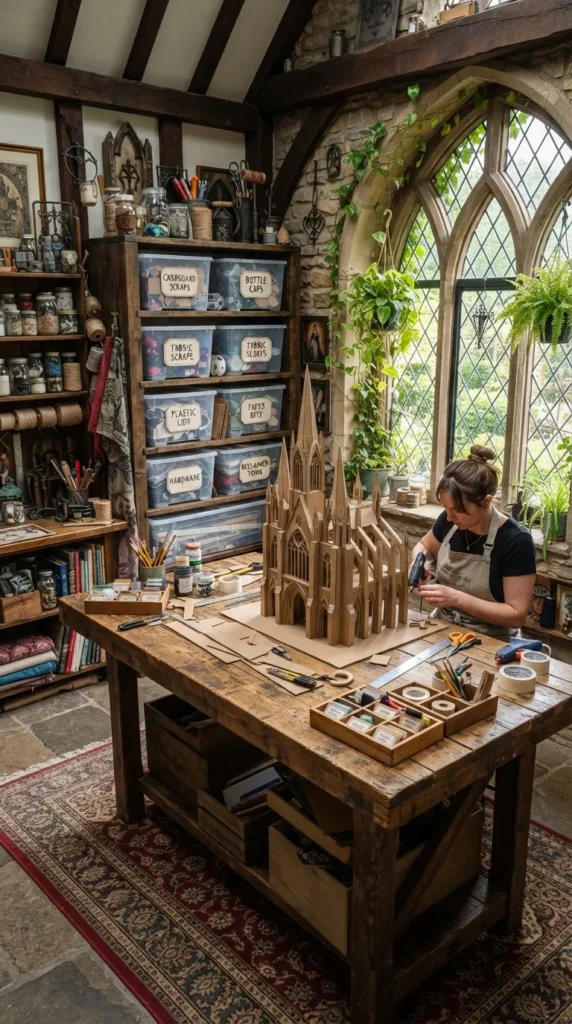
Dedicated entirely to sustainability, the Eco-Friendly Upcycling Scrap Studio features categorized bin systems designed to turn clean household recycling, fabric scraps, and packaging materials into imaginative sculptures.
What This Idea Means
Upcycling fosters inventive resourcefulness. Having an organized system for scrap materials teaches kids to see artistic potential in everyday objects rather than throwing them away.
Materials Needed
- Clear stackable recycling bins with wide front-opening lids
- Cardboard shredders and heavy-duty safety craft shears
- Non-toxic plant-based craft glues and paper tapes
- Large wooden sorting table
- Wall-mounted paper and fabric roll dispensers
How to Make It
- Line up clear, stackable front-opening storage bins along one wall.
- Label each bin clearly by material type: “Clean Cardboard Boxes”, “Plastic Caps & Bottles”, “Fabric & Ribbon Scraps”, and “Paper Tubes”.
- Set up a wide, durable wooden work table capable of handling cardboard construction and hot glue work.
- Install wall dispensers for eco-friendly kraft paper rolls, masking tape, and natural jute twine.
- Provide specialized child-safe cardboard cutting tools, hole punches, and safe attachment fasteners nearby.
Tips and Variations
- Tip: Wash and thoroughly dry all food containers, milk jugs, and plastic caps before placing them into sorting bins.
- Variation: Install a scale station where kids can weigh their upcycled creations to calculate how much material they diverted from landfills.
17. The Scandinavian Natural Light & Wooden Birch Room
Introduction
Emphasizing minimalism, soft warmth, and organic textures, the Scandinavian Natural Light & Wooden Birch Room creates a peaceful, clutter-free sanctuary for serene artistic focus.
What This Idea Means
Scandinavian interior design combines functional simplicity with light natural woods, soft neutral tones, and abundant natural light, producing a clean yet cozy creative atmosphere.
Materials Needed
- Light blonde birch wood furniture (table, chairs, and wall shelving)
- Soft off-white, light warm grey, or muted oatmeal wall paint
- Natural cotton fabric bin inserts and woven seagrass baskets
- Simple minimalist desk lamps with warm LED lighting
- Wool felt desk pads and natural jute floor rugs
How to Make It
- Paint walls in a soft, light-reflecting off-white or cream shade.
- Select light blonde birch or pine wood for tables, chairs, and floating wall shelves.
- Keep supply storage tucked neatly inside light grey felt baskets and seagrass storage boxes on low shelves.
- Maximize natural daylight by keeping window treatments minimal, using sheer linen curtains.
- Anchor the work space with a soft, natural wool or jute rug under the main table.
Tips and Variations
- Tip: Maintain strict clutter control by keeping only active daily art supplies on display; store excess stock in covered baskets.
- Variation: Add subtle muted pastel accents (like pale dusty blue or sage green) on desk accessories for gentle color contrast.
18. The Interactive Magnetic Board & Tile Studio
Introduction
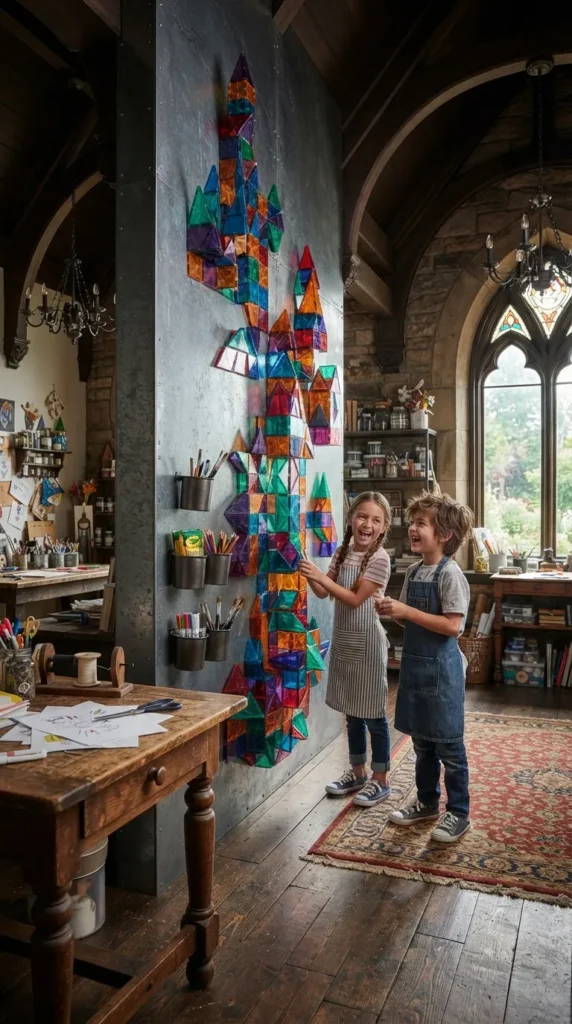
Turn wall surfaces into dynamic, interactive play spaces using floor-to-ceiling magnetic panels. The Interactive Magnetic Board & Tile Studio allows kids to build magnetic tile structures, arrange magnetic letters, and mount paper art instantly without pins or tape.
What This Idea Means
Magnetic walls create a reusable, damage-free vertical canvas. Children can build 3D geometry creations on the wall or arrange collaborative art projects seamlessly.
Materials Needed
- Wall-mounted galvanized steel sheets or full-wall magnetic wallpaper
- Magnetic plastic storage cups and spice tins for small supplies
- Colorful magnetic tiles, magnetic letters, and magnetic wooden shapes
- Soft rubber corner guards for metal sheet edges
- Low-profile wooden tray table
How to Make It
- Securely mount large galvanized steel sheets or magnetic wall panels onto a primary focal wall, capping edges with smooth wooden trim.
- Attach strong magnetic storage cups directly onto the metal wall to hold markers, paintbrushes, and magnetic shapes.
- Provide sets of translucent magnetic tiles and geometric blocks that kids can stick and build vertically directly on the wall.
- Use small magnetic clips to display paper drawings anywhere on the metal wall surface instantly.
- Place a low tray table against the base of the wall to catch any falling magnetic pieces during play.
Tips and Variations
- Tip: Ensure all sheet metal edges are completely capped behind smooth wooden framing trim to protect little hands from sharp edges.
- Variation: Combine magnetic wall sheets with magnetic whiteboards so children can draw marker outlines around their magnetic tile structures.
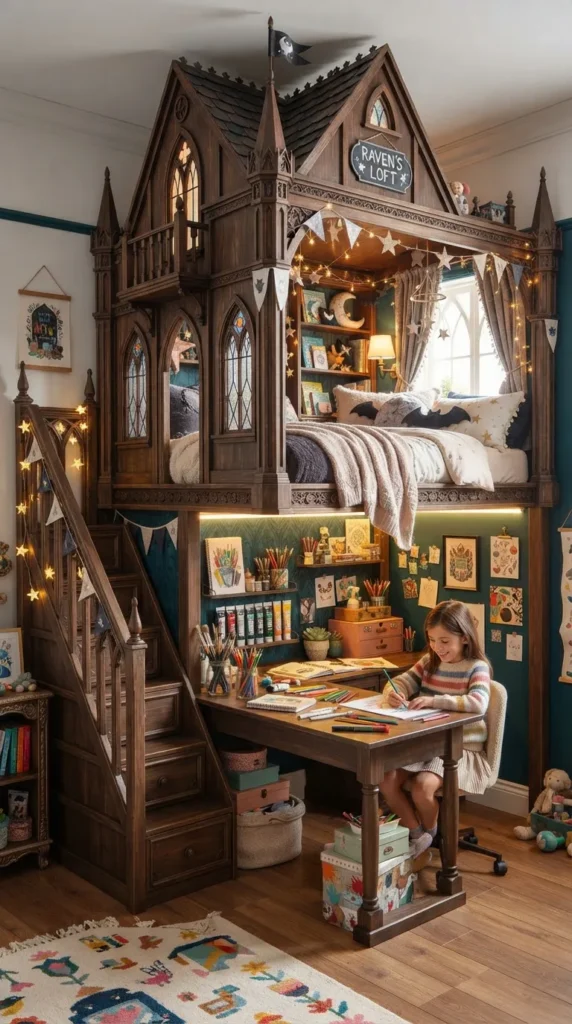
19. The Playhouse Loft Over-Craft-Desk Combo
Introduction
Maximize vertical room space with a custom architectural build featuring a whimsical cozy reading playhouse loft on top, with a spacious, fully equipped craft studio built directly underneath.
What This Idea Means
Loft integration doubles available floor square footage in smaller rooms. Separating quiet reading upstairs from active art crafting downstairs creates distinct play zones within one room footprint.
Materials Needed
- Custom sturdy wooden playhouse loft frame with secure safety railings and access ladder/stairs
- Built-in lower desk countertop with integrated LED under-cabinet lighting
- Wall-mounted storage shelving and paper roll holders under the loft
- Comfortable desk chair below and plush beanbags above
- Smooth protective wood stain or non-toxic paint
How to Make It
- Construct or assemble a sturdy timber loft bed/playhouse structure anchored securely into wall studs.
- Install a wide, custom-cut wooden desk surface directly across the space beneath the loft platform.
- Mount warm LED strip lighting under the upper loft floor joists to fully illuminate the desk work surface below.
- Install pegboards or floating supply shelves along the back wall under the loft nook.
- Furnish the upper loft deck with plush cushions, reading lamps, and books as a cozy quiet retreat.
Tips and Variations
- Tip: Ensure the lower desk clearance height provides plenty of headroom so kids don’t bump their heads when standing up from the craft table.
- Variation: Add a sturdy slide attached to the upper loft platform as a fun way to exit the top playhouse zone down into the craft room floor.
20. The Multi-Tier Rolling Trolley Craft Corner
Introduction
For homes without a dedicated spare room, the Multi-Tier Rolling Trolley Craft Corner creates a fully functional, highly organized mobile art studio that can roll out for creative time and tuck neatly into a closet when done.
What This Idea Means
Flexibility is key for multi-use living spaces. A mobile utility cart packs hundreds of craft items into a tight, vertical footprint that moves wherever your child wants to create.
Materials Needed
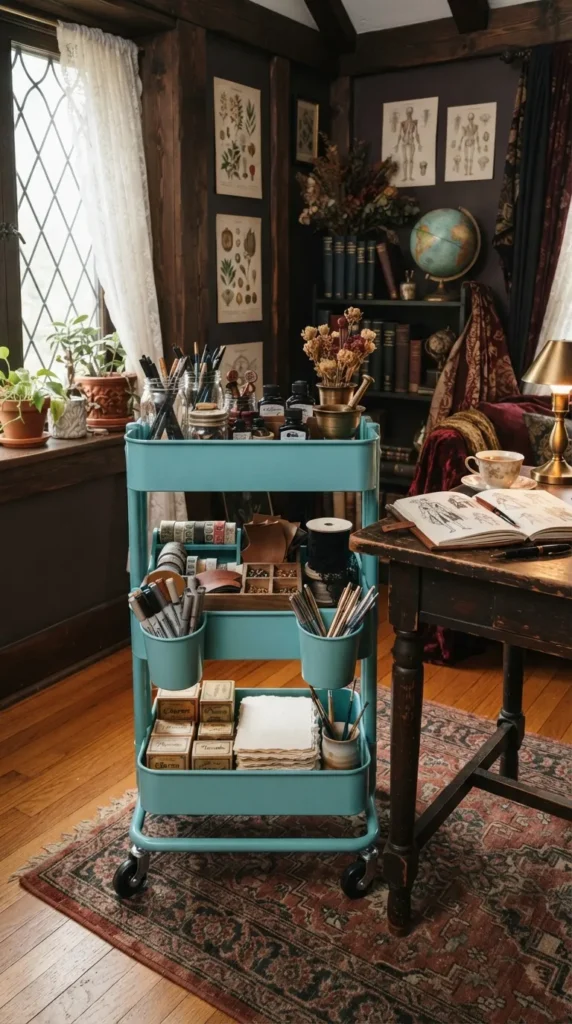
- 3-tier heavy-duty metal rolling utility cart
- Hanging side plastic bins, cup holders, and magnetic hook attachments
- Clear compartmented drawer inserts and bin dividers
- Portable folding table or kitchen table spot
- Snap-lid plastic paper case
How to Make It
- Assemble a heavy-duty 3-tier metal rolling cart in a fun accent color (like turquoise, mustard yellow, or blush pink).
- Top Tier: Place active, daily-use items like pencil cups, scissors, glue sticks, and paintbrushes in hanging cup holders attached to the top rim.
- Middle Tier: Organize small embellishments like pom-poms, stickers, stamps, and beads inside compartmented plastic tray boxes.
- Bottom Tier: Store heavier items like sketchbooks, construction paper stacks, paint bottles, and clay packs flat in larger bins.
- Attach magnetic hooks to the outer metal sides of the cart to hold smocks, aprons, and ruler tools.
Tips and Variations
- Tip: Choose a cart with smooth-rolling rubber caster wheels that move effortlessly over both hardwood floors and thick area carpets.
- Variation: Dedicate separate rolling carts for different artistic mediums—for example, one cart for paper painting and another for modeling clay and building sets.