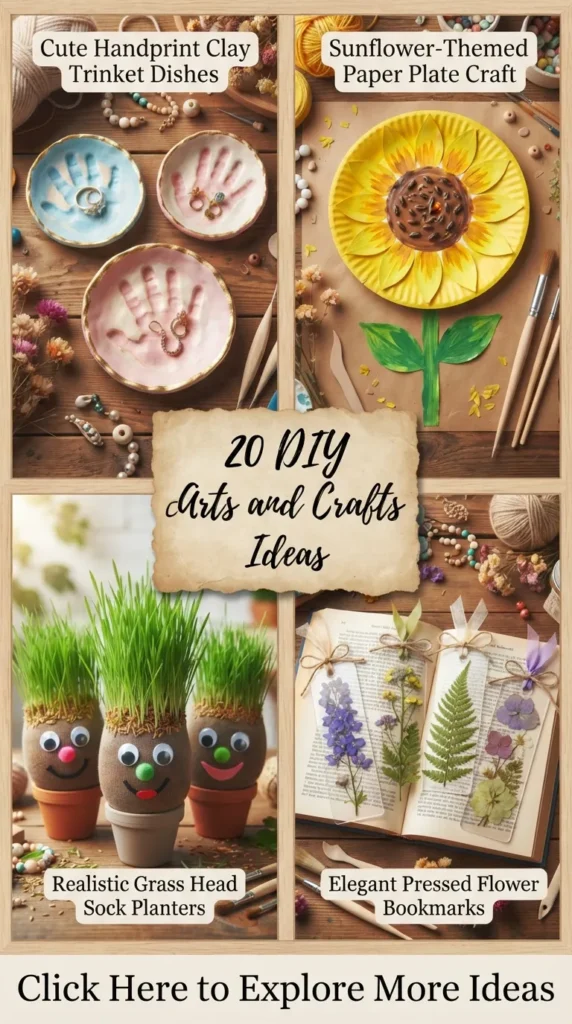
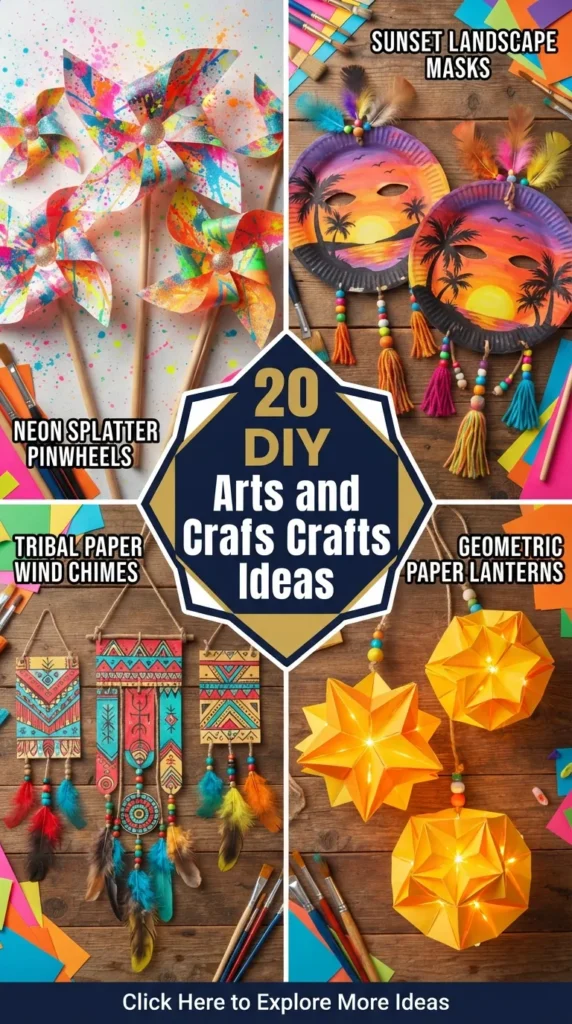
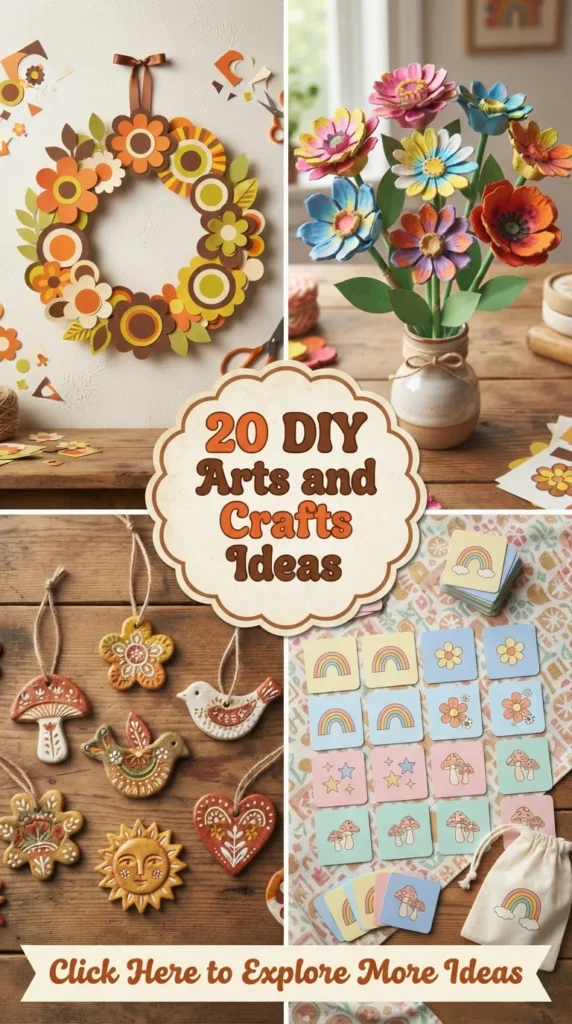
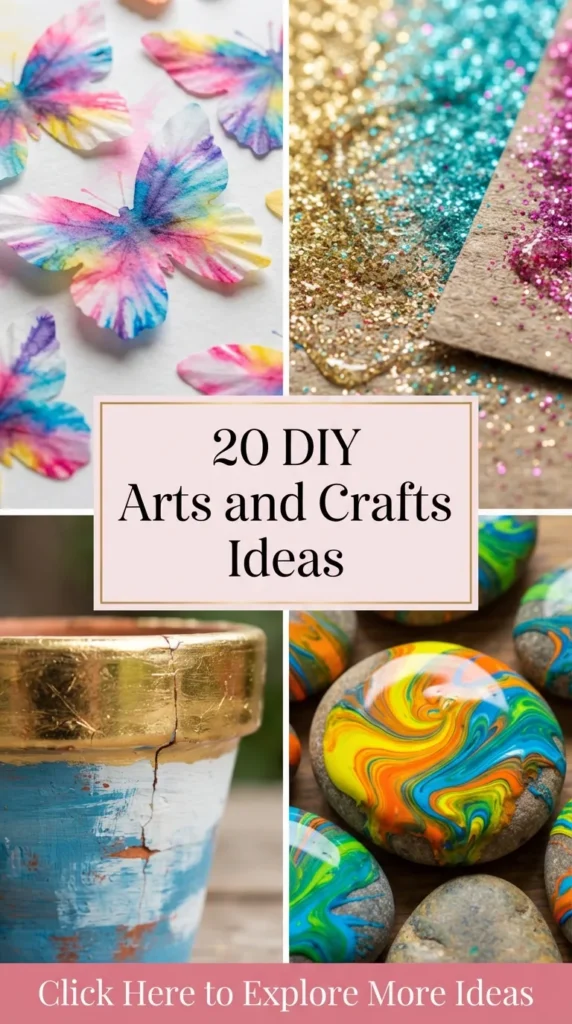
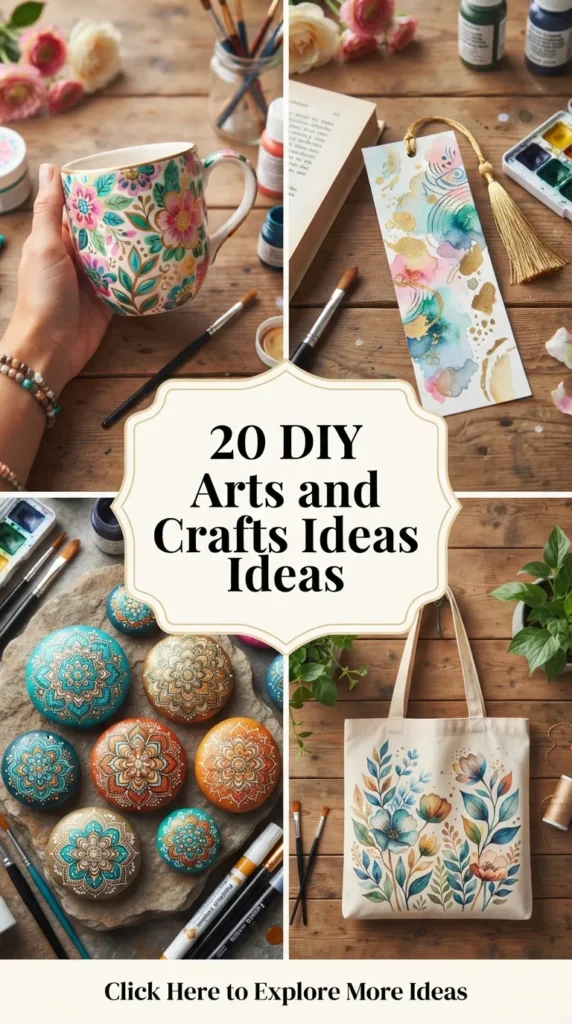
20 DIY Arts and Crafts Ideas
Engaging in hands-on arts and crafts is one of the most rewarding ways to express creativity, revitalize your living space, and cultivate mindfulness. Engaging with physical mediums—whether it’s molding clay, blending fluid paints, or weaving natural fibers—allows us to slow down and create tangible beauty. The true magic of DIY crafting lies in taking simple, affordable materials and transforming them into stunning, custom works of art that reflect your personal style.
Whether you are an experienced maker looking for your next creative weekend project or a beginner eager to explore new artistic mediums, this comprehensive guide offers 20 amazing, realistic, and Pinterest-friendly DIY arts and crafts ideas. Each concept includes a detailed overview, step-by-step assembly guides, professional tips, creative variations, and a full checklist of required materials to ensure your creative journey is seamless and inspiring.
1. Textured Plaster Arch Canvas Art
What This Idea Means
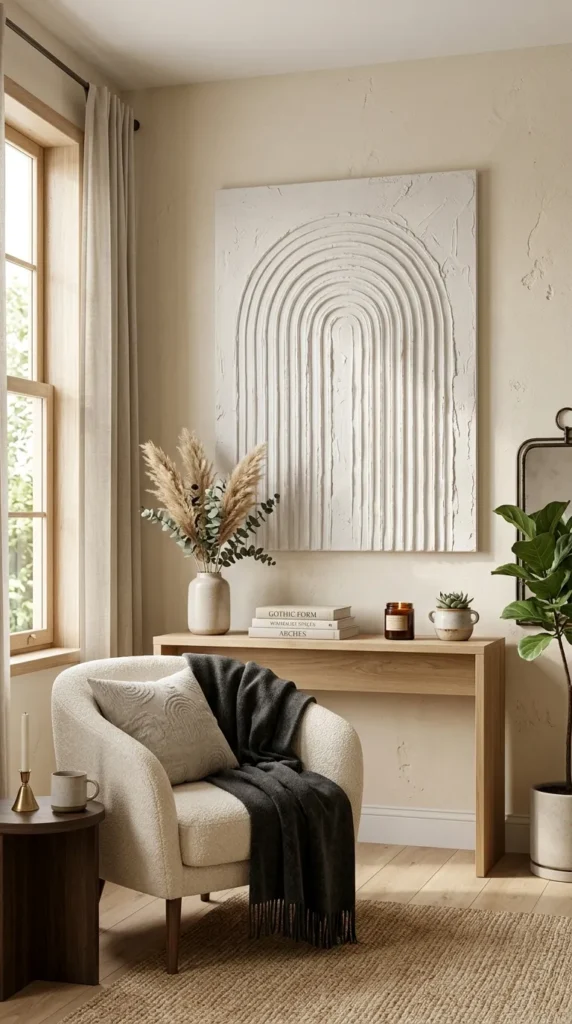
Textured plaster arch art uses joint compound spread over a stretched canvas to construct minimalist, 3D architectural reliefs. Popularized in modern bohemian and Scandinavian interior design, this technique creates subtle light-and-shadow play across walls without requiring complex sculpting skills.
How to Make It
- Prepare the Work Area: Lay a stretched canvas flat on a protected work table. Tape off outer canvas borders if you desire a clean, flat frame edge.
- Apply Plaster Base: Scoop pre-mixed joint compound onto the canvas using a wide putty knife. Spread an even layer roughly 1/4 inch thick across the surface.
- Scrape Arch Patterns: Drag a notched plastic comb or trowel in sweeping, continuous semicircular motions to create concentric arch grooves in the wet plaster.
- Dry & Finish: Allow the compound to cure for 24 hours. Leave it pristine white or paint over it with soft beige, sage, or terracotta acrylic paint.
Tips and Variations
- Tips: Keep a spray bottle filled with water nearby; if the plaster begins to set too fast while combing arches, spritz it lightly to regain smooth workable texture.
- Variations: Combine multiple smaller canvases to form a gallery triptych featuring flowing interlocking wave patterns instead of arches.
Needs to Make That Thing
- Stretched cotton canvas
- Pre-mixed wall joint compound or spackle
- Notched plastic trowel or serrated scraper
- Wide putty knife
- Neutral acrylic paints and foam brushes (optional)
2. Pressed Botanical Floating Glass Frames
What This Idea Means
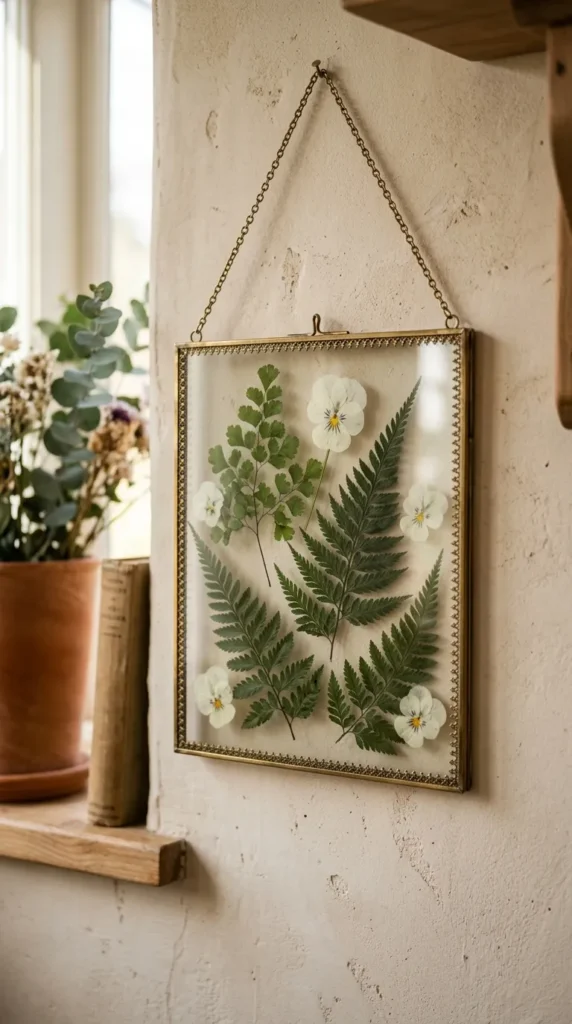
This project suspends real pressed flowers, ferns, and botanical leaves between two clear panes of glass within a minimalist floating frame. It captures the fleeting beauty of nature and turns preserved flora into elegant, light-filled wall art.
How to Make It
- Forage & Press Botanicals: Collect flat green leaves, ferns, and thin flower petals. Flatten them inside heavy books lined with parchment paper for 5–7 days.
- Prep Frame: Disassemble a double-sided glass floating frame and clean both glass panes thoroughly with rubbing alcohol.
- Arrange Composition: Position your dried flora on the bottom glass pane using tweezers. Apply tiny microscopic dots of clear craft glue onto the backs of stems to secure their position.
- Reassemble & Display: Carefully lay the top glass pane back over the arrangement, lock the outer frame clips, and hang near a sunlit window.
Tips and Variations
- Tips: Choose thin blooms like pansies, daisies, and delicate fern fronds; thick flower centers hold moisture and will fade or mold over time.
- Variations: Add calligraphed poetry quotes on clear film sheets or gold foil accent leafing alongside the botanicals.
Needs to Make That Thing
- Double-sided glass floating picture frame
- Pressed dried leaves and flowers
- Precision tweezers
- Clear quick-dry craft glue
- Rubbing alcohol and microfiber cloth
3. Sculpted Air-Dry Clay Botanical Impression Bowls
What This Idea Means
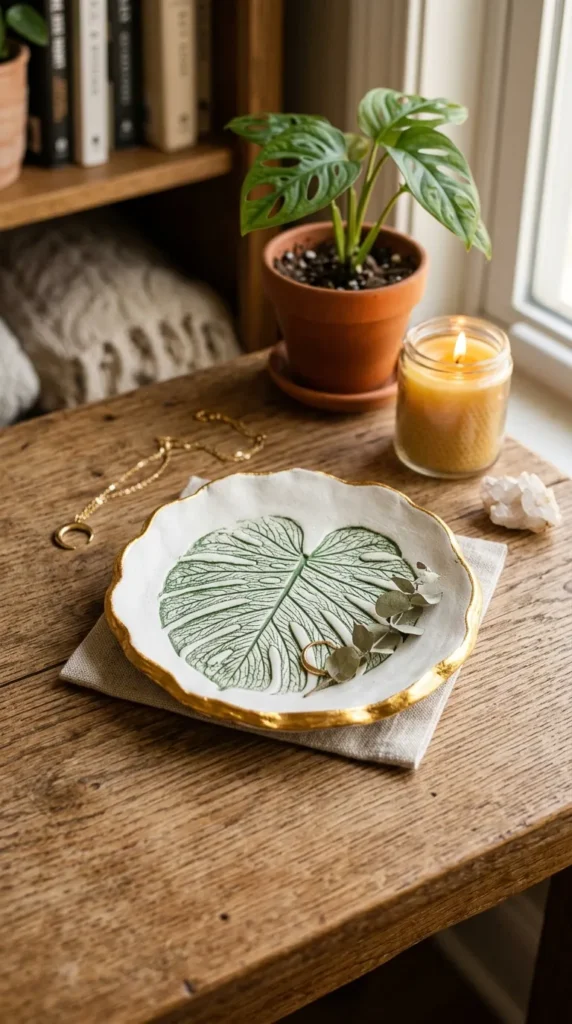
Botanical impression bowls involve rolling out air-dry clay, pressing real fresh leaves or wildflowers into the surface to transfer detailed vein patterns, and shaping the clay into shallow catch-all trinket dishes.
How to Make It
- Roll the Clay: Knead air-dry clay until pliable and roll it out flat onto parchment paper to a 1/4-inch thickness using an acrylic roller.
- Stamp Impressions: Lay fresh, vein-heavy leaves (like monstera, maple, or fern) face-down onto the clay. Roll over them firmly with your roller, then carefully peel away the plants.
- Form Bowl: Cut a circle around the leaf print using a craft knife. Gently press the clay circle into a shallow kitchen bowl lined with plastic wrap to curl the edges upward.
- Cure & Paint: Let dry for 48 hours. Paint the impressed vein lines with dark green or metallic gold acrylic paint, then seal with glossy Mod Podge.
Tips and Variations
- Tips: Smooth out small surface cracks in the wet clay using a damp finger before leaving it to dry.
- Variations: Stamp vintage lace, crochet doilies, or rubber stamps into the clay instead of botanical leaves.
Needs to Make That Thing
- White air-dry modeling clay
- Fresh leaves or flowers with raised veins
- Acrylic rolling pin and parchment paper
- Craft knife or round cutter
- Acrylic craft paints and fine detail brushes
- High-gloss clear sealer
4. Dip-Dyed Macramé Feather Wall Hanging
What This Idea Means
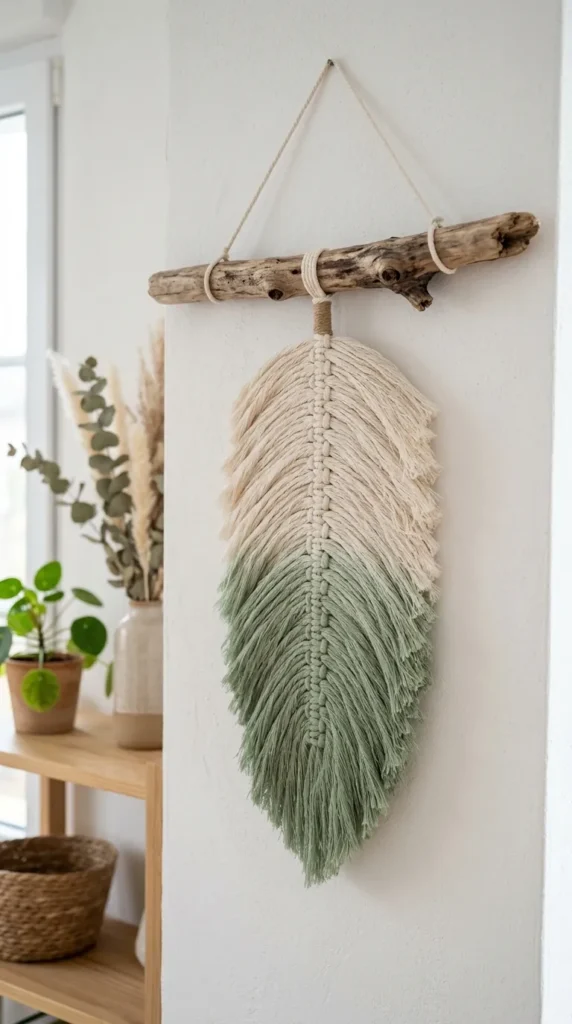
This fiber art project blends classic macramé knotting with vibrant textile dip-dyeing. Crafting soft, brushed-out yarn feather plumes and dipping them into fabric dye yields a cozy, bohemian wall accent full of movement and texture.
How to Make It
- Build Plume Spine: Cut a 12-inch central macramé cord. Tie 20 pairs of 6-inch cord pieces along the main strand using square knots to form a central feather base.
- Brush Out Fringe: Use a fine-tooth wire pet slicker brush to untwist and comb out the cotton fibers into a broad, flat, fluffy fringe.
- Trim & Stiffen: Trim the fringe into a sharp feather silhouette using fabric shears. Spray generously with fabric stiffener spray.
- Dip-Dye: Submerge the bottom half of the feather into a liquid dye bath for 3 minutes to create a soft ombre gradient. Hang to dry completely.
Tips and Variations
- Tips: Lay the feather on a flat piece of cardboard while brushing to keep your strands smooth and un-tangled.
- Variations: Mount multiple feathers of varying sizes and complementary colors along a natural piece of wooden driftwood.
Needs to Make That Thing
- 4mm single-strand cotton macramé cord
- Wire pet slicker brush or fine comb
- Sharp fabric scissors
- Liquid fabric dye (indigo, terracotta, or sage)
- Fabric stiffener spray
- Driftwood branch or wooden dowel
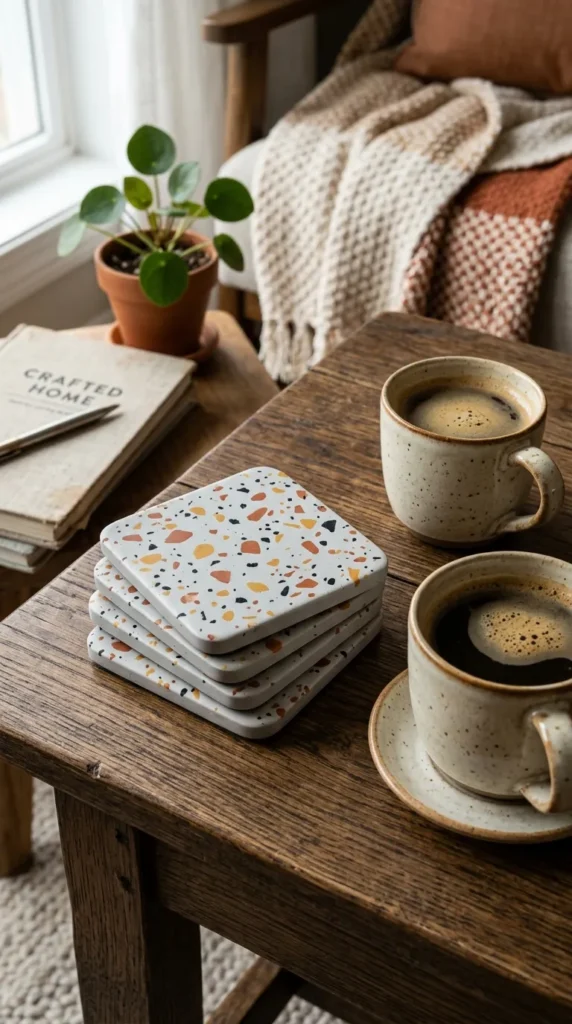
5. Terrazzo-Style Polymer Clay Coasters
What This Idea Means
Terrazzo polymer clay coasters mimic Italian stone composite by embedding tiny multicolored clay flecks into a contrasting clay base sheet. Once baked and wet-sanded, these handcrafted coasters offer a durable, waterproof addition to coffee tables.
How to Make It
- Prep Clay Base: Roll out a block of white or beige polymer clay on parchment paper to a 1/4-inch thick sheet using an acrylic roller.
- Add Terrazzo Flecks: Chop small leftover scraps of colored polymer clay (black, mustard, terracotta, sage) into tiny irregular geometric chips.
- Scatter & Roll: Scatter the colored chips over the white base sheet. Roll over the sheet firmly with your acrylic roller to press the chips flat and flush into the base.
- Cut & Bake: Cut out round or square coaster shapes using cookie cutters. Bake on a foil-lined sheet at 275°F (135°C) for 30 minutes.
- Sand & Seal: Wet-sand the cooled coasters under running water with 800-grit sandpaper for a smooth stone finish, then apply a matte varnish.
Tips and Variations
- Tips: Always wet-sand polymer clay under running water to keep dust down and achieve a silky finish.
- Variations: Add small flecks of gold metallic foil leafing alongside the clay flecks for an elegant shimmer.
Needs to Make That Thing
- Polymer clay (white base + colorful scrap colors)
- Acrylic clay roller and parchment paper
- Round or square biscuit cutters
- Baking sheet and oven
- Wet/dry sandpaper (800-grit)
- Clear matte varnish
6. Upcycled Glass Bottle Taper Candle Holders
What This Idea Means
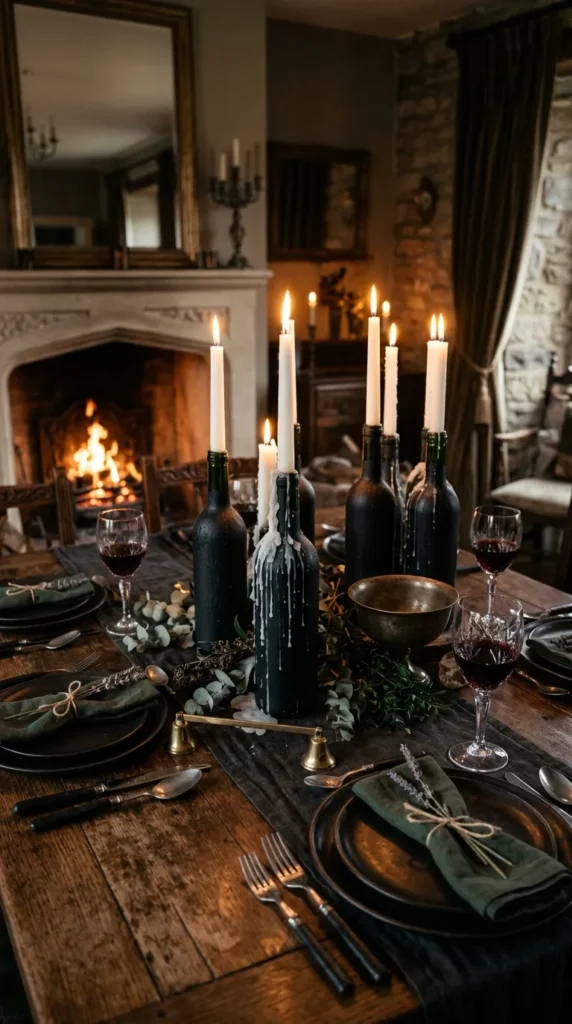
Upcycling discarded wine, soda, or olive oil bottles into custom taper candle holders is an eco-friendly project that combines sustainability with chic interior styling. Matte paint finishes and hand-painted details turn glass waste into dramatic table accents.
How to Make It
- Clean Glass: Soak glass bottles in warm soapy water to peel away paper labels and adhesive completely. Dry thoroughly.
- Apply Base Spray: Spray paint the bottles with 2 thin coats of matte black, cream, or terracotta spray paint.
- Add Details (Optional): Draw modern arch patterns or polka dots using paint pens, or wrap natural jute twine tightly around the bottle neck.
- Insert Tapers: Insert tall, colorful taper candles into the bottle mouth opening. Trim the candle base slightly if the fit is too snug.
Tips and Variations
- Tips: Spray paint outdoors on a calm day, keeping the can 10 inches away to avoid paint drips and runs.
- Variations: Leave clear glass unpainted, filling the bottle interior with water and fresh rosemary sprigs or eucalyptus before adding the candle.
Needs to Make That Thing
- Recycled clean glass bottles
- Matte or metallic spray paint
- Paint pens or acrylic markers
- Tall taper candles
- Jute twine or ribbon (optional)
7. Faux-Ceramic Painted Glass Vases
What This Idea Means
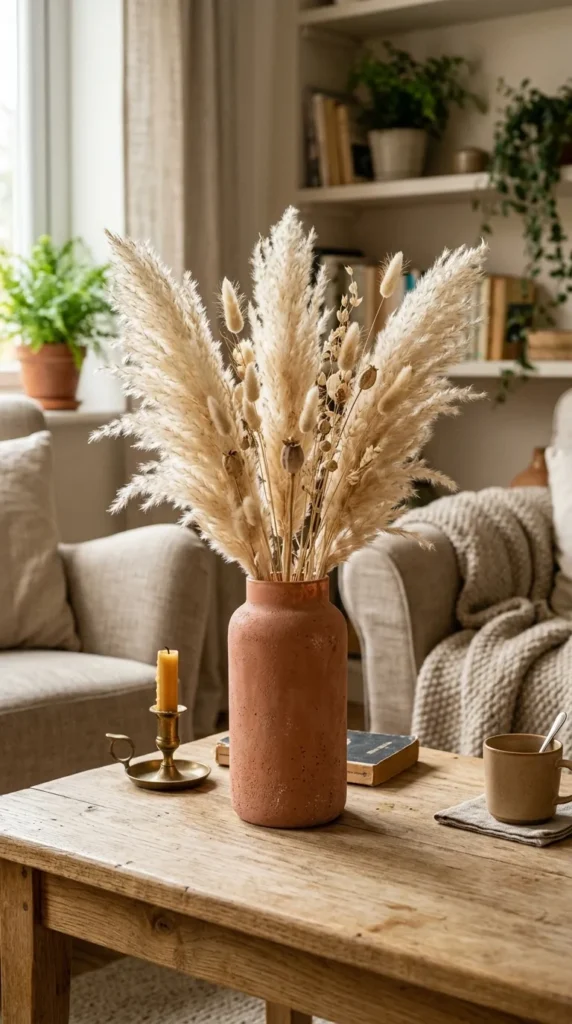
By mixing baking powder into standard acrylic craft paint, you can transform glossy thrift store glass vases into textured vessels that look like expensive, matte, hand-thrown stoneware ceramics.
How to Make It
- Clean Surface: Wipe down glass vases with rubbing alcohol to remove grease and dust.
- Mix Textured Paint: In a cup, mix 1 cup of acrylic paint with 1 tablespoon of baking powder. The mixture will puff up into a fluffy, textured paste.
- Paint the Glass: Brush the thick paint mixture onto the glass vase in horizontal strokes using a stiff paintbrush.
- Layer & Dry: Allow the first layer to dry for 30 minutes, then apply a second coat to ensure complete glass coverage.
Tips and Variations
- Tips: Do not add water to the paint mixture; the baking powder reaction relies on thick paint to create a realistic chalky pottery texture.
- Variations: Use terracotta-colored paint and sprinkle fine sand onto the wet second coat to mimic rustic clay.
Needs to Make That Thing
- Thrifted glass vases or jars
- Acrylic craft paints
- Baking powder
- Mixing cup and spoon
- Stiff bristled paintbrush
- Rubbing alcohol
8. DIY Hand-Poured Botanical Soy Candles
What This Idea Means
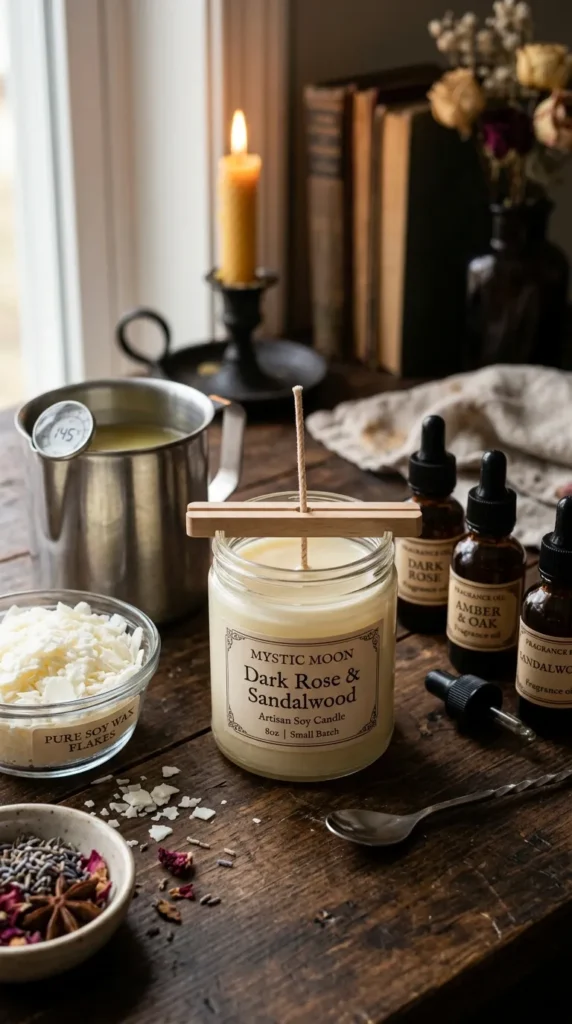
Creating custom soy wax candles poured into glass jars and decorated with dried flowers and essential oils combines scent craft with visual elegance, making long-burning, eco-friendly candles for your home.
How to Make It
- Set the Wick: Secure a cotton wick tab to the inside bottom center of a glass jar using a wick sticker or hot glue.
- Melt Soy Wax: Melt natural soy wax flakes in a metal pouring pitcher placed inside a pot of simmering water until it reaches 185°F (85°C).
- Scent & Pour: Stir in candle fragrance oil for 2 minutes, let cool to 135°F (57°C), and carefully pour into the jar. Secure the top wick centered with a wooden clip.
- Decorate Top: When the top wax layer becomes slushy and semi-opaque (about 30 minutes later), gently place dried botanical petals onto the surface with tweezers. Allow to harden overnight.
Tips and Variations
- Tips: Wait until the top wax layer is firm enough to support dried flowers so they don’t sink to the bottom of the jar.
- Variations: Add liquid candle dye or mica powder to create colorful shimmering wax pools when melted.
Needs to Make That Thing
- Natural soy wax flakes
- Cotton candle wicks with metal tabs
- Glass jars or metal tins
- Fragrance oils or essential oils
- Pouring pitcher and thermometer
- Dried flower petals (lavender, rose, calendula)
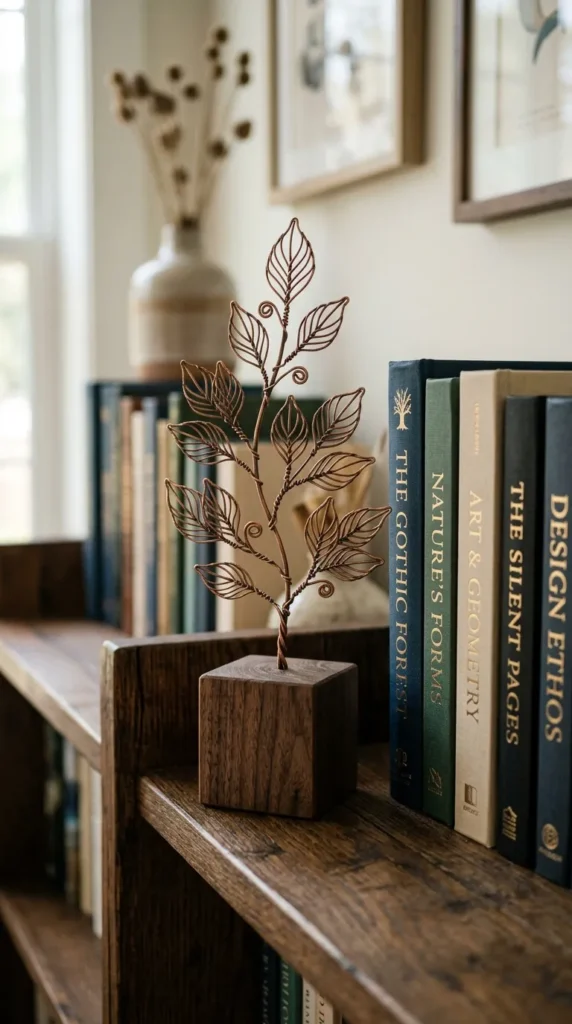
9. Minimalist Bent-Wire Botanical Sculptures
What This Idea Means
Bending continuous strands of flexible craft wire into minimalist leaf silhouettes creates industrial, 3D botanical sculptures. Mounted on wooden block bases, these clean line-art pieces bring modern art to desks and shelves.
How to Make It
- Draw Template: Sketch a full-scale leaf outline (ginkgo, monstera, or palm line) onto paper as a visual bending template.
- Shape Wire: Using round-nose pliers, bend 16-gauge aluminum or copper craft wire along your drawn lines, making smooth curves and central stem lines.
- Secure Joints: Wrap fine 24-gauge wire tightly around overlapping joints or secure with a small dab of clear epoxy.
- Mount Base: Drill a small hole into a small finished wooden block base. Insert the wire stem into the hole with craft glue.
Tips and Variations
- Tips: Use soft aluminum wire for effortless hand bending, or stiff brass wire for structural rigidity.
- Variations: Wrap colorful embroidery thread or sheer tissue paper across the wire openings for a faux stained-glass look.
Needs to Make That Thing
- 16-gauge and 24-gauge craft wire
- Round-nose pliers and wire cutters
- Small wooden block base
- Hand drill with small drill bit
- Quick-dry epoxy or craft glue
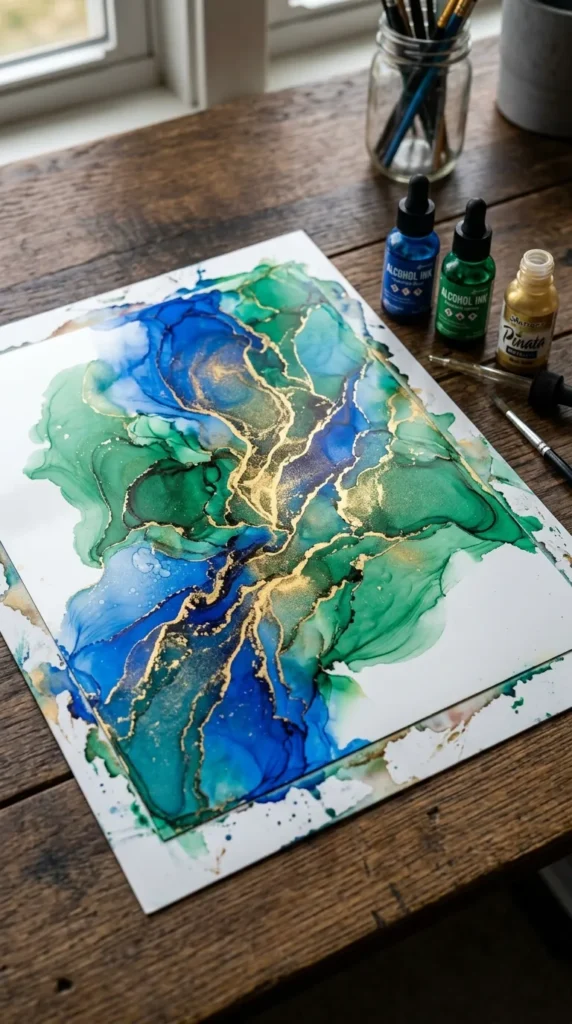
10. Abstract Fluid Alcohol Ink Art
What This Idea Means
Alcohol ink art uses fast-drying, highly pigmented dye inks floated across non-porous surfaces like synthetic Yupo paper or tiles. Blowing the inks with air creates fluid, feathery marbling with metallic veins.
How to Make It
- Prep Surface: Place a sheet of waterproof Yupo paper on a flat, protected work tray.
- Drip Inks: Drip 2 to 3 shades of alcohol ink alongside several drops of Isopropyl Alcohol (91%+) or blending solution onto the paper.
- Blow Patterns: Use a handheld air blower, straw, or small fan to push the liquid ink around, creating feathery blooms and layered cell structures.
- Add Metallic Veins: Drop metallic gold alloy ink into the wet ink puddle and blow outward to create shimmering gold veins.
Tips and Variations
- Tips: Work in a well-ventilated space or near an open window when using alcohol-based dye mediums.
- Variations: Drop alcohol inks onto glazed white ceramic tiles to make vibrant fluid-art coasters.
Needs to Make That Thing
- Yupo synthetic paper or ceramic tiles
- Assorted alcohol inks (including metallic gold)
- 91%+ Isopropyl alcohol or Blending Solution
- Handheld air blower or straw
- Protective gloves
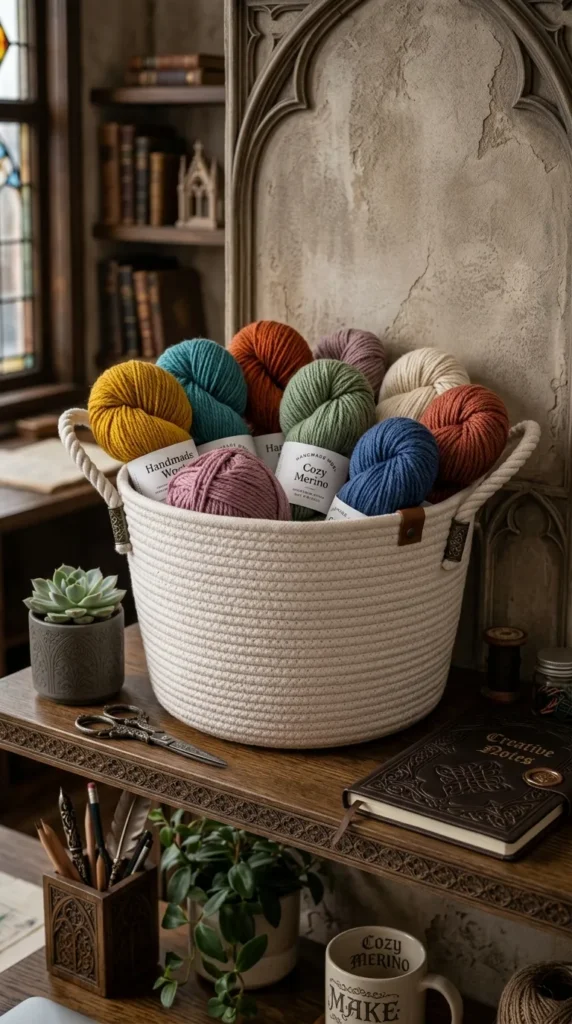
11. Coiled Cotton Rope Storage Basket
What This Idea Means
Coiling thick cotton piping cord and securing it layer by layer with hot glue creates a sturdy, textured rope basket without needing a sewing machine. It offers practical storage for blankets, yarns, or desk supplies.
How to Make It
- Start Base Coil: Apply hot glue to the end of a 3/8-inch cotton rope and roll it tightly into a flat circle.
- Build Flat Base: Continue gluing and coiling the rope flat on a silicone work mat until the base reaches a 6-inch diameter.
- Build Walls Upward: Begin gluing each new coil layer directly on top edge of the outer rim rather than alongside it to build vertical basket walls.
- Form Handles: On the final top coil, leave two unglued rope loops on opposite sides for handles before gluing the rope end flush inside the rim.
Tips and Variations
- Tips: Work on a low-temp glue gun setting to prevent glue burns while pressing rope coils together firmly.
- Variations: Dip the lower half of the finished rope basket into fabric dye for an ombre color finish.
Needs to Make That Thing
- 3/8-inch natural cotton rope or piping cord
- Hot glue gun and glue sticks
- Silicone work mat
- Sharp scissors
12. Cyanotype Botanical Sun Prints
What This Idea Means
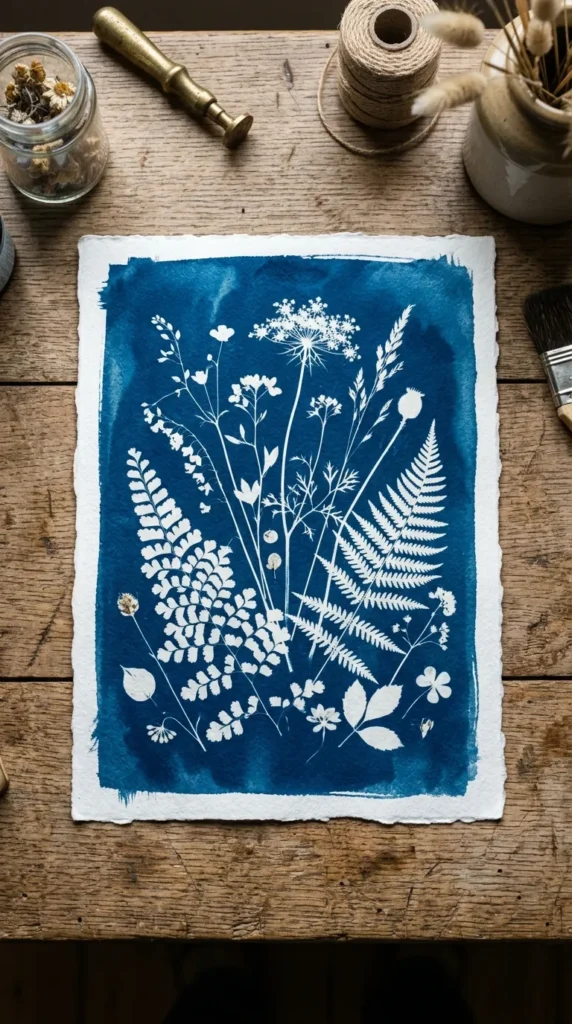
Cyanotype (sun printing) is a classic photographic printing process that uses sunlight to capture silhouettes of natural leaves and flowers, producing deep Prussian blue art prints on paper or fabric.
How to Make It
- Set Up in Dim Light: In a dim room, place a sheet of pre-treated cyanotype paper flat on a backing board.
- Arrange Botanicals: Lay fresh or pressed leaves, fern fronds, and flower petals flat onto the blue paper. Cover with a sheet of clear glass to hold plants flat.
- Expose to Sun: Carry the board outside into direct sunlight for 2 to 4 minutes until the exposed paper turns a bronze-grey color.
- Rinse & Reveal: Bring inside, remove plants, and submerge the paper in a tray of cool water for 5 minutes. Watch the plant silhouettes turn bright white against a deep blue background as it dries.
Tips and Variations
- Tips: Use a heavy glass plate from an old picture frame over the leaves so wind doesn’t shift them during solar exposure.
- Variations: Create sun prints on cotton tote bags or linen fabric squares for custom textiles.
Needs to Make That Thing
- Pre-treated cyanotype paper sheets
- Fresh or pressed leaves and flowers
- Clear glass sheet and backing board
- Tray of cool water
- Direct sunlight
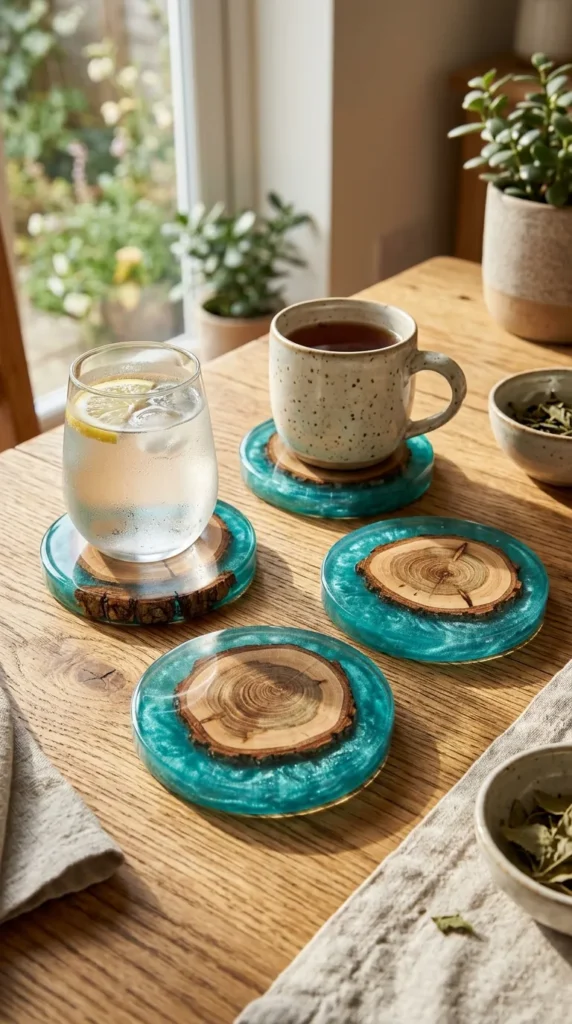
13. Hand-Poured Resin & Wood Coasters
What This Idea Means
Combining natural wood slices with clear epoxy resin tinted with mica pigments creates rich, ocean-like or agate-inspired drink coasters that highlight the contrast between organic timber and glossy resin.
How to Make It
- Prep Wood Slices: Place natural wood tree branch slices inside round silicone coaster molds.
- Mix Epoxy Resin: Thoroughly mix equal parts of 2-part clear epoxy resin (Part A and Part B) in a cup for 3 minutes.
- Tint Resin: Divide resin into smaller cups and tint with metallic mica powders or alcohol inks (e.g., turquoise, deep blue, gold).
- Pour & Cure: Pour tinted resin into the open mold cavities around the wood slices. Pass a craft heat gun quickly over the top to pop surface air bubbles. Let cure for 24 hours.
Tips and Variations
- Tips: Ensure wood slices are completely dry and sealed with a light coat of clear glue before pouring resin to prevent air bubbles from emerging from the wood grain.
- Variations: Embed real sea glass, small seashells, or gold foil leafing into the resin alongside the wood slices.
Needs to Make That Thing
- 2-part clear epoxy resin kit
- Round silicone coaster molds
- Dried wood branch slices
- Mica powder pigments or resin dyes
- Heat gun or mini torch
- Mixing cups and craft sticks

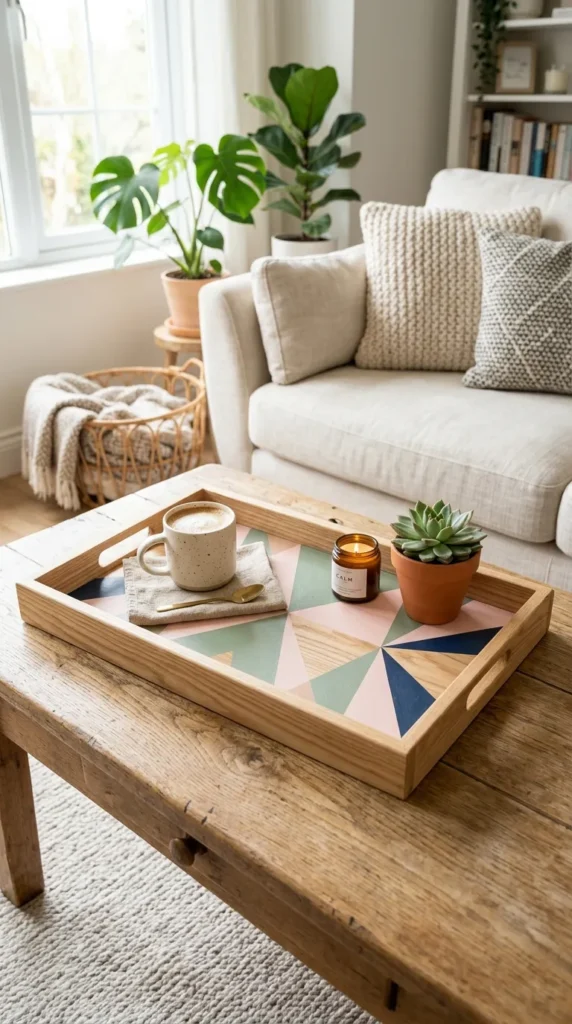
14. Modern Geometric Painted Wood Serving Tray
What This Idea Means
Transforming a plain, unfinished wooden serving tray using geometric color-blocking and painter’s tape creates a modern, functional tabletop accent for serving drinks or displaying coffee table books.
How to Make It
- Sand Wood Base: Sand an unfinished wooden tray smooth with fine-grit sandpaper, wiping away dust with a damp cloth.
- Apply Base Coat: Paint the entire tray with a clean coat of white or light cream acrylic paint and let dry completely.
- Tape Pattern: Apply low-tack painter’s tape across the tray floor in intersecting diagonal lines to create geometric triangles and overlapping arches.
- Paint Sections: Paint each taped section with contrasting pastel or deep earth-tone acrylic colors.
- Peel & Seal: Carefully peel away painter’s tape while paint is slightly damp for razor-sharp lines. Seal with two coats of clear water-resistant varnish.
Tips and Variations
- Tips: Press the edges of the painter’s tape down firmly with a credit card before painting to prevent paint bleeds underneath.
- Variations: Apply metallic leafing foil inside one or two geometric triangles for a modern pop of shine.
Needs to Make That Thing
- Unfinished wooden serving tray
- Acrylic craft paints (assorted colors)
- Low-tack painter’s tape
- Foam paintbrushes and detail brushes
- Fine-grit sandpaper
- Clear protective varnish
15. Handmade Marbled Paper Sheets
What This Idea Means
Sumi-nagashi or liquid marbling involves floating fluid acrylic paints or inks on top of a thickened liquid bath and swirling patterns onto paper sheets. The resulting marbled paper makes luxurious gift wrap, book linings, or framed art prints.
How to Make It
- Prepare Size Bath: Mix marbling size (carrageenan powder or liquid starch) with warm water in a shallow tray until smooth.
- Float Inks: Gently drip drops of acrylic marbling inks onto the surface of the liquid bath; watch them expand into floating concentric rings.
- Swirl Patterns: Drag a wooden skewer, comb, or feather lightly through the floating paint drops to create marbled swirls, waves, and peacock feathers.
- Print Sheet: Lay a sheet of absorbent paper flat onto the fluid surface for 3 seconds, lift carefully from one corner, and rinse under cool water.
- Dry Flat: Lay the marbled paper print flat on newspaper or paper towels to dry completely.
Tips and Variations
- Tips: Use heavyweight, smooth drawing paper or watercolor paper treated with alum for the sharpest, most vibrant color transfers.
- Variations: Dip wooden ornaments, terracotta pots, or fabric strips into the floating marbled bath to marble 3D objects.
Needs to Make That Thing
- Shallow tray and marbling size (or liquid starch)
- Acrylic marbling inks or fluid acrylics
- Wooden skewers or combs
- Absorbent drawing paper sheets
- Drying rack or towels
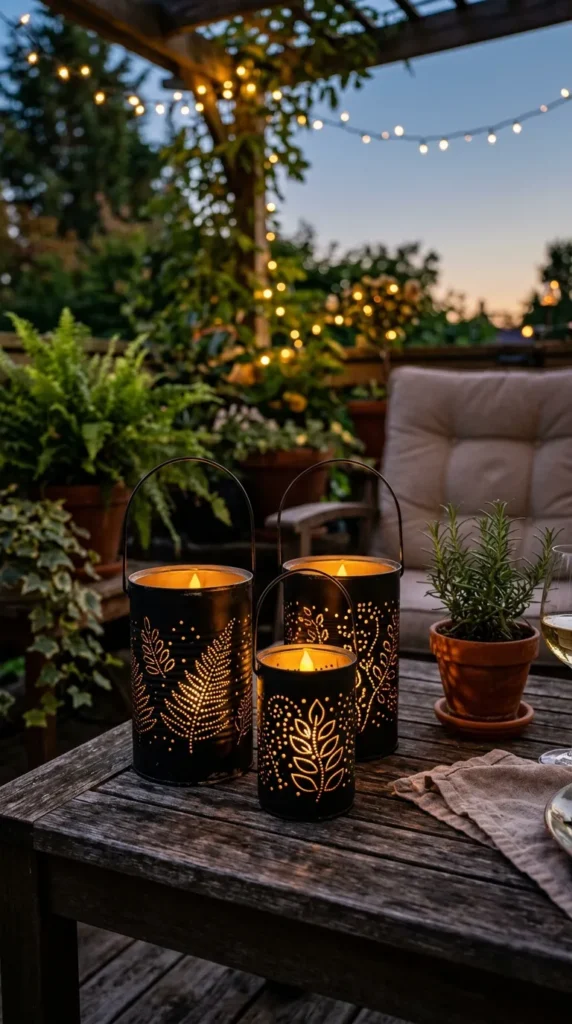
16. Upcycled Tin Can Botanical Lanterns
What This Idea Means
Punching intricate patterns into ordinary tin cans converts discarded kitchen food containers into glowing outdoor lanterns. Lit from within by tealights, the punched holes project magical lace-like light patterns across outdoor patios and cozy rooms.
How to Make It
- Freeze Can: Wash a tin can and remove labels completely. Fill it to the brim with water and freeze solid overnight. (The ice prevents the metal from denting when hammered!).
- Draw Pattern: Wrap a paper template featuring a botanical leaf or starburst pattern around the frozen can and tape it securely.
- Punch Holes: Set a sharp hammer and nail over the template dots, tapping firmly to pierce clean holes through the tin wall.
- Melt Ice & Paint: Melt the ice core, dry the can, and spray paint the exterior with matte black, copper, or sage green rust-resistant paint.
- Light Candle: Place a battery-operated LED candle or wax tealight inside to illuminate the pattern.
Tips and Variations
- Tips: Use nails of different thicknesses (small brads vs. large masonry nails) to create varied light dot sizes in your design.
- Variations: Attach a flexible wire bail handle to the top rim to convert the tin can into a hanging garden lantern.
Needs to Make That Thing
- Clean recycled tin cans
- Paper pattern template and tape
- Hammer and assorted steel nails
- Rust-resistant spray paint
- LED tealight candles
- Flexible craft wire (optional)
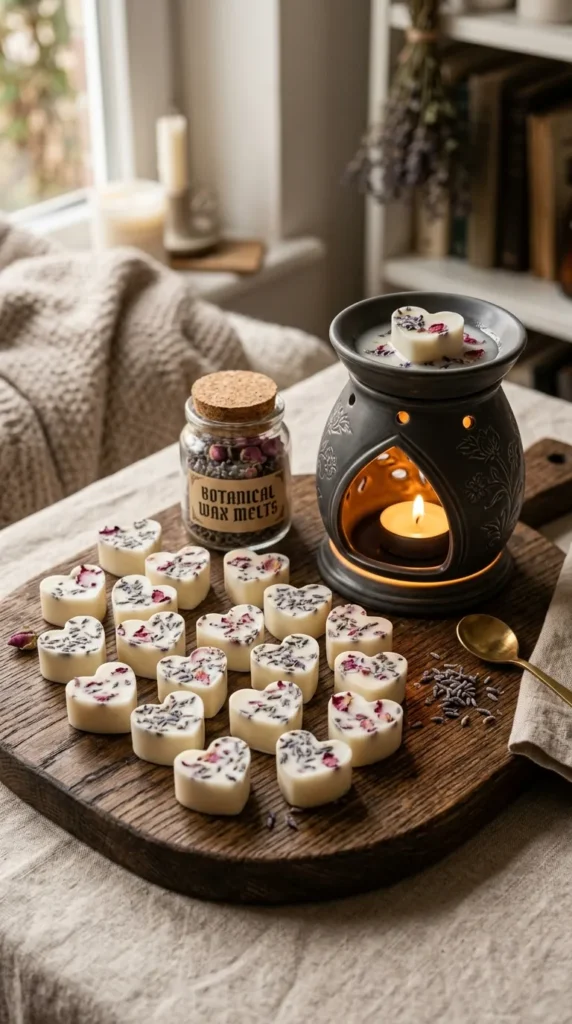
17. Hand-Poured Botanical Soy Wax Melts
What This Idea Means
Hand-pouring scented soy wax melts infused with essential oils and dried botanicals is a clean, flameless candle craft. Placed in wax warmers, these tiny fragranced wax shapes release inviting aromas throughout your home.
How to Make It
- Melt Soy Wax: Melt natural soy wax flakes in a heat-resistant pour pitcher set in a simmering water bath until liquid and clear (approx. 185°F / 85°C).
- Add Fragrance: Remove from heat, let cool to 140°F (60°C), and stir in your favorite essential oils or fragrance oils for 2 full minutes.
- Prep Silicone Mold: Scatter small dried lavender buds, rose petals, or cedar flecks into the cavities of a flexible silicone mold.
- Pour & Harden: Carefully pour the scented wax into the mold cavities over the botanicals. Allow to harden completely at room temperature for 3 hours before popping out.
Tips and Variations
- Tips: Do not pour wax at ultra-high temperatures into silicone molds containing delicate dried petals, or the petals may turn brown.
- Variations: Add mica powder pigments to the liquid wax to create mesmerizing shimmering wax pools when melted.
Needs to Make That Thing
- Natural soy wax flakes
- Essential oils or candle fragrance oils
- Dried botanical petals (lavender, rose, calendula)
- Flexible silicone baking or candy molds
- Wax melting pour pitcher and thermometer
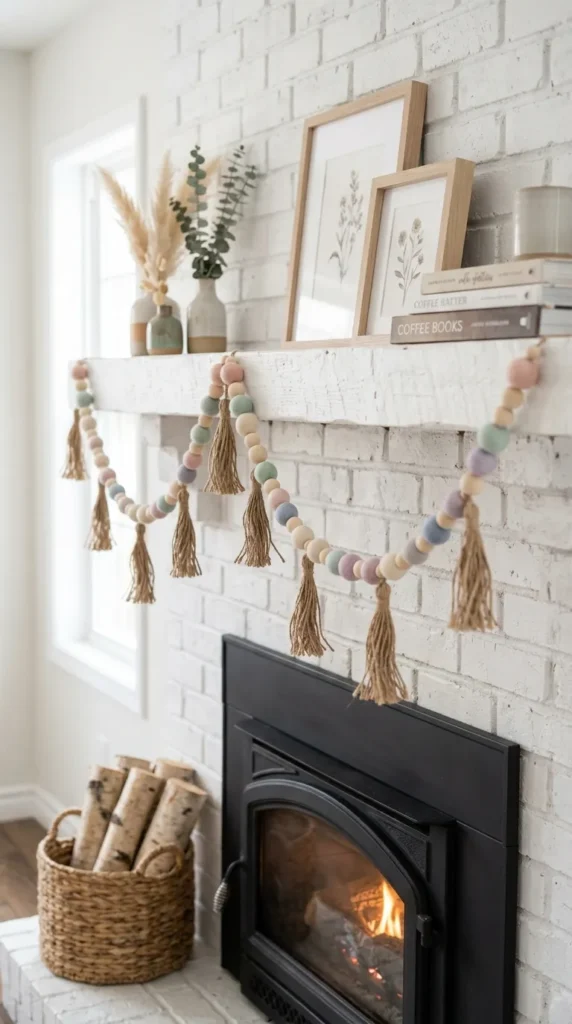
18. Boho Beaded Felt & Wood Garland
What This Idea Means
Stringing handmade felt wool balls, wooden beads, and yarn tassels along natural twine creates a warm, textured garland. Draped across fireplace mantels, nurseries, or headboards, it adds instant cozy bohemian style.
How to Make It
- Gather Elements: Collect felt wool pom-poms in complementary colors, raw wooden beads, and natural jute twine.
- Create End Tassels: Wrap yarn 25 times around a 5-inch piece of cardboard, tie the top fold, cut bottom loops, and wrap the neck to make two plush tassels.
- Thread String: Thread a long upholstery needle with jute twine. Tie one tassel to the starting end.
- Pattern Threading: Thread felt balls and wooden beads onto the twine in a repeating pattern (e.g., 2 felt balls, 1 wooden bead) until desired length is achieved.
- Finish: Tie the second tassel to the opposite end and hang.
Tips and Variations
- Tips: Use a large-eye tapestry or doll needle to pierce through dense wool felt balls effortlessly.
- Variations: Paint some of the wooden beads with pastel acrylic paint or metallic accents to match specific room palettes.
Needs to Make That Thing
- Felt wool pom-pom balls
- Unfinished wooden beads
- Natural jute twine or yarn
- Large-eye tapestry needle
- Cardboard for making tassels
- Scissors
19. Woven Paper Bag Storage Baskets
What This Idea Means
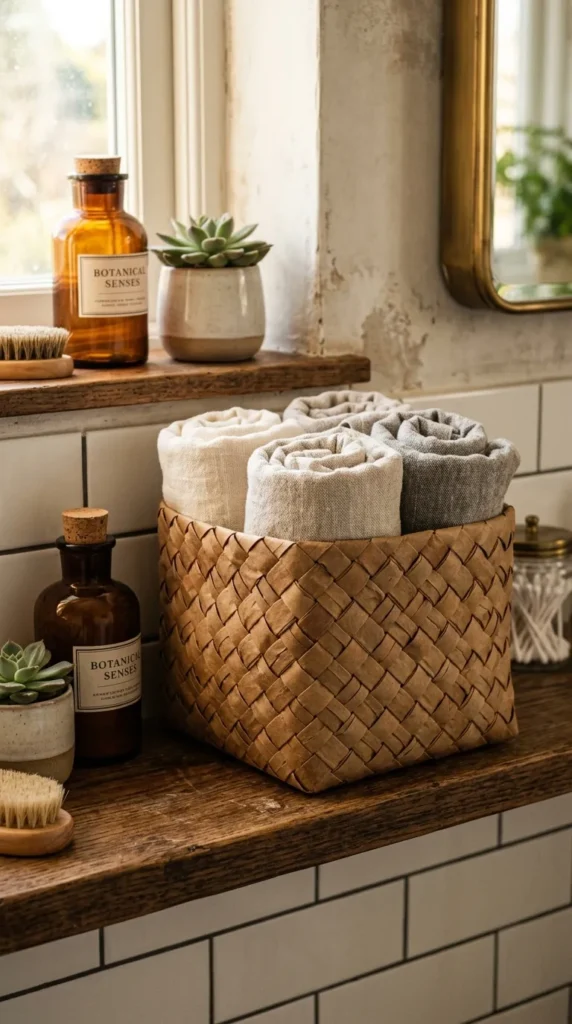
Upcycling brown paper grocery bags into woven storage baskets is an eco-friendly craft that transforms utility waste into durable, structured home organization bins.
How to Make It
- Cut Paper Strips: Cut brown paper grocery bags into long 3-inch wide strips. Fold each strip inward twice lengthwise to form sturdy 1-inch thick reinforced paper bands.
- Weave Square Base: Lay 6 paper bands vertically and weave 6 bands horizontally across them in a tight over-under checkerboard pattern to form a square base.
- Fold Up Walls: Crease the extending paper bands upward at 90-degree angles to form the wall framework.
- Weave Basket Walls: Weave long paper bands horizontally around the vertical wall stays in an over-under pattern, securing corners with small drops of craft glue.
- Finish Rim: Fold extending top band ends over the rim and glue flush inside.
Tips and Variations
- Tips: Lightly spritz paper strips with water if they feel too stiff while weaving to make them more pliable without tearing.
- Variations: Paint the paper strips with acrylic paint before weaving to create vibrant multicolored woven baskets.
Needs to Make That Thing
- Clean brown paper grocery bags
- Ruler and scissors
- Liquid white craft glue or hot glue
- Mini binder clips (to hold weave while gluing)
20. Pressed Herb Plaster Wall Plaques
What This Idea Means
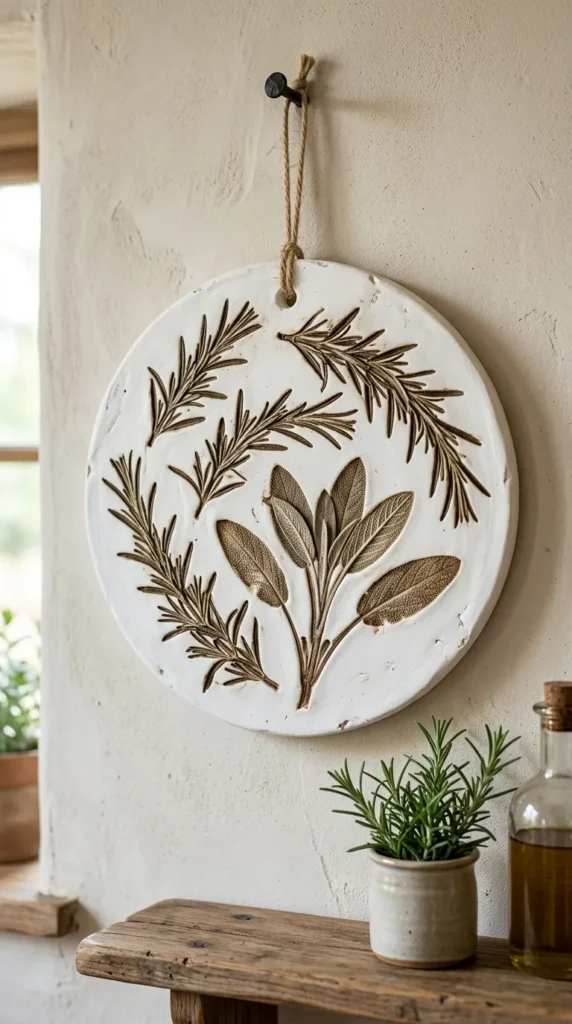
Stamping fresh culinary herbs into wet plaster plaques and removing them leaves delicate, botanical relief impressions. Once dried and lightly antiqued, these plaster plaques look like vintage botanical artifacts.
How to Make It
- Mix Plaster: Mix Plaster of Paris with water in a bowl until it reaches a smooth, pourable pancake-batter consistency.
- Pour Form: Pour plaster into a shallow round silicone mold or cardboard ring resting on wax paper to a 1/2-inch thickness.
- Press Herbs: Press fresh rosemary sprigs, sage leaves, or thyme branches firm into the damp plaster surface.
- Remove Plant: After 15 minutes as the plaster begins to warm and harden, carefully peel away the herb sprigs using tweezers, leaving a detailed indented impression.
- Dry & Antique: Allow to cure for 24 hours. Brush a light wash of watered-down brown paint or wax over the plaque to highlight the detailed plant indentations.
Tips and Variations
- Tips: Tap the side of your mold right after pouring plaster to bring air bubbles to the surface before setting.
- Variations: Embed a small wire hanging loop into the top edge of the wet plaster so the plaque is ready to hang when dry.
Needs to Make That Thing
- Plaster of Paris and water
- Fresh herb sprigs (rosemary, sage, thyme)
- Shallow silicone mold or ring
- Tweezers
- Watered-down brown acrylic paint or antiquing wax
- Small wire loop for hanging