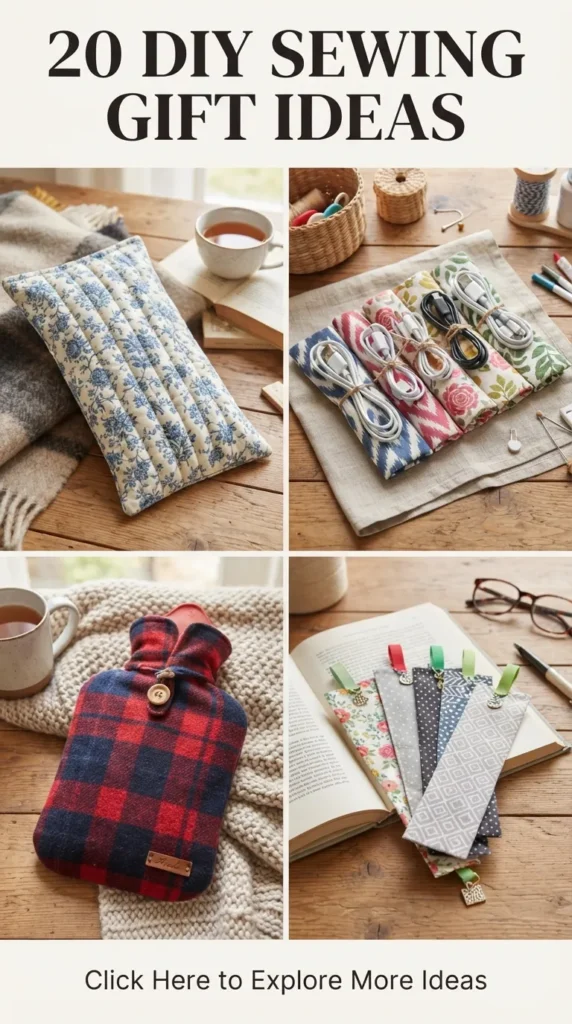
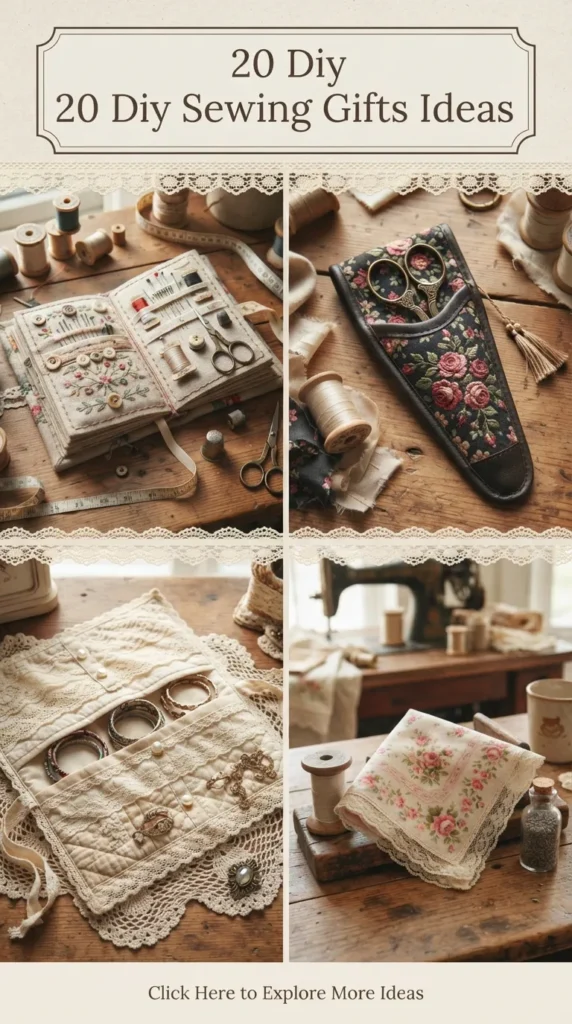
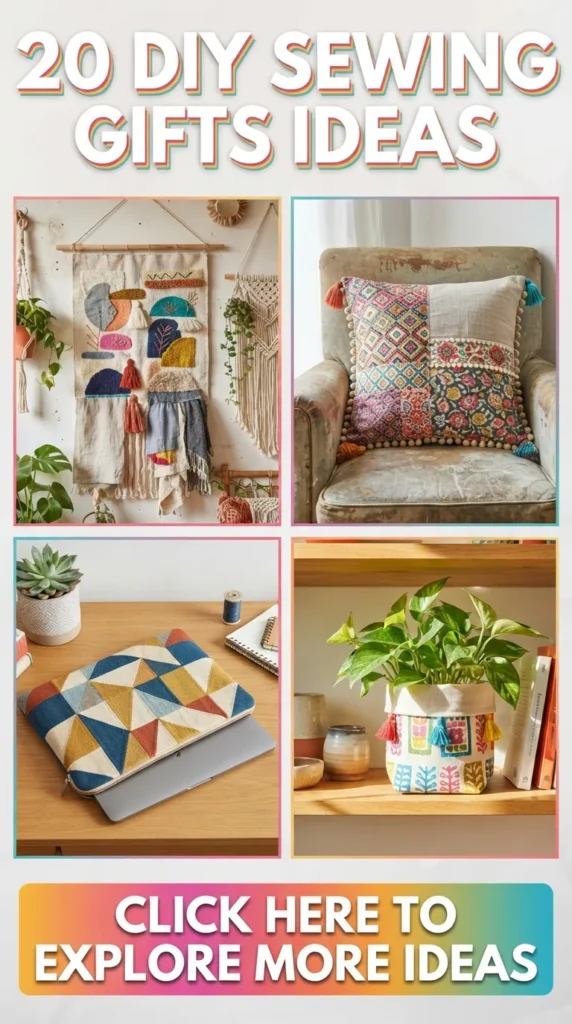
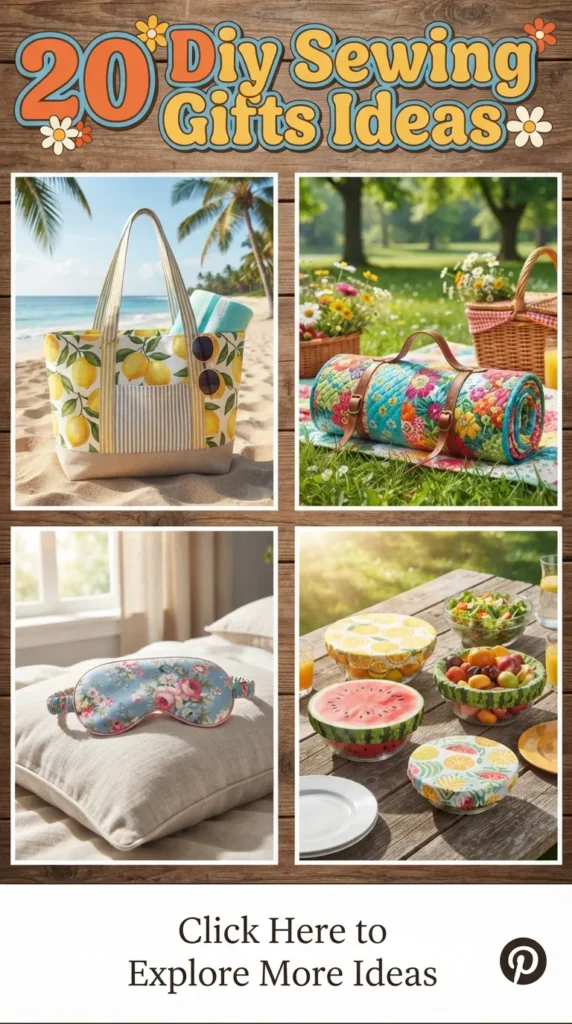
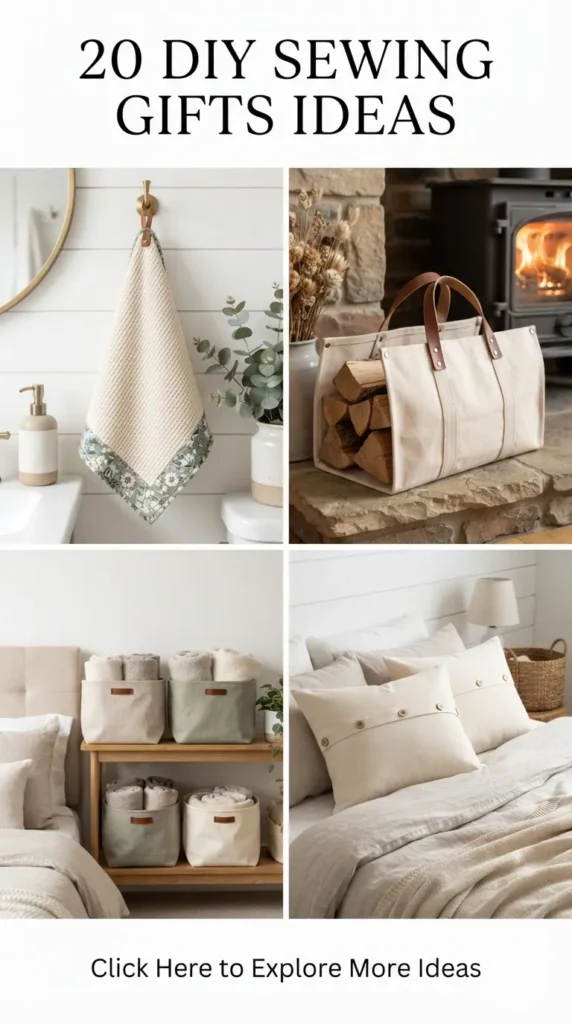
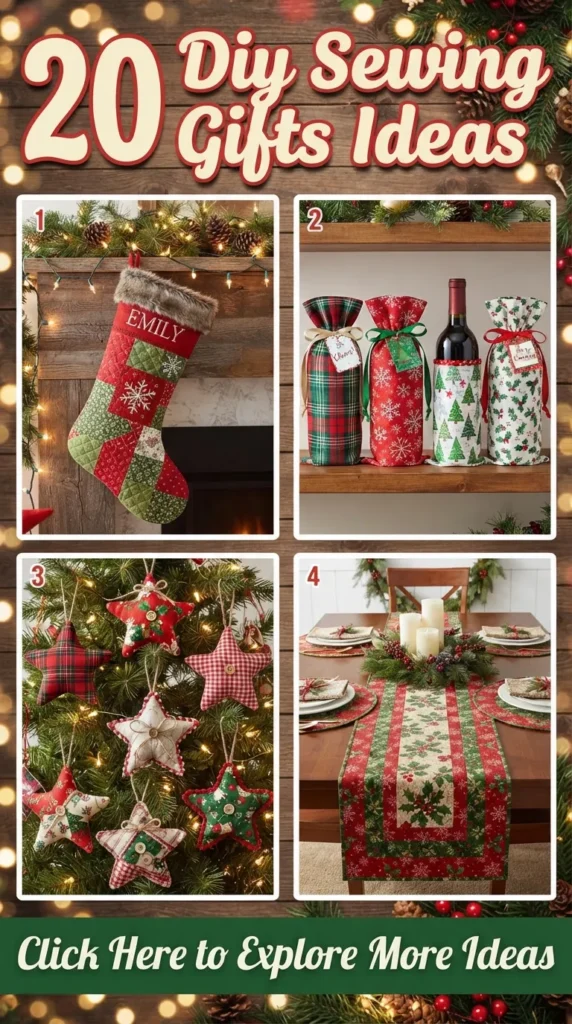
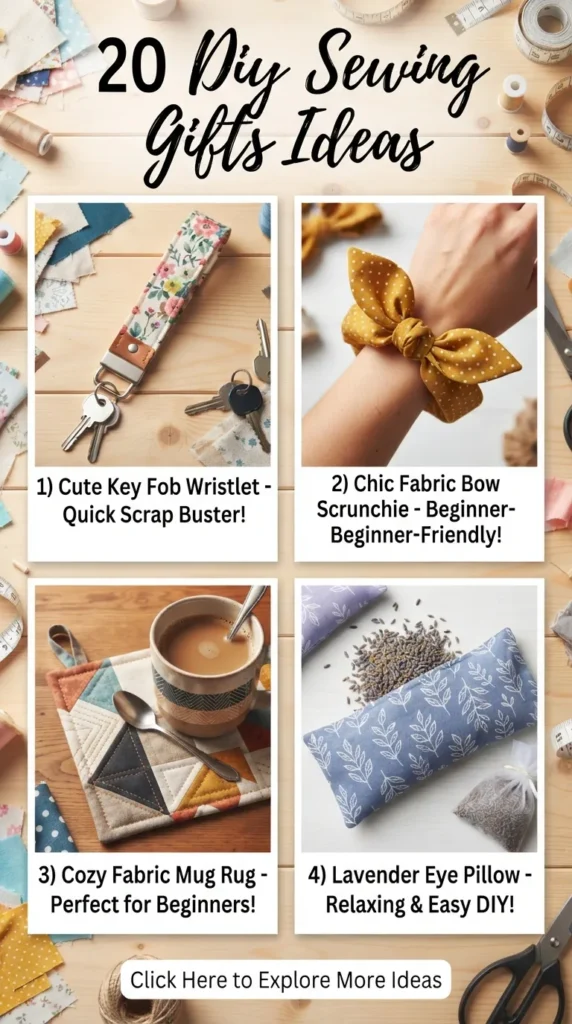
20 Diy Sewing Gifts Ideas
Handmade gifts carry an unmistakable warmth that store-bought items simply cannot replicate. Sewing gifts for loved ones allows you to tailor textures, color palettes, and utilitarian functions to their exact lifestyle. Whether working with natural linen, organic waffle weave cotton, rich velvet, or quilted canvas, handmade textiles offer an elevated, tactile charm that brightens everyday routines.
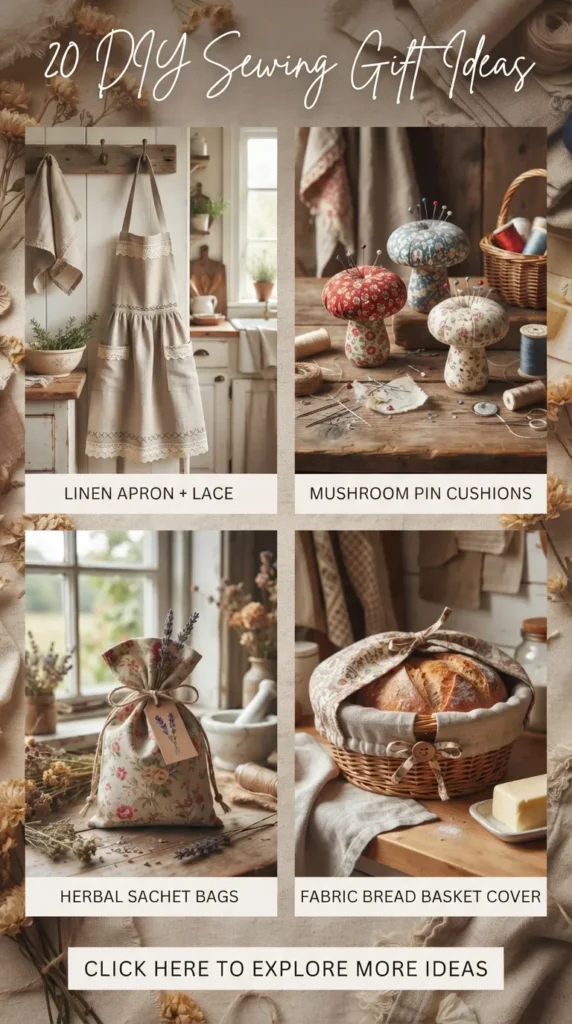
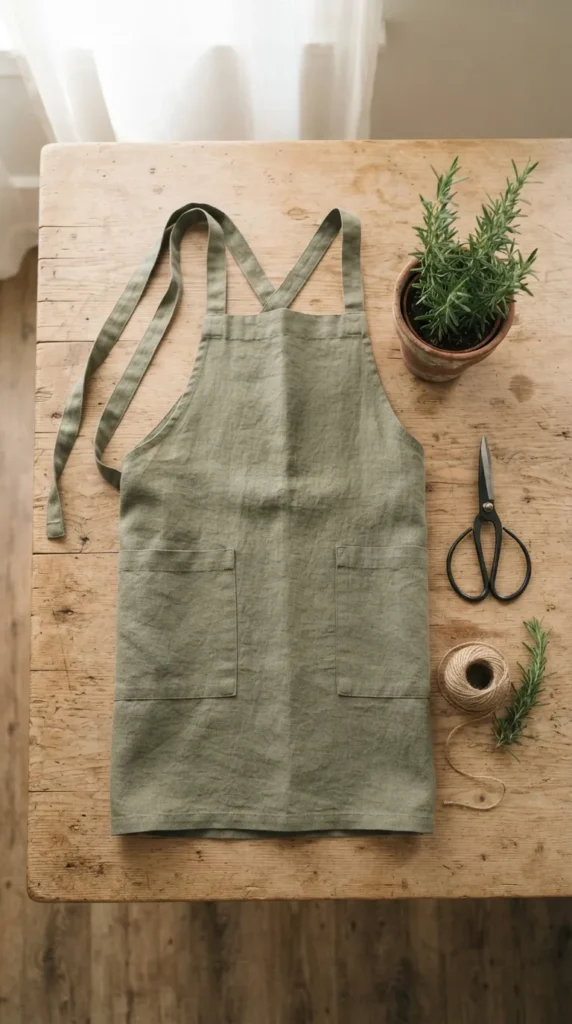
1. Linen Cross-Back Japanese Apron
A minimalist, no-tie cross-back apron combines effortless Scandinavian utility with relaxed, modern aesthetic living.
- What This Idea Means: Unlike traditional aprons that tug at the back of the neck or require fiddly ties around the waist, the Japanese-style cross-back pinafore drapes comfortably across the shoulders. It serves as an essential staple for bakers, urban gardeners, ceramicists, and artists who value both protection and unfussy style.
- Needs to Make This Thing: 1.5 to 2 yards of medium-weight washed linen (or linen-cotton blend), matching thread, fabric scissors, rotary cutter and mat, measuring tape, iron, and a sewing machine.
- How to Make It:
- Cut a rectangular main body panel measuring roughly 36 inches wide by 32 inches long (adjusting for height), along with two shoulder strap strips measuring 4 inches wide by 24 inches long.
- Fold each strap strip lengthwise, right sides facing, stitch with a 1/2-inch seam allowance, turn right side out, and press flat.
- Hem the top, side, and bottom edges of the apron body using a neat double-fold hem pressed crisply with an iron.
- Attach the shoulder straps at the top front edge, cross them over each other behind the back, and secure the opposite ends to the top sides of the back panel.
- Topstitch wide rectangular patch pockets onto the lower front for tools and phone storage.
- Tips and Variations: Pre-wash linen to soften the fibers and prevent shrinking. For variations, add contrast canvas patches on pocket corners or split the front pocket into three compartments with vertical stitching lines.
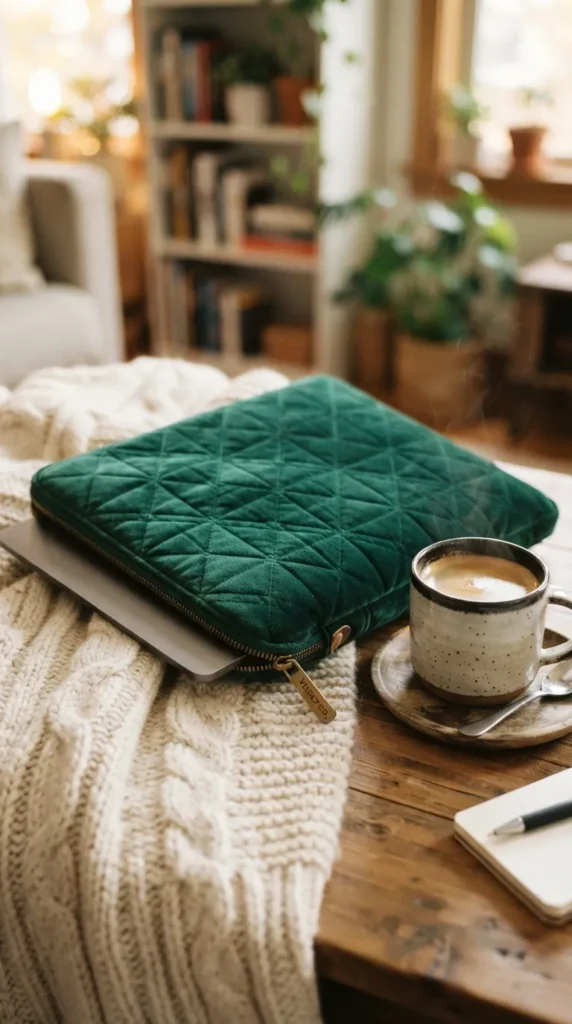
2. Quilted Velvet Tablet and E-Reader Sleeve
A luxurious padded tech pouch designed to keep delicate screens safe from scratches while remaining visually refined on any bedside or coffee table.
- What This Idea Means: This project transforms utilitarian tech protection into a tactile, cozy accessory. Combining plush velvet exterior panels with cotton batting and a silky lining provides cushion against daily drops while maintaining a sleek profile.
- Needs to Make This Thing: 0.5 yards of low-stretch micro-velvet or cotton velvet, 0.5 yards of cotton lining fabric, low-loft cotton or bamboo batting, a matching nylon zipper (or magnetic snap flap), tailor’s chalk, and a walking foot for your sewing machine.
- How to Make It:
- Measure the recipient’s device dimensions, adding 1 inch to the width and 1.5 inches to the height for seam allowance and padding clearance.
- Cut two velvet outer pieces, two batting pieces, and two lining pieces to these dimensions.
- Layer the velvet on top of the batting and mark diamond or vertical quilting lines with tailor’s chalk. Quilt gently with a walking foot to prevent velvet shifting.
- Sandwich your zipper between the top quilted exterior edge and the lining edge, stitch, flip open, and repeat for the other side.
- Open the zipper halfway, pin the exterior panels together and the lining panels together, stitch around the outer perimeter leaving a small opening in the lining bottom, then turn right side out and close the opening.
- Tips and Variations: Use a walking foot and tissue paper underneath slippery fabrics to maintain even feed tension. Try vertical channel quilting for a clean modern mid-century aesthetic.
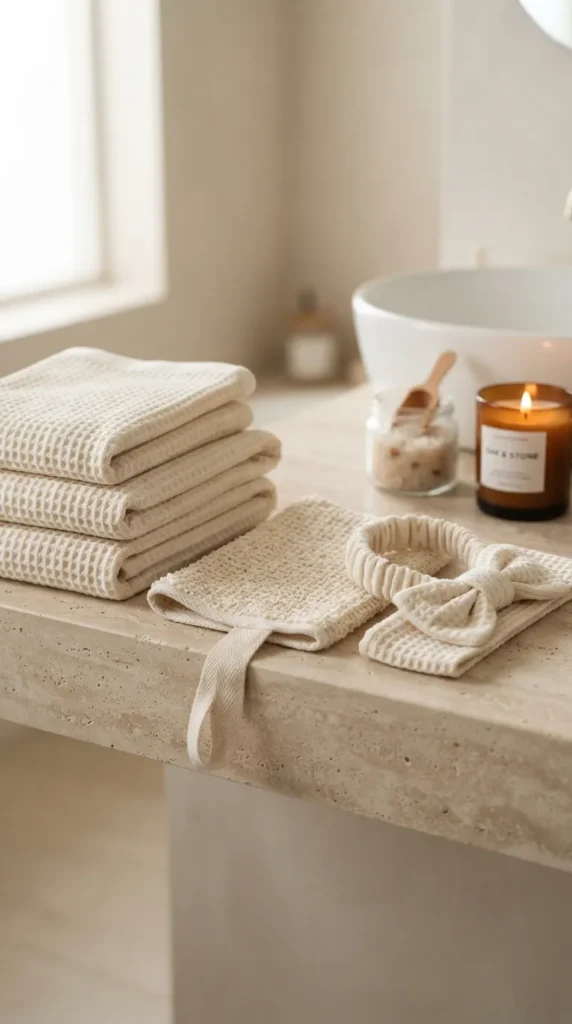
3. Organic Waffle Weave Spa Set
A self-care bundle featuring textured waffle bath towels, exfoliating washcloths, and a matching facial headband.
- What This Idea Means: Bringing the clean, calm atmosphere of a luxury boutique wellness retreat into a daily bathroom routine through absorbent, honeycomb-textured cottons.
- Needs to Make This Thing: 1.5 yards of pre-washed honeycomb waffle weave cotton, cotton twill tape for hanging loops, wide elastic (for headband), and cotton thread.
- How to Make It:
- Cut one oversized bath sheet (30×55 inches) and two washcloths (12×12 inches).
- For the towels and washcloths, press a 1/2-inch double-fold hem along all four sides, clipping the inner corners to reduce bulk.
- Insert a 3-inch folded piece of twill tape at one corner before stitching the hem to create a minimalist hanging loop.
- For the headband, cut a strip of waffle fabric measuring 5×20 inches, fold lengthwise, sew into a tube, insert a 12-inch elastic piece, gather, and join the short ends cleanly.
- Tips and Variations: Waffle fabric shrinks significantly after the first wash; thoroughly pre-shrink the fabric before cutting. Finish washcloth edges with cotton bias binding in a soft sage or terracotta hue for contrasting borders.
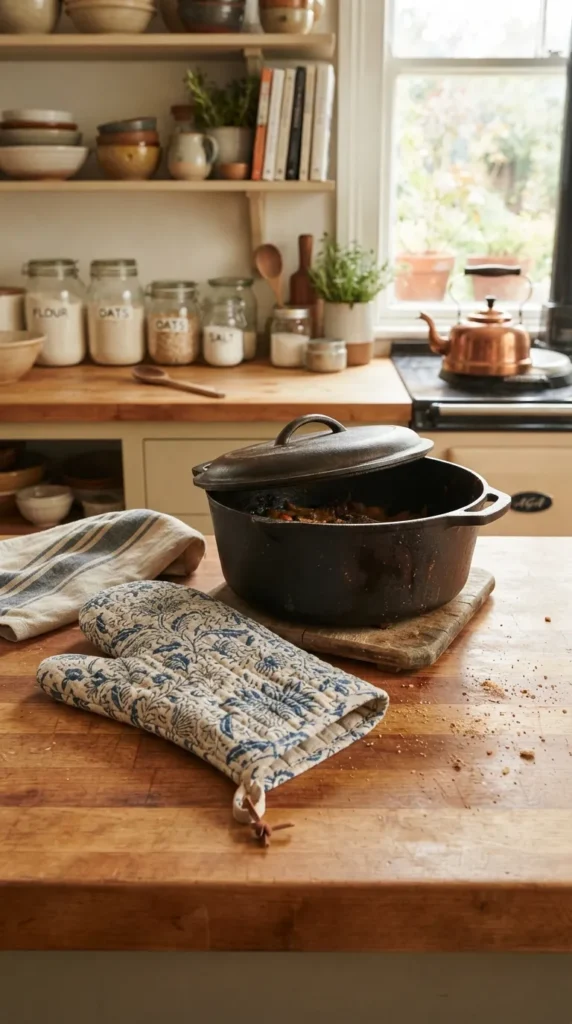
4. Quilted Block Print Oven Mitt & Pot Holder Set
An artisanal kitchen essential combining hand-printed cottons and heavy-duty heat-resistant padding.
- What This Idea Means: An everyday kitchen workhorse turned into functional art, perfect for avid home bakers, dinner party hosts, and culinary enthusiasts.
- Needs to Make This Thing: 0.5 yards of block-print Indian cotton, 0.5 yards of plain canvas or linen backing, insulated batting (such as Insul-Bright), cotton batting, bias binding tape, and a paper template for an oven mitt.
- How to Make It:
- Layer outer fabric, insulated batting, cotton batting, and inner lining together.
- Quilt the layers together using grid lines spaced 1 inch apart.
- Cut out two mirrored mitt shapes using your template.
- Place the mitt halves right sides together and sew around the curved silhouette with a 3/8-inch seam allowance.
- Turn right side out, bind the raw bottom opening with coordinating cotton bias tape, and include a small loop for wall hanging.
- Tips and Variations: Always place the reflective metallic side of insulated batting toward the side that will touch hot cookware. Mix two complementary floral block prints between the palm and back panels.
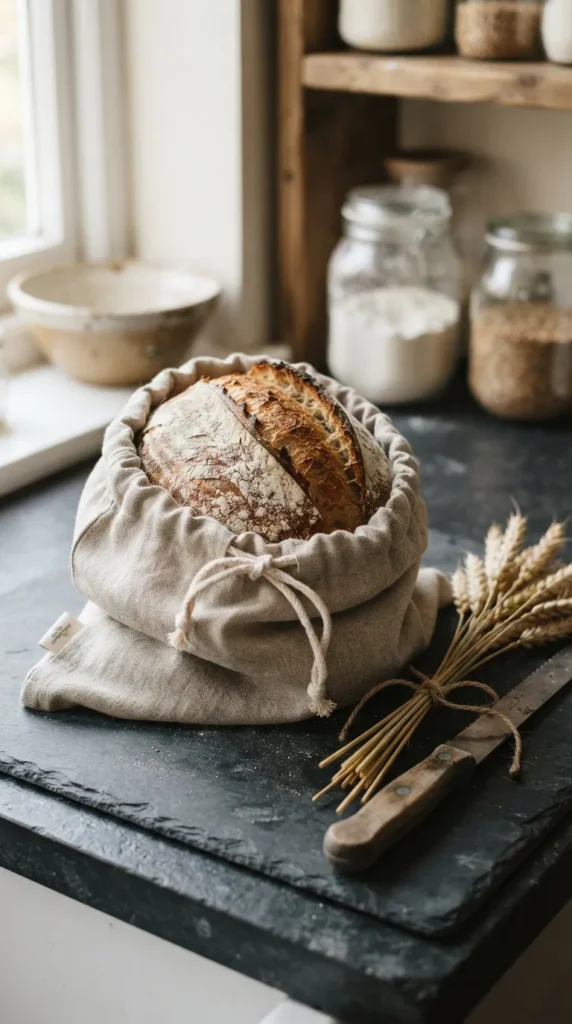
5. Linen Bread Bag with Drawstring
A breathable, rustic storage sack that keeps artisanal sourdough crusts crisp while reducing single-use plastic waste.
- What This Idea Means: Designed for home bakers, this natural storage bag allows fresh bread to breathe naturally, maintaining optimal moisture levels so the crust stays crisp without drying out the crumb.
- Needs to Make This Thing: 0.5 yards of heavy unbleached linen, natural cotton twill ribbon or cotton rope, a safety pin, and thread.
- How to Make It:
- Cut a rectangular piece of linen measuring 14×32 inches.
- Fold the fabric in half with right sides together to create a 14×16-inch pouch.
- Sew down the side seam and along the bottom, stopping 3 inches below the top opening.
- Press side allowances open at the top, fold the top edge down 1/4 inch, then fold down another 1 inch to create the drawstring casing.
- Stitch along the casing edge, thread cotton ribbon through using a safety pin, knot the ends, and press the completed bag.
- Tips and Variations: Add hand-embroidered botanical stalks or a small “Bread” label using fabric ink stamps on the front panel before seaming.
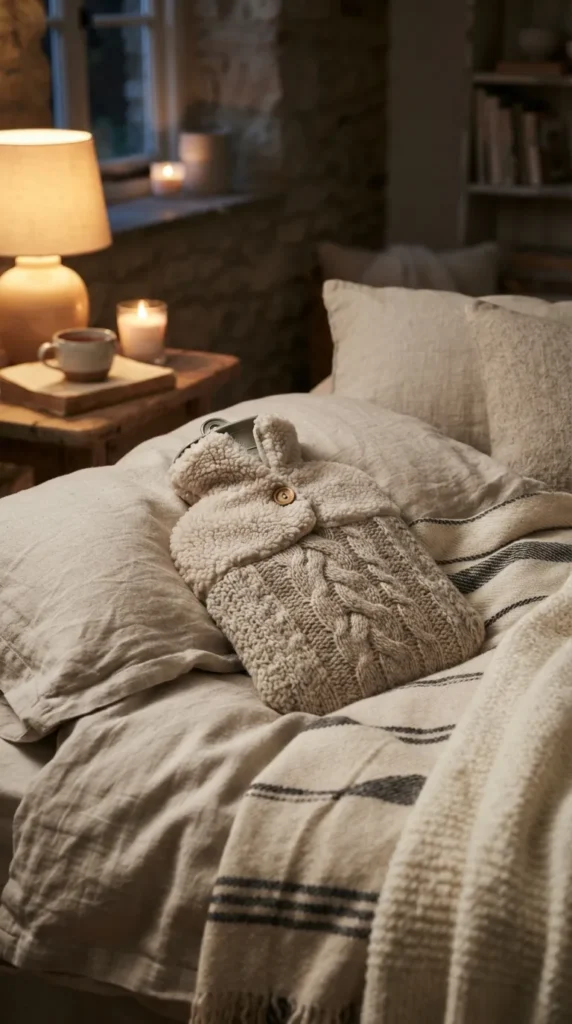
6. Cozy Sherpa and Wool Hot Water Bottle Cover
A soft, insulating cover that turns a standard rubber water bottle into a cozy comfort item for cold nights.
- What This Idea Means: A comforting winter companion providing soothing heat for sore muscles, cramps, or chilly bedding, enclosed within comforting wool or fuzzy sherpa fleece.
- Needs to Make This Thing: 0.5 yards of boiled wool, sherpa, or thrifted upcycled cable-knit sweater fabric; 0.5 yards of soft cotton flannel lining; a standard 2-liter hot water bottle (to trace); and matching thread.
- How to Make It:
- Trace the water bottle outline onto paper, adding 1 inch all around for ease and seam allowance.
- Cut one front piece and two overlapping back envelope panels to allow easy insertion of the bottle without hard zippers.
- Hem the overlapping straight edges of the back envelope panels.
- Pin the front panel to the two overlapping back panels (right sides facing) and sew around the full perimeter.
- Turn right side out through the envelope flap and press carefully.
- Tips and Variations: If using an upcycled knit sweater, use a stretch needle and zigzag stitch or serger to keep seams from breaking under tension.
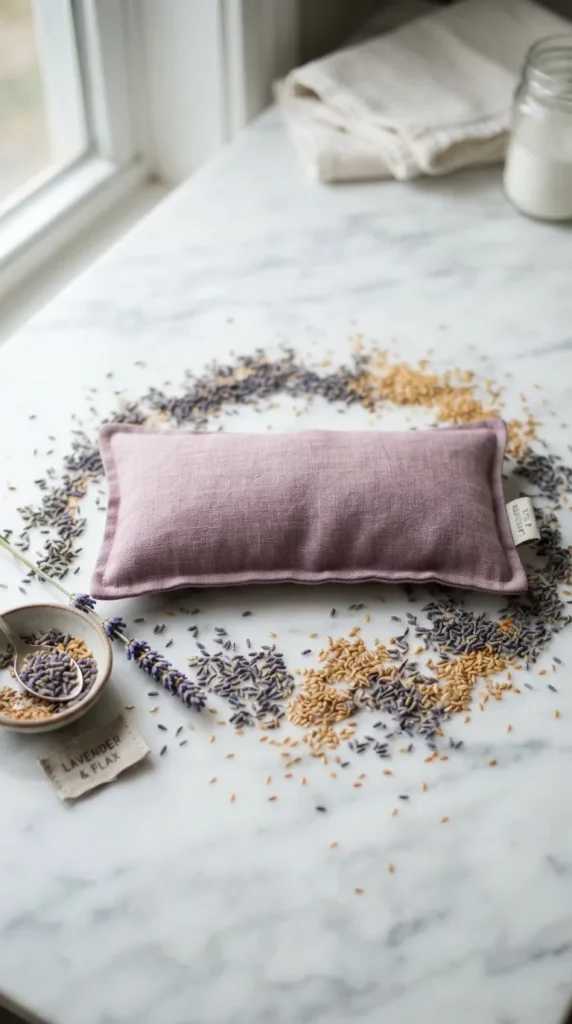
7. Weighted Lavender Eye Pillow and Washable Slipcover
A therapeutic herbal relaxation tool filled with natural flaxseeds and dried French lavender buds.
- What This Idea Means: Designed for meditation, yoga, restorative sleep, or headache relief, providing gentle acupressure over the eyes alongside calming aromatherapy.
- Needs to Make This Thing: Scrap cotton muslin for the inner pouch, 1/4 yard of silk or washed linen for the outer slipcover, 1 cup of organic whole flaxseeds, and 1/3 cup of dried organic lavender buds.
- How to Make It:
- Cut two 4.5×9-inch rectangles from cotton muslin. Sew around the edges, leaving a 2-inch opening.
- Mix flaxseeds and lavender; funnel the mixture into the muslin pouch until 3/4 full, then topstitch the opening shut.
- Cut three pieces of silk or linen to create an envelope-style outer slipcase that can be easily removed and washed.
- Sew the outer slipcase, turn right side out, and insert the scented seed pillow inside.
- Tips and Variations: Flaxseeds retain temperature exceptionally well; users can chill the pillow in the freezer for cooling relief or microwave it for 20 seconds for gentle warmth.
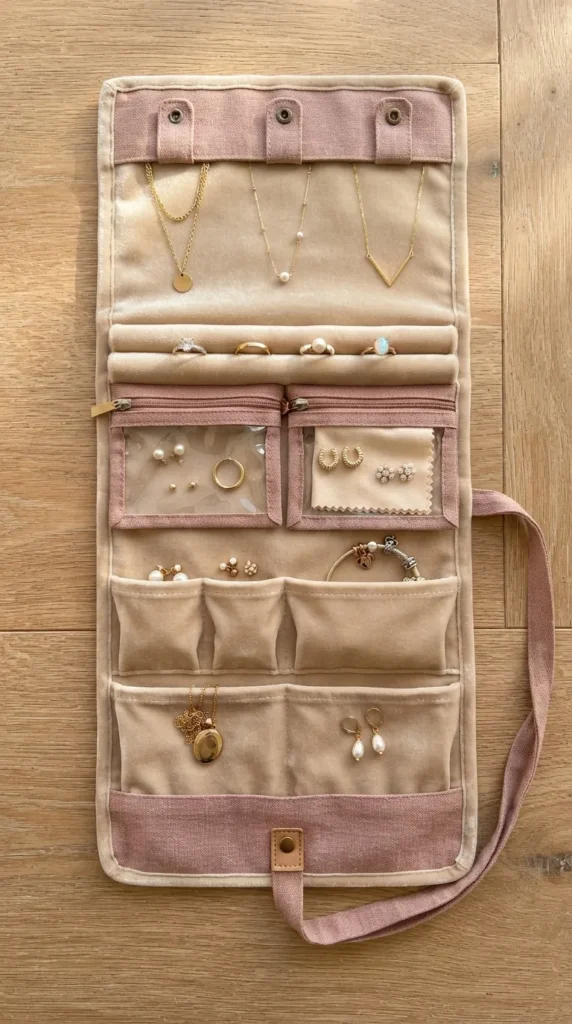
8. Roll-Up Travel Jewelry Organizer
A compact, multi-compartment travel companion crafted from soft linen and velvet to keep necklaces untangled and earrings secured.
- What This Idea Means: A compact, flat-folding organizer that protects delicate jewelry pieces during travel while fitting neatly inside a tote or carry-on.
- Needs to Make This Thing: 0.5 yards of exterior linen, 0.5 yards of velvet or suede lining, 6 inches of thin padded cord (for ring roll), two small zippers (6 inches each), and 1 yard of satin or leather cord.
- How to Make It:
- Cut two main rectangular body pieces measuring 9×14 inches.
- Create two zippered pocket strips out of lining fabric and stitch them onto the lower sections of the main interior piece.
- Make a ring holder strap: sew a small fabric tube, stuff with polyfill or cord, and secure with a snap button at one end.
- Add a perforated leather or reinforced fabric strap above the ring roll to hold stud earrings.
- Baste the tie cord to one short outer edge, layer outer and inner panels right sides facing, stitch perimeter leaving a 3-inch gap, turn right side out, and topstitch around the outer border.
- Tips and Variations: Use ultra-soft faux suede for the interior to prevent silver and gold jewelry from scratching or tarnishing.
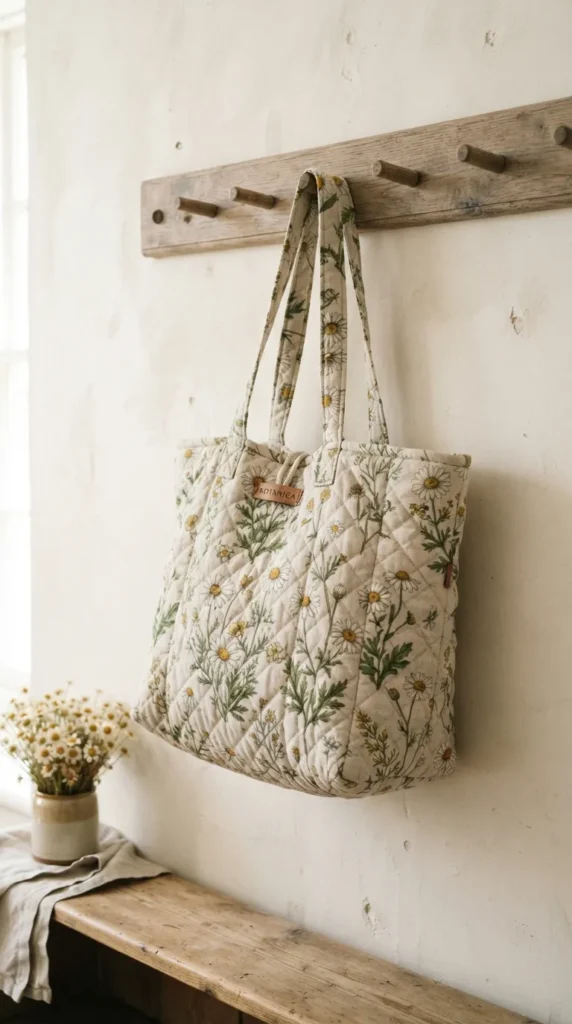
9. Quilted Botanical Tote Bag
A structured, everyday market tote featuring delicate floral prints, sturdy canvas lining, and soft quilted texture.
- What This Idea Means: A durable shopping and daily tote that balances practical utility with artistic, cottagecore design accents.
- Needs to Make This Thing: 0.5 yards of floral cotton canvas, 0.5 yards of natural cotton lining, 0.5 yards of low-loft cotton batting, 1.5 yards of heavy cotton webbing straps, and thread.
- How to Make It:
- Layer exterior fabric over batting and quilt in a 1-inch diagonal grid.
- Cut two quilted panels measuring 16×18 inches and two matching lining panels.
- Sew cotton webbing straps to the front and back exterior panels, spacing them 6 inches apart.
- Box the bottom corners by cutting out a 2.5×2.5-inch square from both bottom corners of the exterior and lining pieces.
- Sew exterior side and bottom seams, repeat for lining (leaving a gap in the bottom of the lining), stitch the boxed corners flat, assemble exterior and lining together at the top edge, turn, and topstitch.
- Tips and Variations: Add an interior slip pocket for keys and phone before assembling the lining panels.
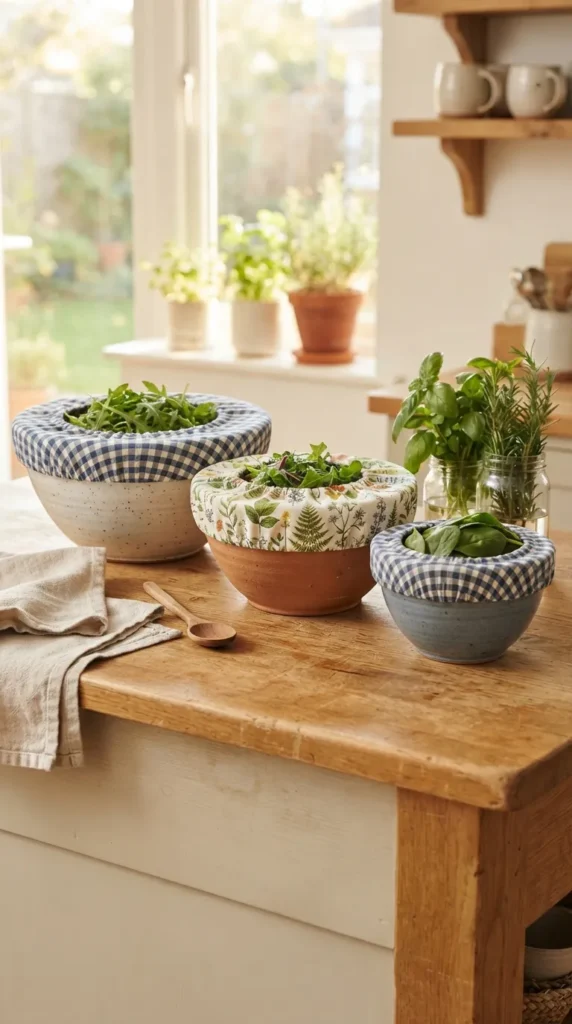
10. Reusable Beeswax-Coated Bowl Covers
An eco-friendly, washable fabric alternative to cling wrap designed to fit snugly over mixing and salad bowls.
- What This Idea Means: A zero-waste kitchen essential that shields proofing dough, leftovers, and party salads using elasticated, breathable cotton.
- Needs to Make This Thing: 0.5 yards of lightweight cotton print (gingham or botanical), 1/4-inch elastic cord, safety pin, and thread.
- How to Make It:
- Place your target bowl upside down on fabric, trace the rim, and add 2.5 inches all around to account for the bowl sides and elastic casing.
- Cut out the round fabric circle.
- Fold the outer edge over 1/4 inch, then fold another 1/2 inch to form the perimeter casing; press with an iron.
- Stitch the casing close to the inner folded edge, leaving a 1-inch opening.
- Thread elastic through using a safety pin, adjust tension so it fits snugly around the bowl rim, tie or sew the elastic ends, and stitch the casing opening closed.
- Tips and Variations: Use water-resistant PUL fabric for the lining side if full moisture retention is needed for fresh salads.
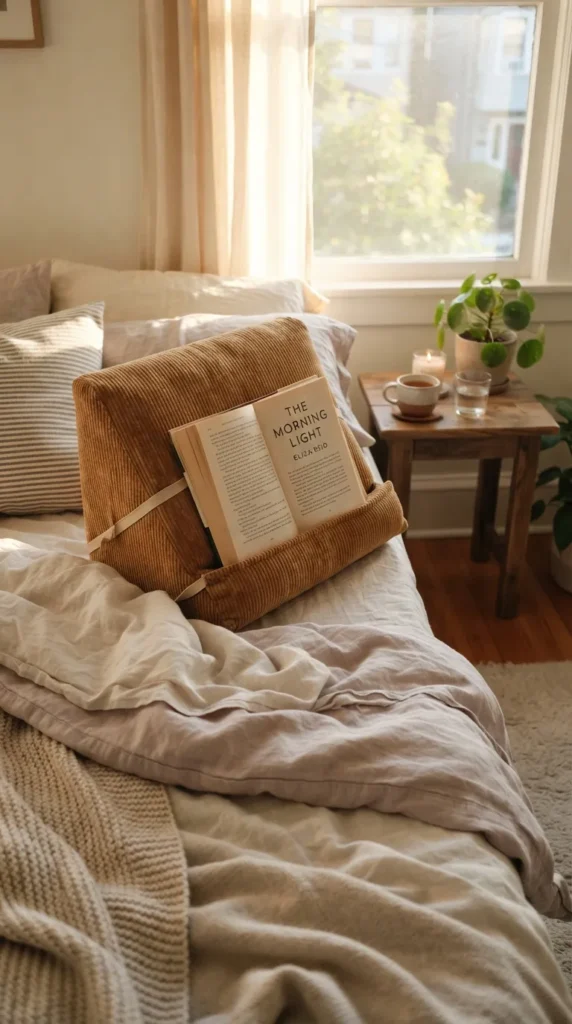
11. Soft Corduroy Cushion-Edge Book & Tablet Pillow
A plush, triangular reading wedge with an integrated ledge to hold books, tablets, or phones upright hands-free.
- What This Idea Means: An ergonomic comfort item designed for relaxing in bed or on the sofa without having to balance a book or tablet on your lap.
- Needs to Make This Thing: 0.75 yards of wide-wale corduroy, dense fiberfill stuffing, a handful of dried beans or craft pellets (for base weight), and sewing tools.
- How to Make It:
- Cut two triangular side panels (roughly 10 inches tall by 10 inches deep) and a long continuous rectangular strip measuring 8 inches wide to wrap over the front, back, and base.
- Cut an extra 4×8-inch folded strip to serve as the front retention ledge.
- Stitch the ledge strip onto the lower front section of the long rectangular panel.
- Pin and sew the long rectangular strip around the triangular side panels, leaving a 4-inch turning gap on the bottom.
- Fill the base with a small bag of weighted pellets for stability, stuff the rest firmly with fiberfill, and slip-stitch the opening closed by hand.
- Tips and Variations: Add a small slip pocket to the side triangular panel to store reading glasses or styluses.
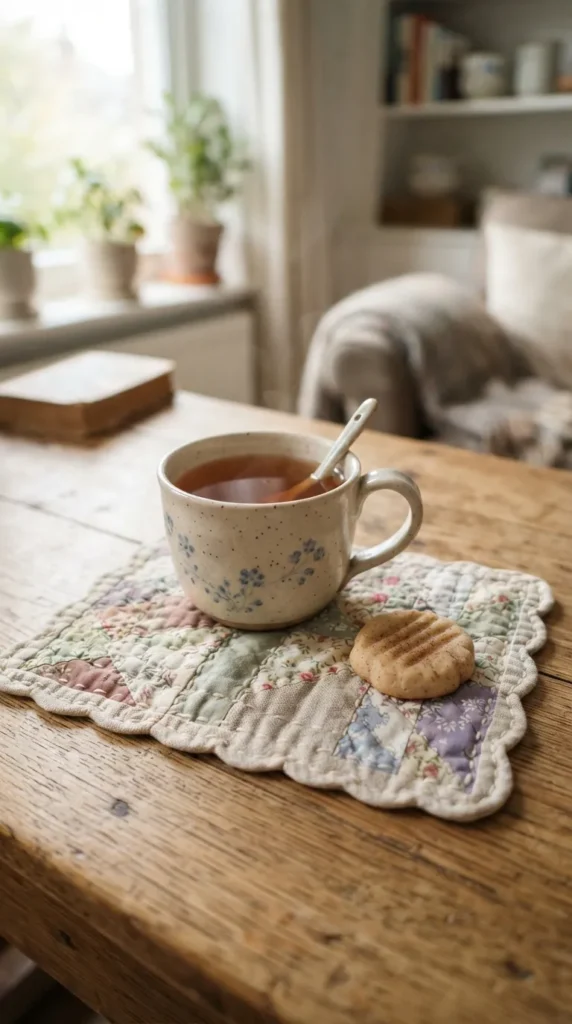
12. Patchwork Quilted Coffee Cozy & Mug Rugs
Charming mini patchwork mats that double as coasters and snack plates for morning tea or coffee breaks.
- What This Idea Means: Small-scale quilting projects that turn fabric scraps into charming decorative tabletop accents that protect wood surfaces.
- Needs to Make This Thing: Assorted fabric scraps (linen, florals, gingham), backing fabric, cotton batting, and thread.
- How to Make It:
- Sew scrap strips or squares together until you form a patchwork panel measuring roughly 7×10 inches.
- Layer the patchwork top, cotton batting, and backing fabric together.
- Quilt lines along the seam intersections (stitch-in-the-ditch) or free-motion quilt across the top.
- Trim the edges straight and apply continuous double-fold bias tape around all four sides, mitering the corners cleanly.
- Tips and Variations: Create a matching sleeve wrap for takeaway cups using an elastic loop and wooden button closure.
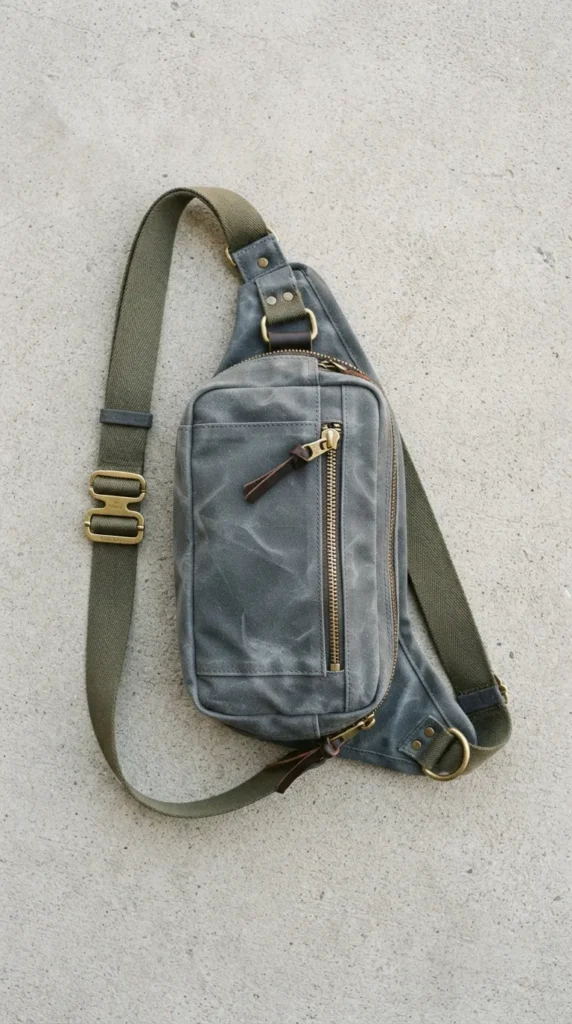
13. Minimalist Everyday Crossbody Sling Pouch
A streamlined, hands-free zip pouch for carrying essentials like phones, lip balm, and cardholders during quick outings.
- What This Idea Means: A lightweight, hands-free bag that keeps daily essentials accessible while maintaining a clean, utilitarian aesthetic.
- Needs to Make This Thing: 0.5 yards of dry-waxed canvas or heavy linen, 0.5 yards of ripstop or cotton lining, a 9-inch metal zipper, 1.5 yards of 1-inch cotton webbing, two D-rings, and two swivel snap hooks.
- How to Make It:
- Cut exterior and lining panels measuring 8×10 inches.
- Sew short webbing loops with D-rings into the upper side seams of the exterior pouch.
- Install the zipper across the top edge between exterior and lining panels.
- Sew the side and bottom edges right sides together, clip corners, turn right side out, and press.
- Assemble the crossbody strap by attaching swivel snap hooks to both ends of the long webbing piece with an adjustable slider buckle.
- Tips and Variations: Waxed canvas develops a unique distressed patina over time, adding rustic character with everyday use.
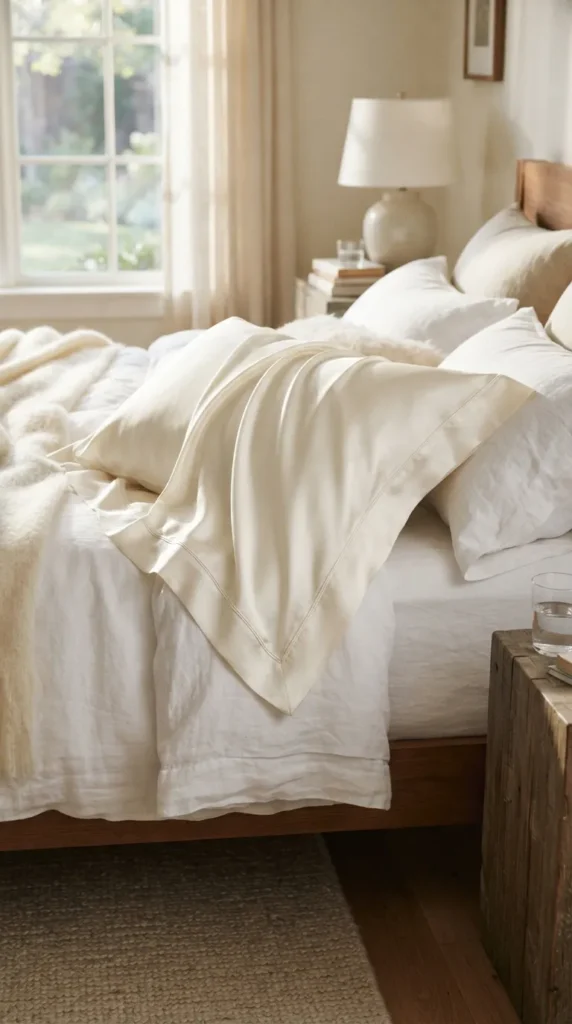
14. Luxury Silk Pillowcase with French Seams
A premium mulberry silk or charmeuse pillowcase designed to protect hair from frizz and skin from sleep creases.
- What This Idea Means: A practical everyday luxury that elevates bedroom decor while offering beauty benefits for hair and skin.
- Needs to Make This Thing: 1 yard of 100% mulberry silk, silk charmeuse, or high-grade satin; fine microtex sewing machine needles; and silk or polyester thread.
- How to Make It:
- Cut a panel measuring 21×60 inches to make an envelope-closure standard pillowcase.
- Hem both short ends with a tidy double-fold 1/4-inch hem.
- Fold the fabric into standard pillowcase dimensions with right sides facing out, folding the envelope flap inwards.
- Sew around the edges with a 1/8-inch seam allowance.
- Trim excess threads, turn wrong side out, press, and stitch again with a 1/4-inch seam allowance to encase all raw edges inside tidy French seams.
- Tips and Variations: Pin with ultra-fine silk pins inside the seam allowance to avoid leaving permanent holes in delicate silk.
15. Tiered Ruffle Edge Linen Throw Pillow
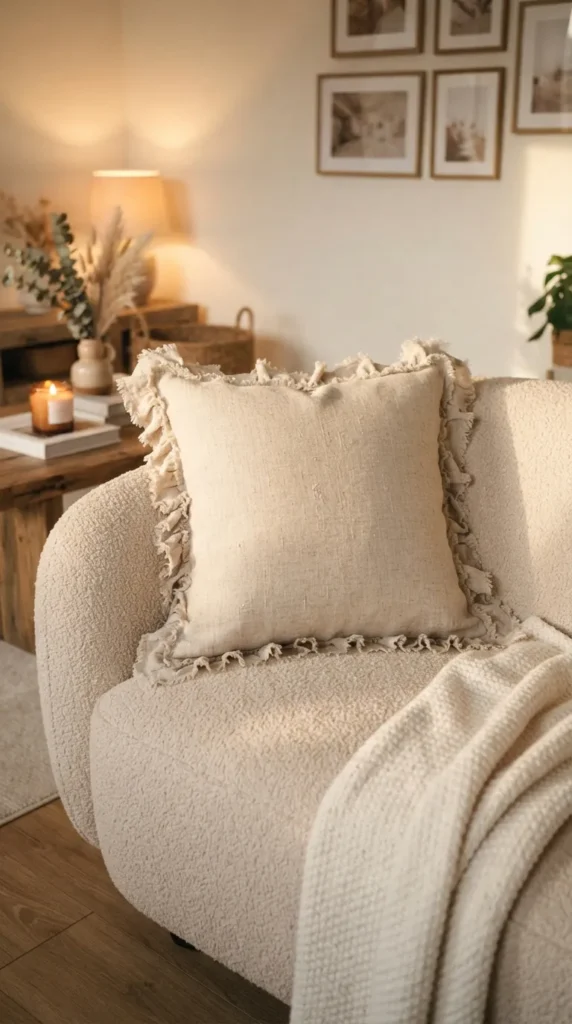
A vintage-inspired cushion cover featuring soft raw-edge ruffles that bring romantic, relaxed elegance to a couch or bed.
- What This Idea Means: A soft decorative pillow accent inspired by French country and modern cottage aesthetics.
- Needs to Make This Thing: 1 yard of medium-weight washed linen, an 18×18-inch pillow insert, sewing thread, and a gathering foot (optional).
- How to Make It:
- Cut two 19×19-inch square panels for the pillow front and back (or two back panels for an envelope style).
- Cut continuous strips of linen 3.5 inches wide, totaling 2.5 times the perimeter of the cushion.
- Hem or fringe the long outer edge of the strip, run two rows of basting stitches along the opposite edge, and pull evenly to gather the ruffle.
- Pin the gathered ruffle around the perimeter of the front cushion panel, pointing inward.
- Place the back panel over the ruffled front (right sides facing), stitch around the perimeter, turn right side out, and insert the cushion.
- Tips and Variations: Leave the outer ruffle edges unhemmed and wash once to produce a soft, textured frayed edge.
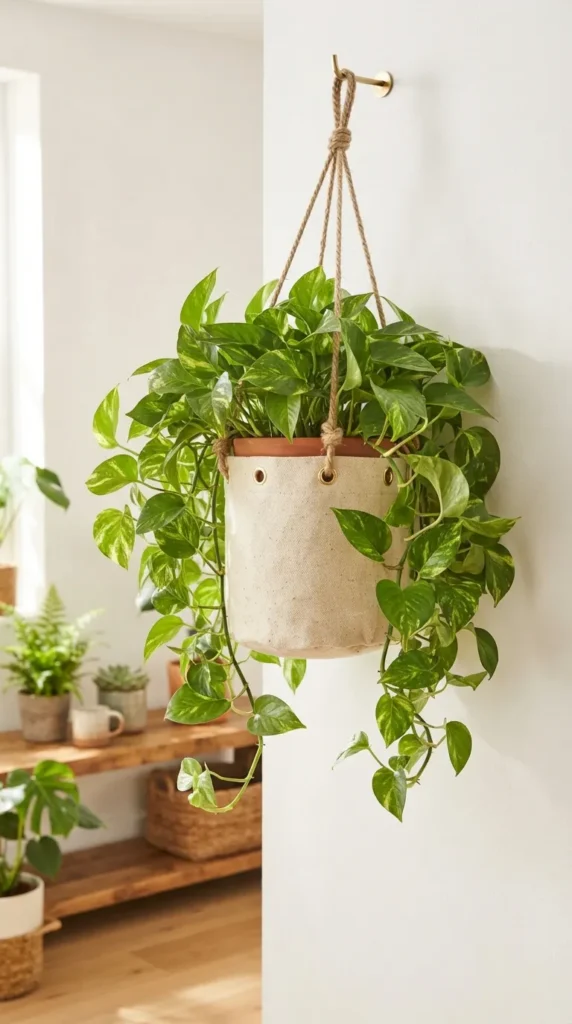
16. Hanging Fabric Plant Hammock & Pot Cover
A dual-purpose textile planter sleeve that disguises basic plastic nursery pots and can be hung near window sills.
- What This Idea Means: A warm, textured home for indoor houseplants that softens window frames and shelf displays with durable canvas and linen.
- Needs to Make This Thing: 0.5 yards of heavy unbleached cotton duck canvas, scrap contrast fabric for base, brass eyelets/grommets, and natural jute rope.
- How to Make It:
- Measure the height and circumference of your target plant pot, adding 1 inch to the height and 1 inch to the circumference for ease.
- Cut a canvas rectangle for the body and a circular piece for the bottom base.
- Sew the rectangle into a cylinder, pin the circular base to the bottom, stitch together, and finish seams with a zigzag stitch.
- Double-fold the top rim and stitch securely.
- Set three evenly spaced brass grommets into the top rim, thread jute rope through the grommets, knot the ends beneath the eyelets, and tie them together at the top with a loop.
- Tips and Variations: Always place a clear plastic drip tray inside the bottom before setting a plant pot inside to protect the fabric from watering runoff.
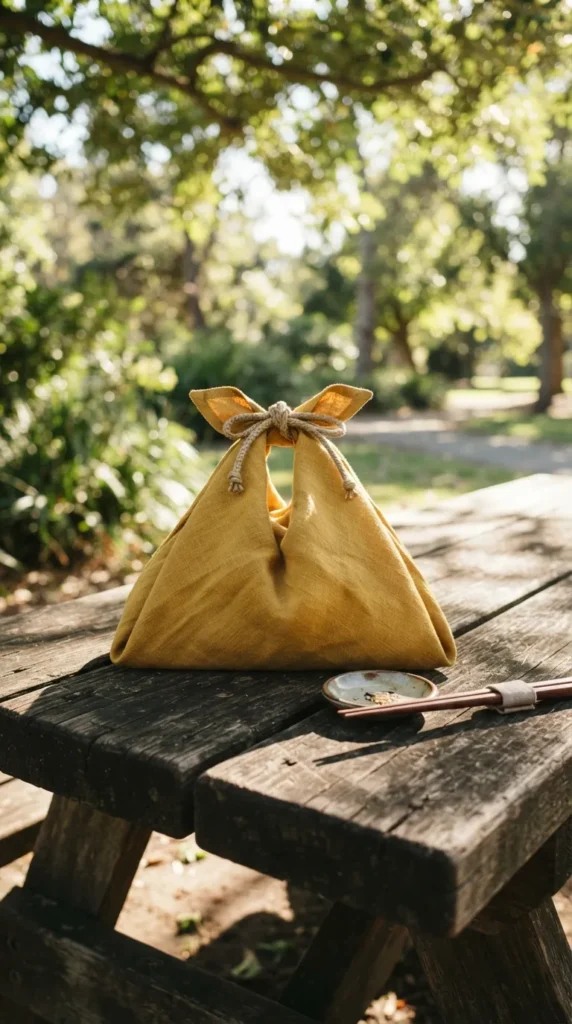
17. Insulated Bento Bag / Lunch Sack
An origami-inspired triangle lunch tote with insulated lining that carries food containers securely and rolls down with a tie.
- What This Idea Means: A compact, stylish lunch bag for work or picnics, inspired by traditional Japanese Azuma Bukuro folding geometry.
- Needs to Make This Thing: 0.5 yards of linen or canvas, 0.5 yards of insulated thermal batting, water-resistant interior lining, and snap buttons or tie ribbon.
- How to Make It:
- Cut three identical rectangular strips of exterior canvas (e.g., 6×18 inches each) and matching lining pieces.
- Layer thermal batting against the exterior canvas strips and baste in place.
- Join the three strips at right angles following traditional Azuma Bukuro folding steps to form the origami pouch shape.
- Assemble the lining in the same manner, join lining and exterior along the upper raw hems, turn right side out, and topstitch.
- Add a simple snap or twill tape tie across the top corners to secure the rolled bag.
- Tips and Variations: This foldable design packs completely flat when empty, making it convenient to store inside a daily work backpack.
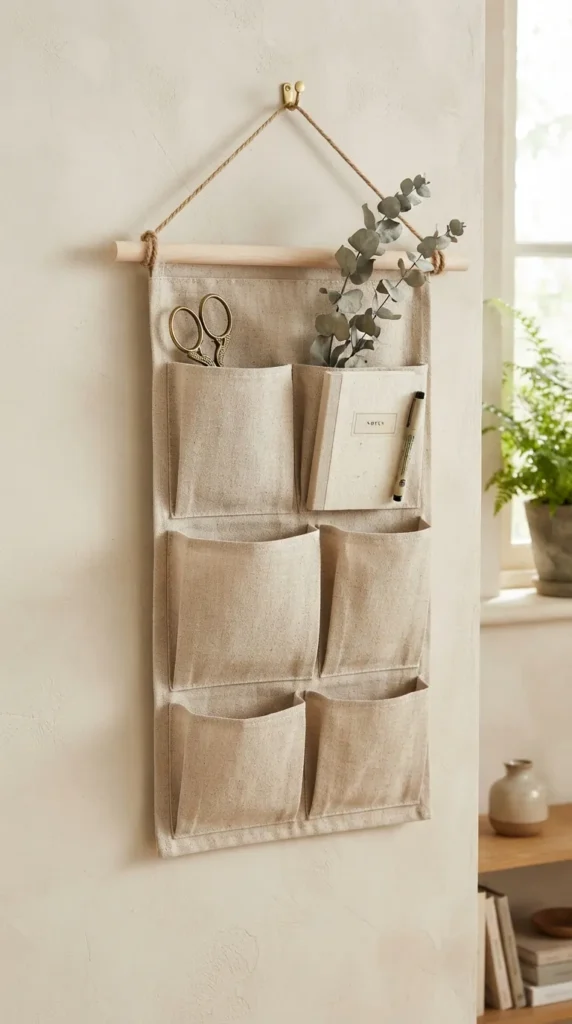
18. Hanging Wall Pocket Organizer
A vertical wall or door organizer with varying pocket sizes to hold mail, notebooks, dried flowers, and daily tools.
- What This Idea Means: A functional vertical storage piece that doubles as textured wall art for craft rooms, home offices, and entryways.
- Needs to Make This Thing: 0.75 yards of heavy canvas for the backing, linen scrap pieces for pockets, a 1/2-inch wooden dowel rod (16 inches long), and leather cord.
- How to Make It:
- Cut a main backing canvas panel measuring 15×24 inches, hem the sides, and create a 2-inch sleeve pocket along the top edge for the dowel rod.
- Cut multiple pocket strips of varied widths and heights, press the top hems, and form small pleats along the base of each pocket to provide depth.
- Pin pockets onto the backing panel and secure with double rows of topstitching along the bottom and side divisions.
- Slide the wooden dowel through the top sleeve, tie leather cord to both protruding ends, and hang on the wall.
- Tips and Variations: Use contrasting fabrics like sage linen, raw denim, and natural canvas across different pocket tiers for subtle color blocking.
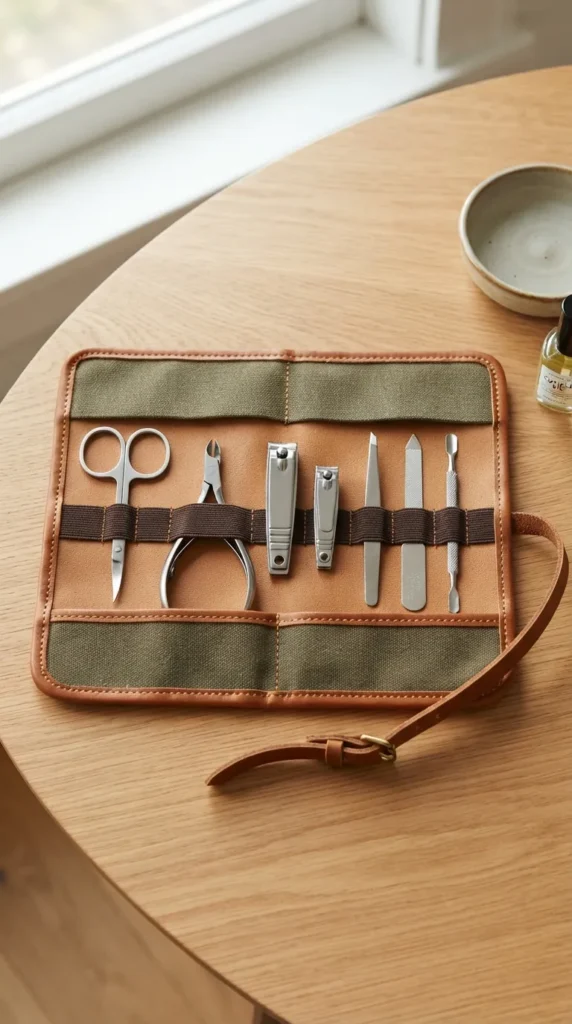
19. Foldable Travel Manicure & Grooming Roll
A specialized pocket roll with narrow slots to hold nail files, clippers, tweezers, and cuticle oils safely in one place.
- What This Idea Means: A compact, clean home for personal grooming tools that keeps sharp metal implements organized and travel-ready.
- Needs to Make This Thing: Fat quarters of cotton canvas and wipe-clean oilcloth or coated cotton lining, 1-inch wide elastic ribbon, and 1/2-inch leather cord for the closure.
- How to Make It:
- Cut outer and inner panels measuring 8×12 inches.
- Sew an elastic band onto the interior lining, stitching vertical dividers every 1 to 1.5 inches to hold grooming tools snugly.
- Create a lower bottom pocket fold to protect sharp tool edges from sliding downward.
- Sandwich outer and inner panels right sides facing, insert the leather closure cord along one edge, stitch perimeter leaving a gap, turn right side out, and topstitch.
- Tips and Variations: Use laminated cotton or water-resistant fabric for the inner lining so it can be wiped down easily with an alcohol wipe.
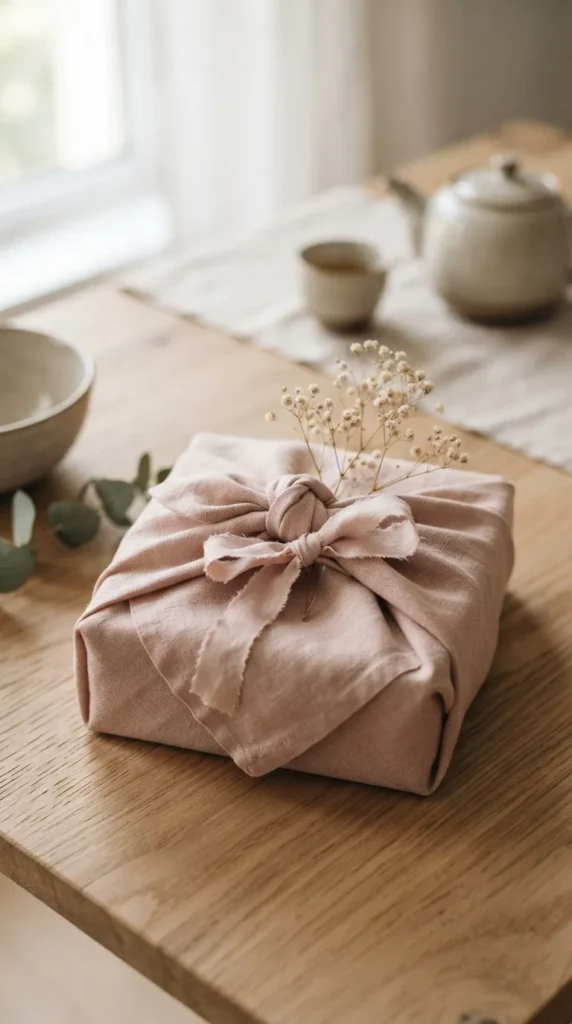
20. Reusable Fabric Gift Wrap & Furoshiki Ribbons
A zero-waste gift wrapping set featuring double-sided linen wrapping squares and long fabric ribbons for sustainable gifting.
- What This Idea Means: An eco-conscious alternative to paper wrap based on traditional Japanese furoshiki wrapping, serving as a reusable present in itself.
- Needs to Make This Thing: 1 yard of lightweight linen, double gauze, or patterned cotton, matching thread, and an iron.
- How to Make It:
- Cut fabric into three practical square dimensions: small (18×18 inches), medium (24×24 inches), and large (32×32 inches).
- Press a tiny 1/4-inch rolled hem or double-fold hem along all four edges of each square.
- Edge-stitch with matching or subtle metallic thread around the entire perimeter.
- Sew extra matching long ribbons (1.5 inches wide by 36 inches long) by folding strips right sides together, stitching, and turning.
- Tips and Variations: Use decorative embroidery stitches on your sewing machine to finish the outer hem with subtle scallop or starburst details.