20 Table Top Painting Ideas
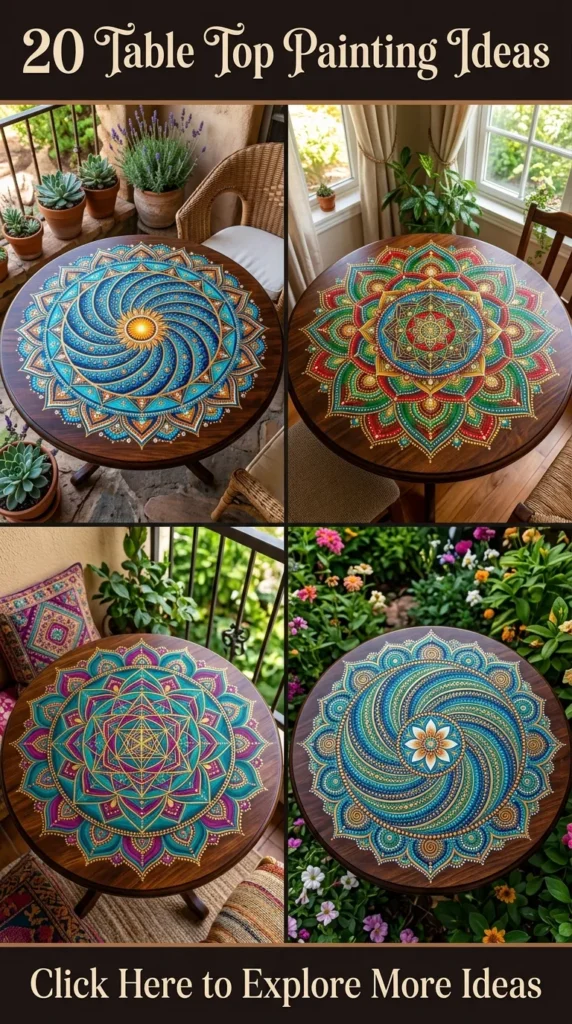
A tabletop is often the visual anchor of a room. Whether it is a weathered dining table, a neglected flea-market coffee table, or an understated bedside stand, a painted surface brings character, warmth, and individuality into your home. Rather than buying mass-produced furniture, customized paintwork allows you to create a bespoke focal point tailored to your personal aesthetic.
Before beginning any tabletop painting project, standard preparation is essential:
- Clean and degrease: Remove all dirt, wax, and oils with mild soap or TSP.
- Sand thoroughly: Scuff the existing finish with 120- to 180-grit sandpaper to give the primer mechanical grip.
- Prime appropriately: Use a high-adhesion bonding primer suited to wood, laminate, or metal.
- Seal for durability: Table surfaces endure daily friction, spills, and heat. Finish every design with at least two to three coats of a clear, non-yellowing polyurethane, polycrylic, or furniture wax.
1. Faux Calacatta Gold Marble
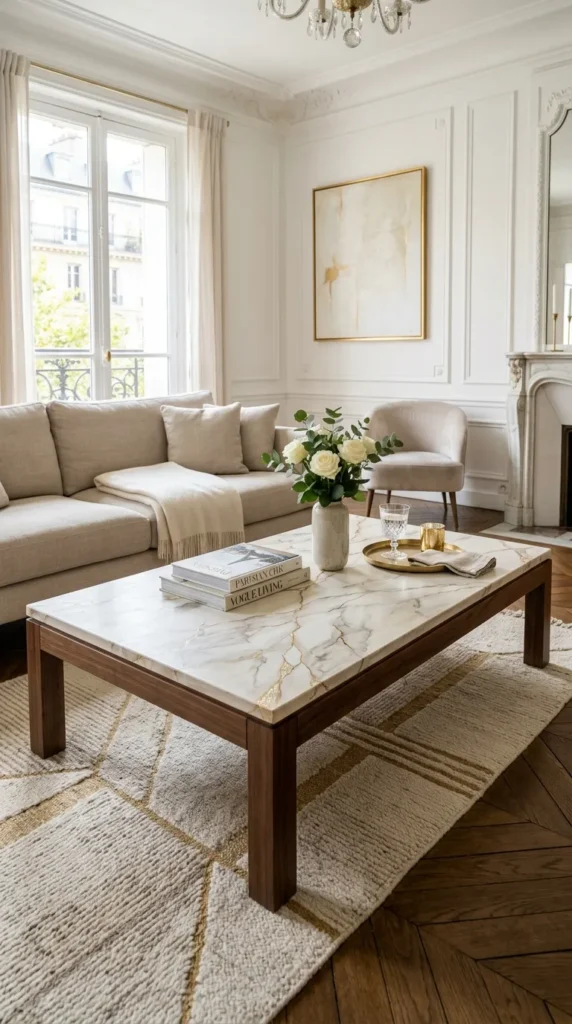
Faux marble remains a timeless, luxurious finish that elevates modest wooden or MDF coffee tables into high-end stone statement pieces without the weight or expense of real slab marble.
- What This Idea Means: Replicating the soft white background, translucent gray undertones, and warm golden-ochre fracture lines characteristic of natural Italian Calacatta marble using layered fluid paints and feathers.
- How to Make It: Paint your base in a clean, satin warm white. Once dry, mist sections lightly with water. Use a soft artist’s sea sponge to dab faint cloudy washes of light gray (mixed with clear acrylic glaze). While damp, drag a turkey feather or thin rigger brush dipped in slate gray and burnt umber across the surface in organic, diagonal fractures. Soften hard lines immediately with a dry badger blending brush. Lightly flick diluted gold fluid paint along selected veins for the signature Calacatta effect.
- Tips and Variations: Keep your veining flowing in one general diagonal direction to mimic geological sediment layers. For a moodier aesthetic, flip the palette to deep charcoal, forest green (Verde Alpi), or black with white veining (Nero Marquina).
- Supplies Needed: Satin white base paint, acrylic glazing medium, acrylic paints (warm white, slate gray, burnt umber, raw sienna, metallic gold), natural sea sponge, turkey feather, ultra-soft blending brush, water spray bottle, high-gloss polycrylic topcoat.
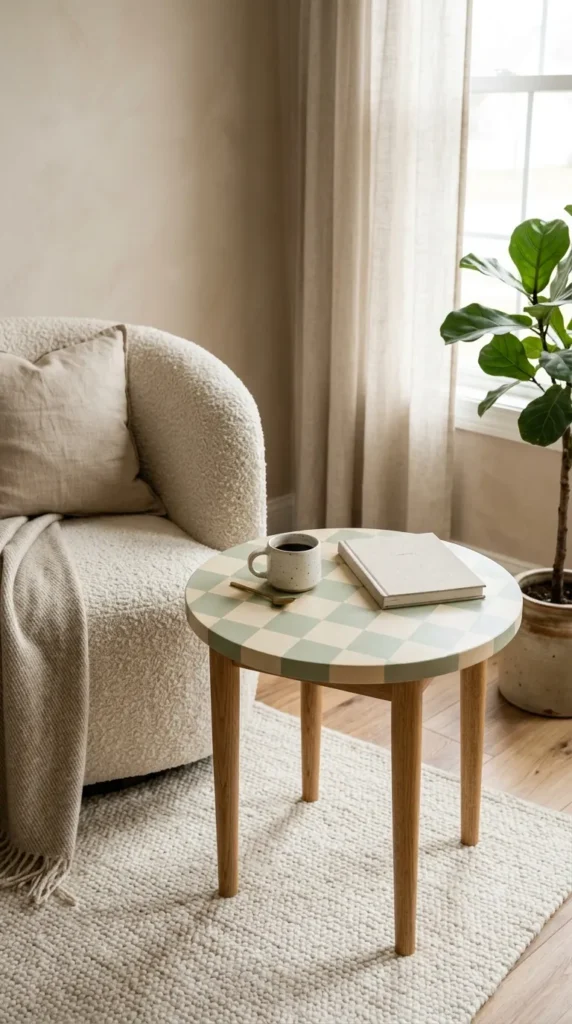
2. Checkerboard Inlay Illusion
The classic checkerboard pattern blends vintage Parisian café charm with modern bold geometry.
- What This Idea Means: A geometric grid painted with soft, muted tones or contrasting finishes that create the impression of handcrafted inlaid wood or floor tiles.
- How to Make It: Measure your tabletop precisely to determine grid dimensions (e.g., 2-inch or 3-inch squares). Coat the entire top in your lighter base color (such as soft linen or warm cream). Once cured, use a ruler and pencil to draw a faint grid. Apply low-tack delicate painter’s tape along alternate squares. Burnish tape edges firmly with a credit card to prevent bleed-through. Roll or dab your accent color (like terracotta, sage, or walnut brown). Peel the tape while the paint is still slightly damp for razor-sharp edges.
- Tips and Variations: To soften the contrast, use two very close monochromatic tones—such as matte bone and glossy ecru. Alternatively, rotate the grid by 45 degrees to create a diamond harlequin layout.
- Supplies Needed: Measuring tape, long metal ruler, pencil, low-tack delicate surface painter’s tape, two contrasting acrylic/chalk paints, small foam roller, matte clear sealer.
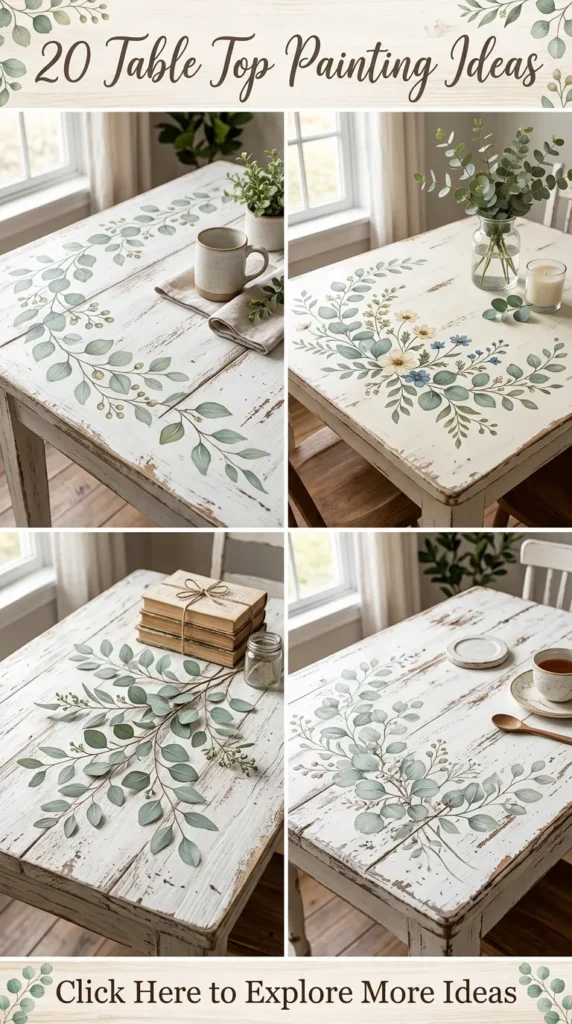
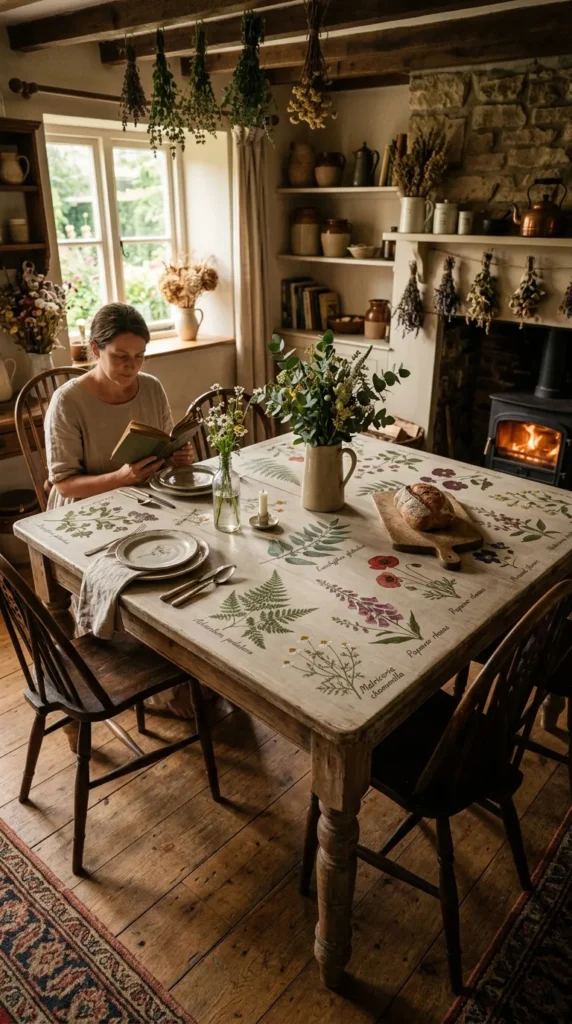
3. Botanical Press & Herbarium Study
This design brings botanical garden illustrations and the delicacy of pressed meadow florals onto raw, light-toned wood.
- What This Idea Means: Hand-painted or stenciled delicate wild stems, eucalyptus fronds, ferns, and pressed wildflowers painted across the surface in the style of vintage scientific herbarium sheets.
- How to Make It: Prep the surface with a washed linen or raw-wood stain background. Lightly sketch minimalist plant silhouettes using a soft graphite pencil. Using fine detail liner brushes, paint the stems and leaves with muted earth tones: olive greens, sepia, faded sage, and dusty mustard. Add botanical annotations or Latin plant names in subtle cursive calligraphy near the base of each stem.
- Tips and Variations: You can use real dried pressed leaves as stencils: place them flat, mist lightly over them with an airbrush or dry sponge, and lift to reveal organic negative silhouettes.
- Supplies Needed: Light chalk paint or wood stain, fine-liner script brushes (#0 and #2), acrylic artist tubes (olive, burnt sienna, titanium white, sap green), transfer paper, satin topcoat.
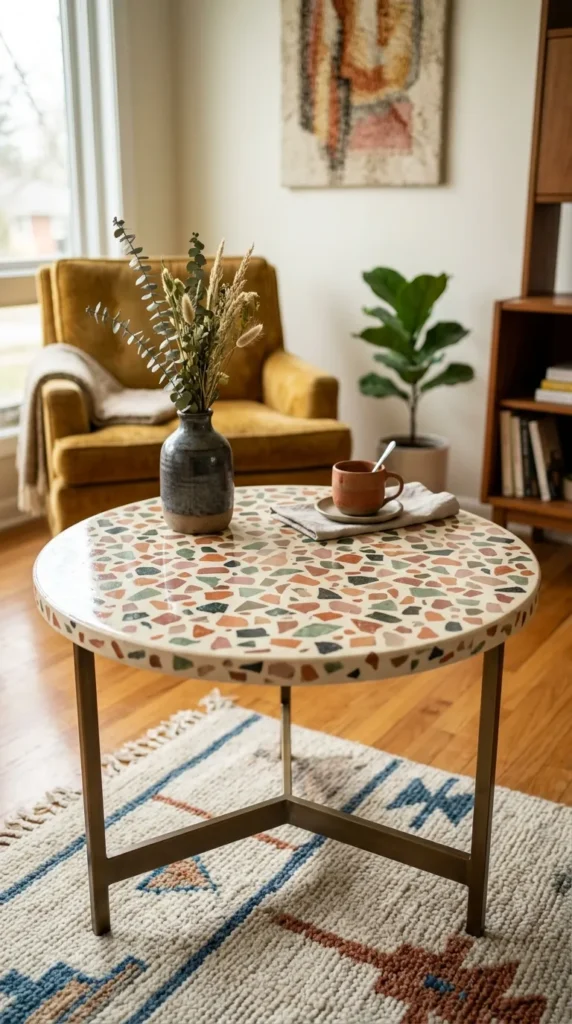
4. Vintage Terrazzo Aggregate
Inspired by mid-century Italian architecture, terrazzo patterns inject playful color, texture, and visual interest into circular side tables.
- What This Idea Means: A composite-style surface featuring irregular, multi-colored aggregate “chips” suspended in a solid-toned plaster or stone base.
- How to Make It: Apply two coats of a neutral background color—such as dusty rose, beige, charcoal, or bone white. Mix 4 to 6 accent colors in small cups (e.g., terracotta, sage, midnight blue, warm ochre, and black). Using flat-edged craft brushes, paint organic, irregular polygon shapes of varying sizes randomly across the table. Keep the edges angular and varied. Overlap a few small specks around larger clusters to mimic naturally scattered crushed aggregate.
- Tips and Variations: Use a satin or eggshell base, but seal the finished piece under an ultra-glossy poured epoxy resin coat to authentically replicate polished terrazzo stone.
- Supplies Needed: Base paint, multi-color acrylic craft paints, flat/chisel art brushes, clear epoxy resin or high-gloss protective varnish.
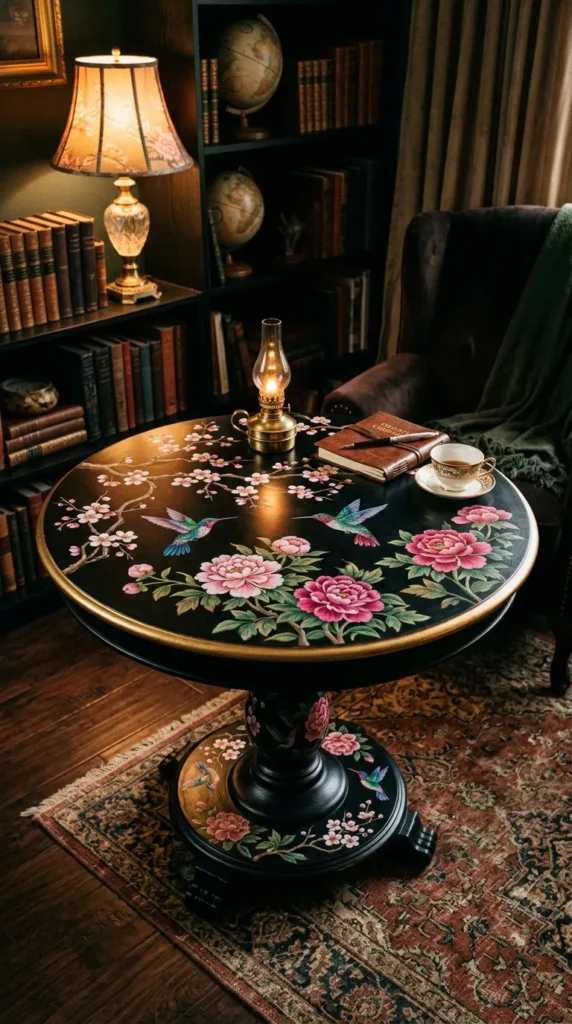
5. Moody English Chinoiserie Garden
A dramatic, sophisticated aesthetic featuring sprawling florals, hummingbirds, and climbing vines over a rich, dark backdrop.
- What This Idea Means: A decorative, romantic style derived from historical 18th-century European and East Asian hand-painted wallpapers, characterized by flowing branches, blooming peonies, and perching birds.
- How to Make It: Paint the tabletop in a deep base shade: ink blue, emerald green, or matte raven black. Once fully dry, chalk out flowing, asymmetrical willow or cherry blossom branches originating from one corner and trailing across the center. Paint the woody stems with tones of warm taupe and raw umber. Layer the petals and leaves using gouache-style opaque acrylics, starting with dark tones and highlighting the edges with pale pinks, creams, and gold accents.
- Tips and Variations: Work from background to foreground: branches first, then broad leaves, flower petals next, and fine stamens or bird feather highlights last.
- Supplies Needed: Dark background chalk/mineral paint, assorted round and detail artist brushes, acrylic paint set, tracing paper, soft chalk, satin water-based polyurethane.
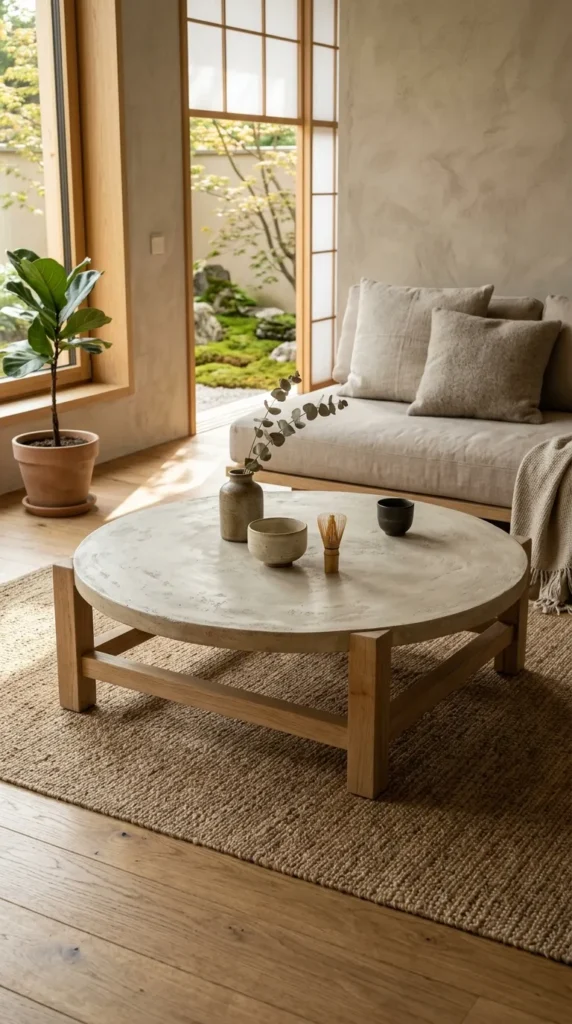
6. Organic Wabi-Sabi Textured Lime Wash
Celebrating simplicity, natural texture, and imperfect beauty, this Japanese-Nordic fusion style creates a calm, minimalist environment.
- What This Idea Means: A matte, multidimensional surface that looks like aged stone, limestone plaster, or weathered clay, free from sharp lines or complex patterns.
- How to Make It: Mix equal parts mineral/chalk paint with a small amount of fine plaster of Paris or texture paste. Apply the mixture across the tabletop using a wide masonry cross-hatch brush or a stainless steel drywall spatula in sweeping, arc-shaped strokes. As it starts setting, use a damp sponge or spatula edge to knock down high peaks, creating a soft, tactile, velvet-like surface. Lightly dry-brush a slightly lighter tint over the textured ridges.
- Tips and Variations: Stick to natural, grounded tones: oatmeal, warm greige, soft pumice, or washed terracotta. Seal with a zero-sheen, ultra-matte dead-flat varnish to maintain the raw mineral feel.
- Supplies Needed: Chalk or mineral paint, textured wall compound/plaster powder, masonry block brush, small trowel, ultra-matte polyurethane sealer.
7. Coastal Ocean Resin & Sand Wave
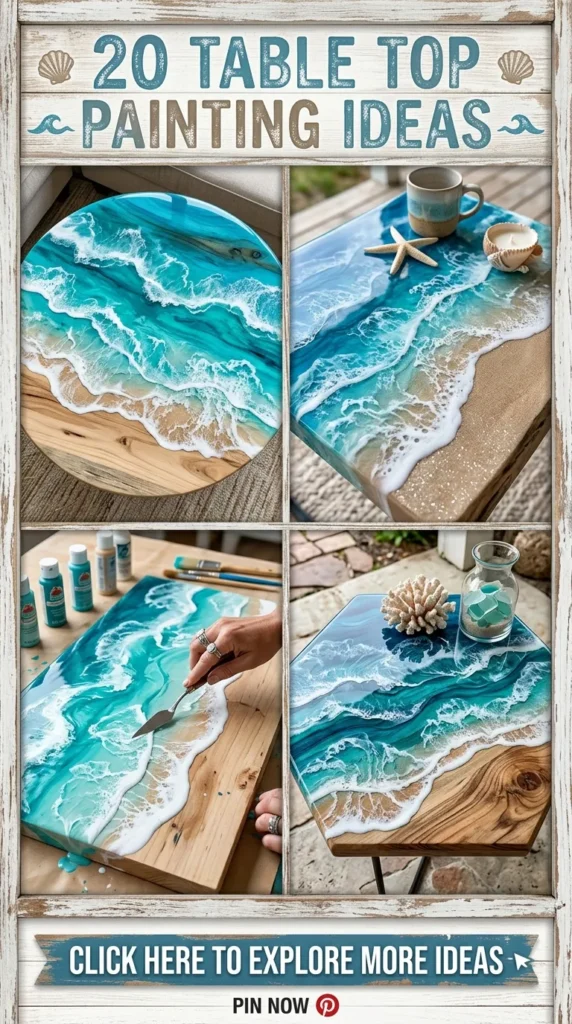
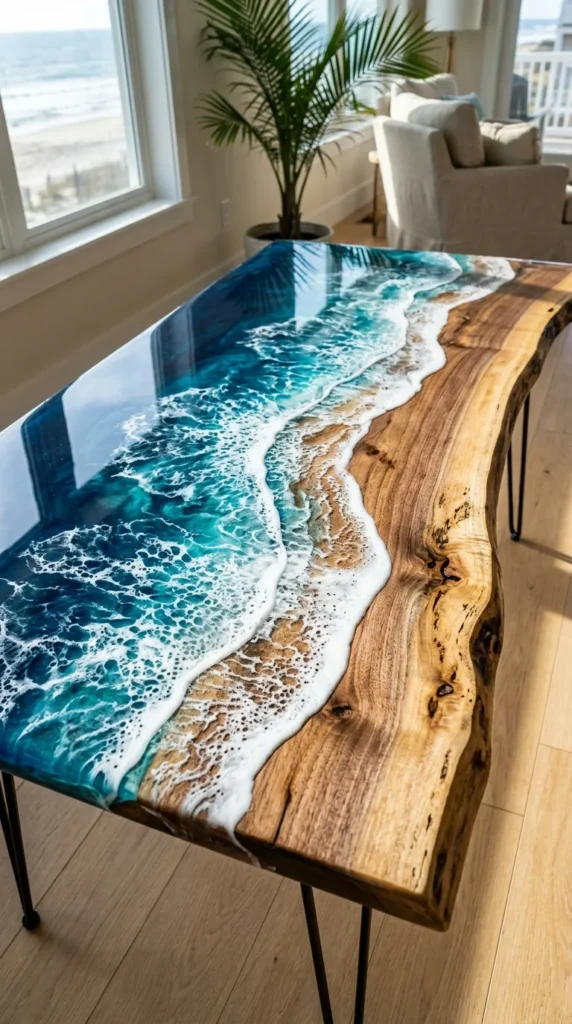
A striking coastal theme replicating aerial views of turquoise waves breaking against sandy shores.
- What This Idea Means: Blending deep sea blues, translucent turquoise tints, and white foam lacing across a diagonal section of the table, leaving natural wood grain visible as the “beach.”
- How to Make It: Tape off the table edges securely with heavy-duty silicone tape. Mix two-part clear epoxy resin. Divide the resin into cups and tint them deep navy, cerulean blue, aqua, and opaque white (using a white pigment paste). Pour the colored resin in gradient stripes across the tabletop, moving from dark ocean blue to clear turquoise near the wood boundary. Drizzle a thin line of white resin along the water line. Use a heat gun held at a 45-degree angle to blow the white resin back into the blues, creating natural sea-foam cells.
- Tips and Variations: Embed fine decorative white sand or small flat seashells into the natural wood edge before pouring resin for authentic beach texture.
- Supplies Needed: Two-part clear epoxy resin, resin pigment pastes (Navy, Cyan, White), mixing cups, heat gun or blowtorch, silicone tape, respirator mask, drop cloths.
8. Celestial Midnight Star Map
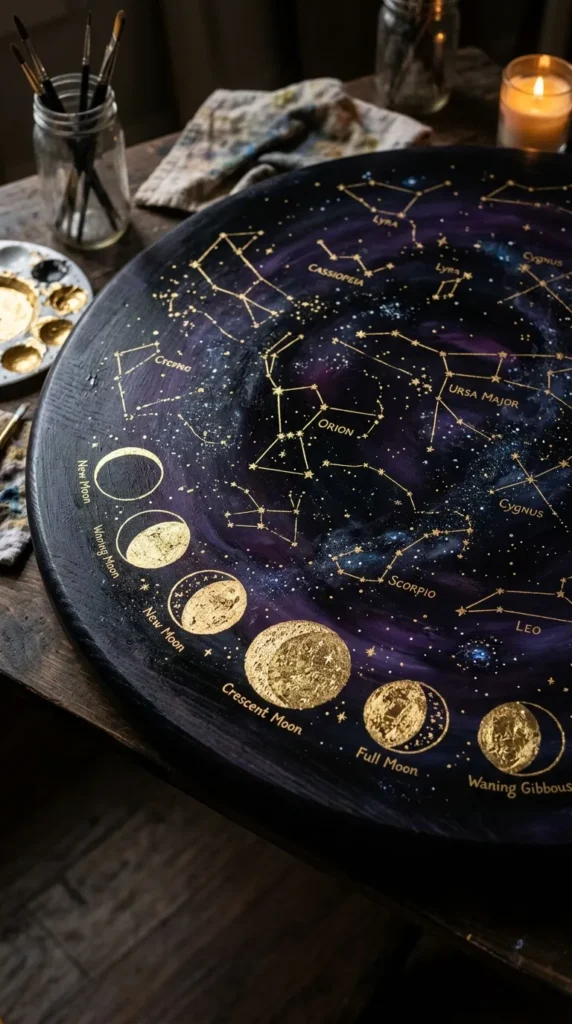
An evocative, dreamy cosmic theme featuring constellations, gold leaf accents, and nebulous celestial gradients.
- What This Idea Means: A nocturnal sky map showing astrological constellations, phases of the moon, and delicate nebulae painted over an inky black-to-violet gradient.
- How to Make It: Blend an ombré base ranging from jet black at the outer rim to deep navy and plum in the center using soft sponge rollers. Lightly sponge white and magenta glaze in the center to create a subtle galactic cloud. Use an old toothbrush dipped in diluted white paint to spatter tiny stars across the surface. Use a gold paint pen or gilding adhesive to paint constellation lines, planetary symbols, or moon phases with fine geometric precision. Apply real gold leaf sheets to selected star clusters for reflective shine.
- Tips and Variations: Paint a compass rose in the center or focus on the specific constellation map of a meaningful date or location.
- Supplies Needed: Black, navy, violet, and white acrylic paints, gold leaf sheets with gilding size, metallic gold paint marker, spatter brush, gloss topcoat.
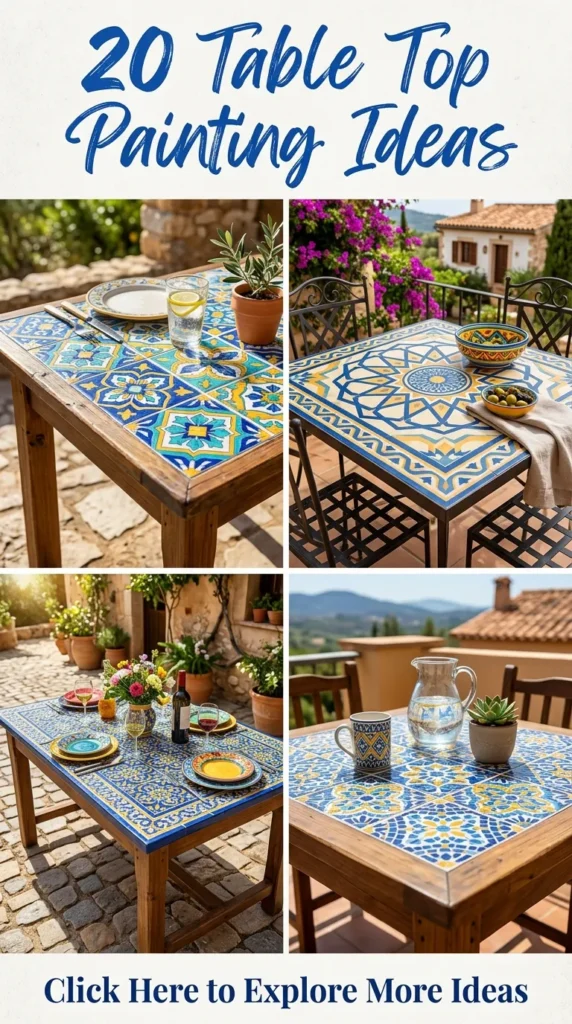
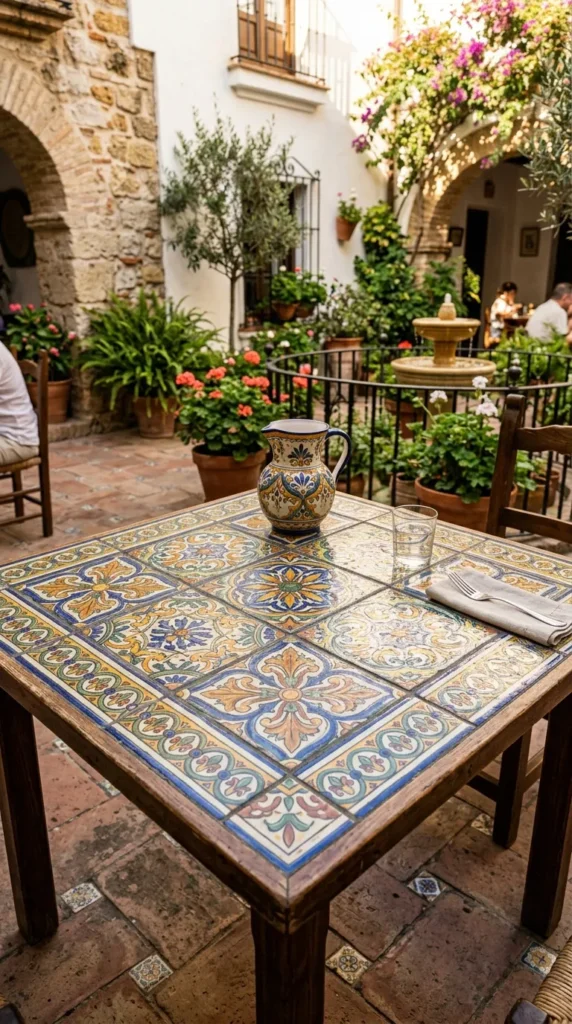
9. Mediterranean Talavera Moroccan Tile Stencil
Lively, intricate, and vibrant, this idea transforms plain tabletops into colorful Iberian or North African tiled surfaces.
- What This Idea Means: Using interlocking geometric and floral tile stencils to mimic individually fired, glazed ceramic tiles.
- How to Make It: Paint the entire tabletop in an off-white, bone, or terracotta clay tone. Measure and mark an even grid representing square tiles (e.g., 6×6 inches). Place a Talavera or Moroccan tile stencil precisely within each grid square. Secure with low-tack stencil spray adhesive. Using a dense foam stencil dauber with very little paint (dry-brush method), dab Cobalt blue, saffron yellow, and forest green paint through the stencil. Rotate or alternate stencil designs across the grid.
- Tips and Variations: Use a thin gray liner brush along your pencil grid lines to simulate mortar or grout joints between the tiles.
- Supplies Needed: Tile-pattern stencil, repositionable stencil spray, round stencil daubers, acrylic craft paints (Cobalt, Ochre, Terracotta, White), delicate tape, satin clear coat.
10. Mid-Century Geometric Colorblock
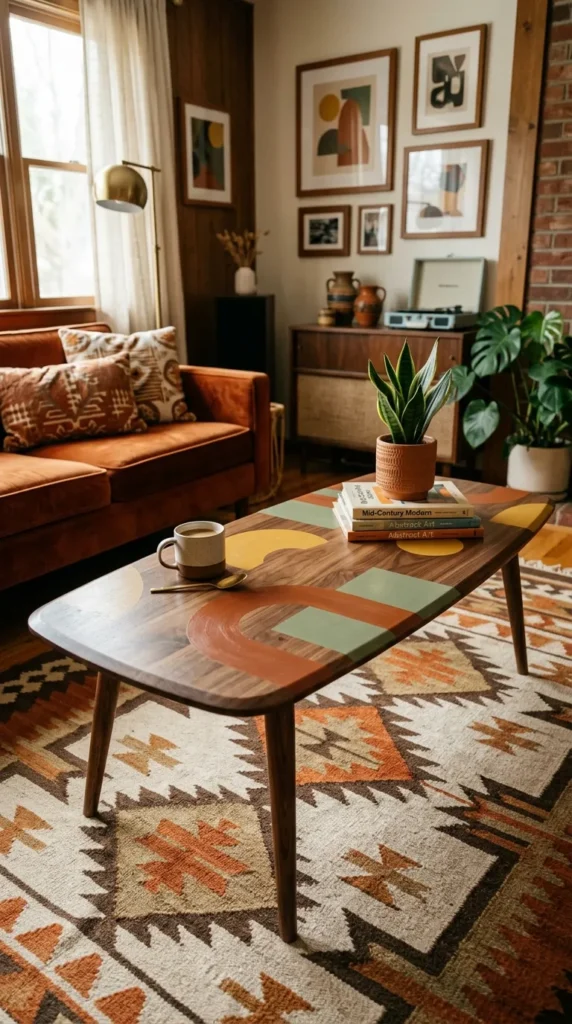
Clean lines, retro warmth, and bold balance inspired by 1950s–1970s modernist interior design.
- What This Idea Means: Overlapping geometric arches, half-moons, rectangles, and flowing organic shapes painted in earthy mid-century tones.
- How to Make It: Sketch an asymmetrical arrangement of overlapping shapes—an elongated oval, a large arch, and intersecting color planes. Apply painter’s tape along straight lines. For perfect arches, create a string compass with a pencil pinned to a center point. Paint each section using a distinct retro color palette: mustard yellow, burnt sienna, avocado green, dusty blush, and warm cream. Keep edges sharp and clean.
- Tips and Variations: Leave one section of the design unpainted so the natural stained wood grain acts as one of the geometric shapes in the composition.
- Supplies Needed: Compass/string, delicate painter’s tape, fine acrylic rollers, retro palette paints, matte or satin water-based sealer.
11. Antique French Distressed Chalk Wash
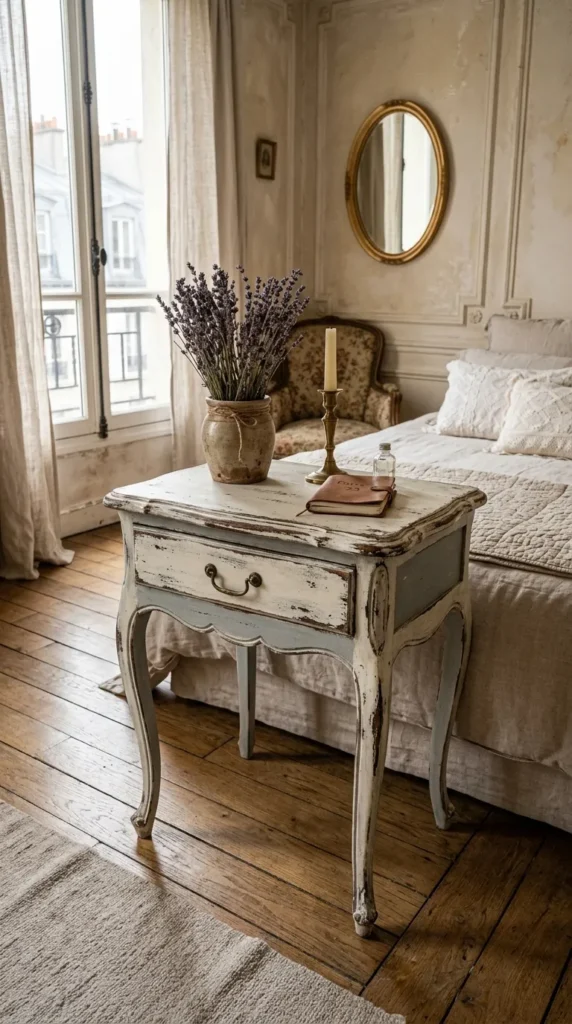
Charming, relaxed, and weathered, this look replicates heirloom French provincial or Scandinavian farmhouse furniture.
- What This Idea Means: Layering two contrasting chalk paint colors with a wax-resist technique to create natural edge wear and a soft, powdery patina.
- How to Make It: Paint the base coat with a rich dark shade (warm taupe, walnut brown, or slate gray). Let dry. Rub a block of household beeswax or a candle along the edges, corners, and natural friction points. Paint a full second coat using a soft cream, duck-egg blue, or linen chalk paint directly over the wax. Once dry, lightly sand the surface with 220-grit sandpaper—the top layer will easily flake away where the wax was applied, revealing the underlying base coat.
- Tips and Variations: Finish with a coat of dark antique furniture wax buffed into the recesses and grain to add aged depth.
- Supplies Needed: Two shades of chalk paint, wax block/candle, 220-grit sandpaper, clear furniture wax, dark aging wax, lint-free buffing cloths.
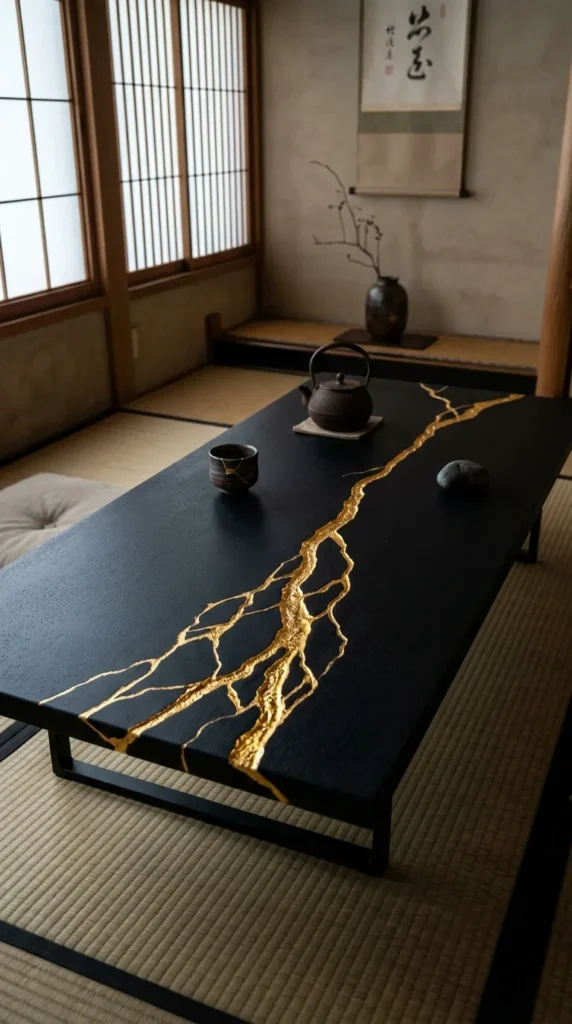
12. Modern Gold Vein Kintsugi
Honoring the traditional Japanese art of repairing broken pottery with liquid gold, this design turns fissures into features.
- What This Idea Means: A minimalist, organic fracture line or abstract “crack” pattern filled with bright, reflective gold leaf running across a solid slate, matte white, or dark wood surface.
- How to Make It: Paint the tabletop in a uniform ultra-matte charcoal, raven black, or stone gray finish. Use a fine-tip artist brush or calligraphy pen to paint organic, branching lightning-like fracture lines diagonally across the table using gold leaf sizing (specialty adhesive). Wait 15 minutes until the adhesive turns clear and tacky. Carefully lay sheets of imitation gold leaf over the lines. Use a soft, dry mop brush to burnish the gold leaf into the glue and sweep away excess foil flakes.
- Tips and Variations: Paint a tiny drop shadow along one edge of the gold vein with thinned black paint to create realistic 3D depth.
- Supplies Needed: Matte background paint, gold leaf size/adhesive, imitation gold leaf sheets, soft gilding mop brush, fine liner brush, high-gloss or satin clear coat.
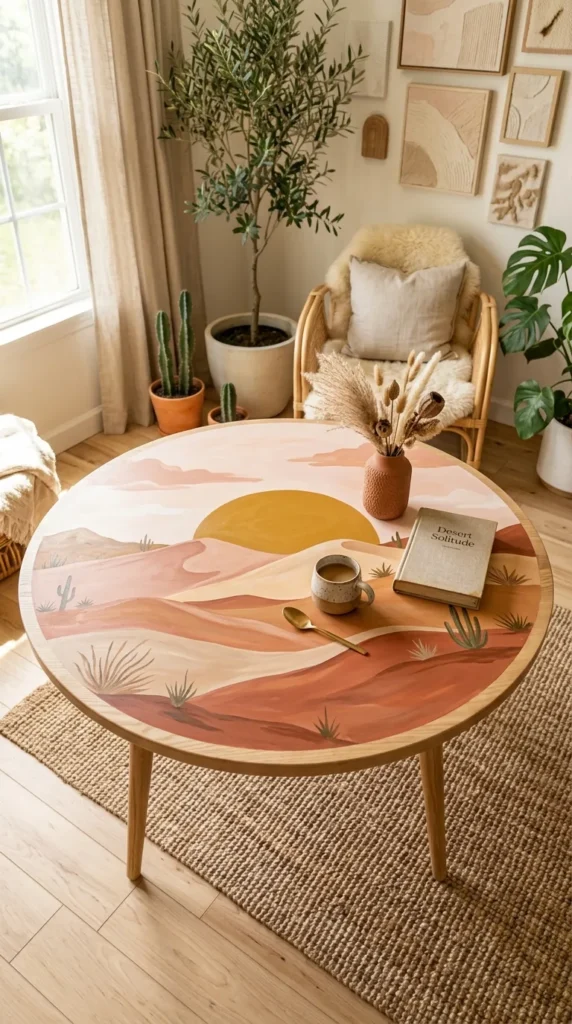
13. Sun-Drenched Desert Boho Mirage
Warm, serene, and grounded, this style features warm sunset gradients, desert dunes, and minimalist sun motifs.
- What This Idea Means: A soothing landscape featuring stylized sand dunes, rising sun arches, and abstract desert fauna rendered in terracotta, blush, and clay tones.
- How to Make It: Paint a creamy off-white base. Draw a large offset semi-circle for the sun, accompanied by rolling, wave-like layers representing sand dunes. Mix paint in graduating warm tones: dusty rose, clay red, warm sand, and spiced pumpkin. Fill the lowest dune in the deepest tone, working up to lighter shades toward the horizon. Paint the rising sun in a warm mustard ochre. Add minimalist linear cactus silhouettes or sunburst rays if desired.
- Tips and Variations: Blend the dune transitions using a dry-sponge stippling technique for a soft, hazy desert horizon.
- Supplies Needed: Earth-toned acrylic paints, curved flexible stencil or pencil compass, angled sash brushes, flat foam roller, ultra-matte polyurethane.
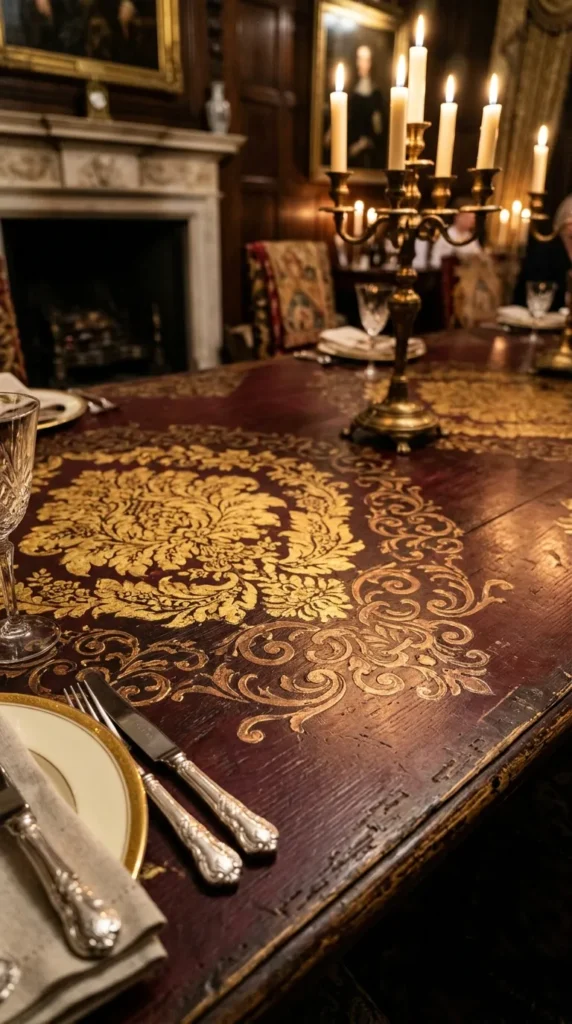
14. Gilded Baroque Damask Stencil
Regal, dramatic, and luxurious, this aesthetic brings the opulence of historical palaces and vintage textiles to accent tables.
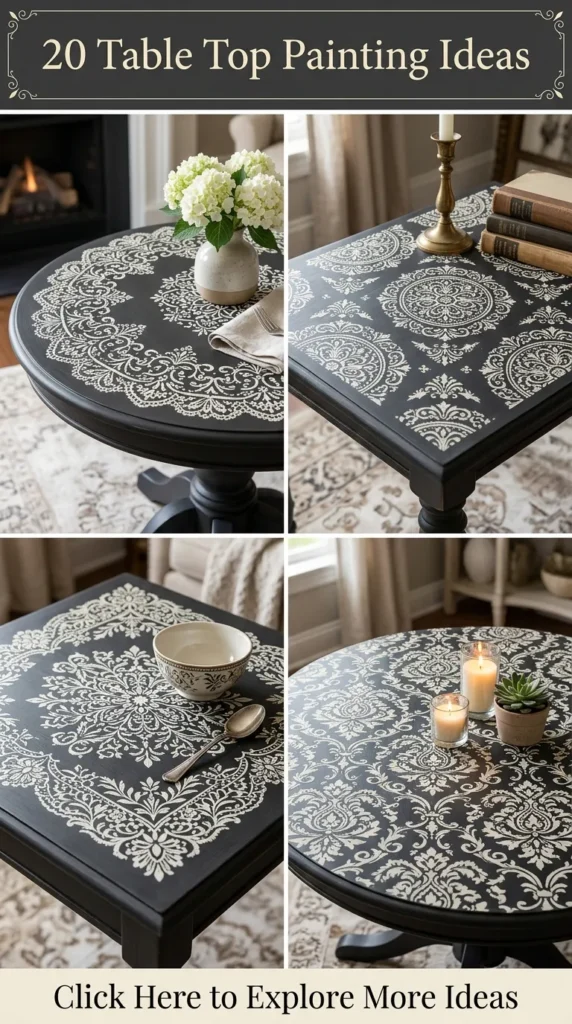
- What This Idea Means: An intricate, repeating damask, acanthus leaf, or brocade motif rendered in shimmering metallic bronze or gold over a velvety, dark background.
- How to Make It: Coat the tabletop in a rich, saturated matte finish such as burgundy, royal navy, or matte black. Lay a large allover damask stencil flat on the table, fixing it with painter’s tape. Apply metallic gold, bronze, or champagne acrylic paint using a high-density foam roller with light, even pressure. Lift the stencil cleanly, line up the repeat registration marks, and continue across the entire top.
- Tips and Variations: Lightly sponge a slightly darker metallic bronze around the tabletop’s outer rim to create a subtle, luminous vignette effect.
- Supplies Needed: Large damask pattern stencil, metallic gold/bronze paint, dense foam roller, paper towels for off-loading paint, gloss or satin finish sealer.
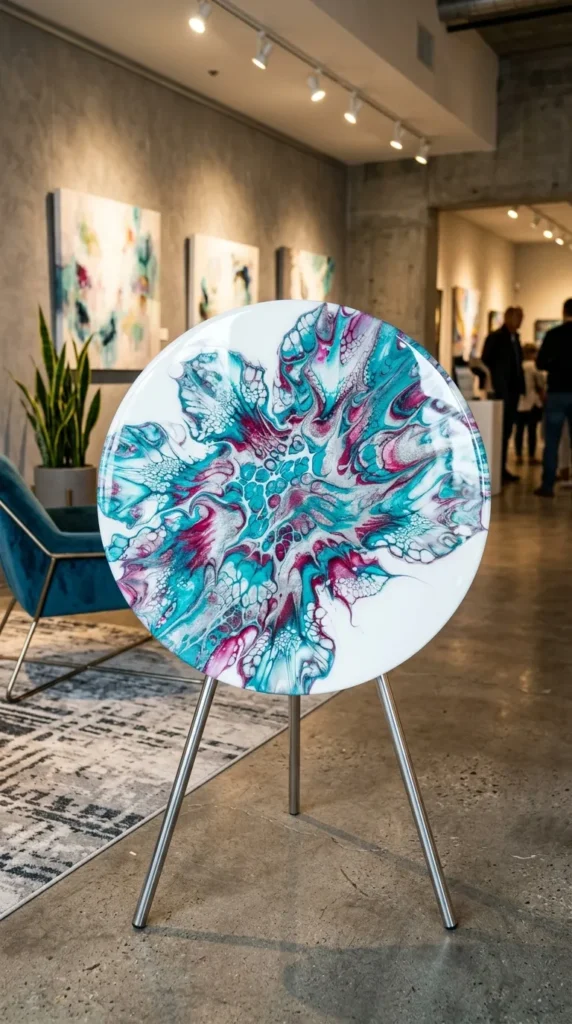
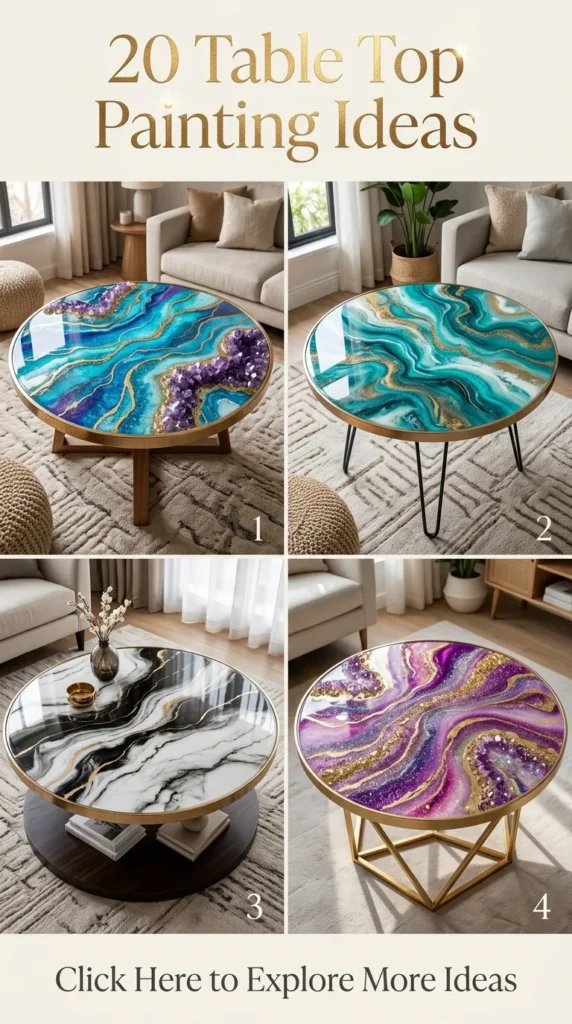
15. Surreal Fluid Acrylic Dutch Pour
Dynamic, modern, and one-of-a-kind, fluid pouring transforms tabletops into mesmerizing abstract art pieces.
- What This Idea Means: Using fluid acrylics thinned with pouring medium, blown across the surface with airflow to create delicate feather-like cells and organic color ribbons.
- How to Make It: Elevate the tabletop horizontally on painter’s cups over a drop cloth. Mix your acrylic paints with a pouring medium (such as Floetrol) to a warm honey consistency. Pour a puddle of white base paint across the table to act as a glide layer. Pour rings of your accent colors (e.g., cobalt blue, turquoise, magenta, and metallic silver) in the center. Use a hairdryer on a low-heat, high-air setting to blow the base paint over the colors, then blow the colors outward across the table, creating intricate cells and dynamic flow lines.
- Tips and Variations: Add 2 to 3 drops of 100% silicone oil to your accent paint cups before pouring to generate large, striking cell formations.
- Supplies Needed: Acrylic paints, pouring medium (Floetrol), silicone oil (optional), hairdryer, small blowtorch (to pop air bubbles), clear high-gloss epoxy resin topcoat.
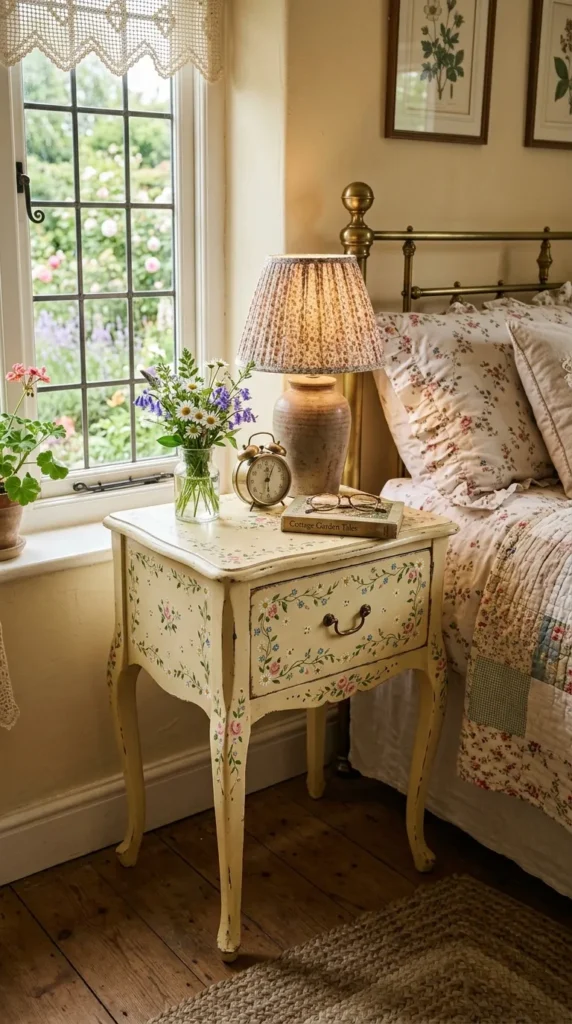
16. Vintage Cottagecore Ditsy Floral
Sweet, nostalgic, and detailed, ditsy floral patterns create a charming, cozy tea-table atmosphere.
- What This Idea Means: A scattered, micro-pattern of small English meadow florals—daisies, forget-me-nots, buttercups, and miniature rosebuds over a soft pastel base.
- How to Make It: Paint the table in a soft pastel shade: buttery ivory, sage, or muted powder blue. Using a round detail brush (#1), stamp small five-dot flower clusters randomly across the tabletop. Add a tiny dot of contrasting yellow or white in the center of each blossom. Fill the open spaces between flowers with tiny green leaf strokes and delicate curving vine lines using a script brush. Keep the distribution balanced and organic.
- Tips and Variations: Use the wooden end of your paintbrush dipped in paint as a simple stamping tool to create uniform flower petals with ease.
- Supplies Needed: Pastel base paint, fine detail brushes, multi-color acrylic paint set (white, pink, buttercup yellow, olive green, sky blue), clear satin varnish.
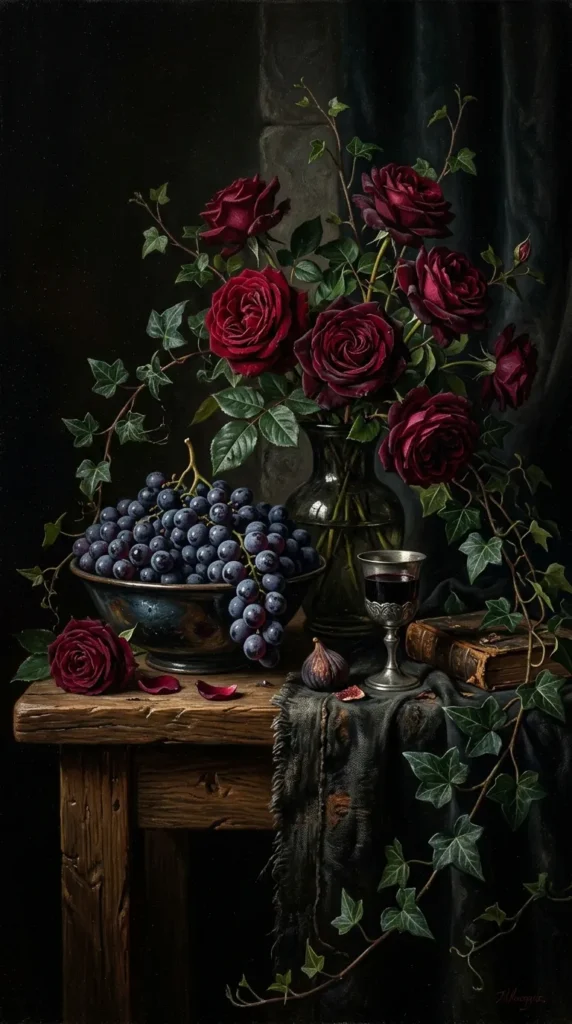
17. Dark Gothic Renaissance Trompe-l’œil
Moody, rich, and dramatic, this style draws inspiration from 17th-century Dutch still-life master paintings.
- What This Idea Means: Realistic still-life elements—such as ripe figs, trailing ivy, cascading dark grapes, and deep crimson roses—painted with sharp chiaroscuro lighting over a pitch-black background.
- How to Make It: Paint the background in deep matte black. Sketch your floral and fruit composition concentrated around one quadrant or corner of the table. Paint in layers: block in deep shadowy undertones first, blend intermediate body colors, and finish with crisp, bright highlights on the illuminated edges to create realistic 3D volume. Add details like tiny water droplets on petals using a dot of white paint alongside a dark crescent shadow.
- Tips and Variations: Focus your light source consistently from one single direction (e.g., top-left) across all painted objects to ensure believable three-dimensional realism.
- Supplies Needed: Matte black base paint, artist-grade heavy-body acrylics or oil paints, fine blending brushes, transfer paper, high-grade satin varnish.
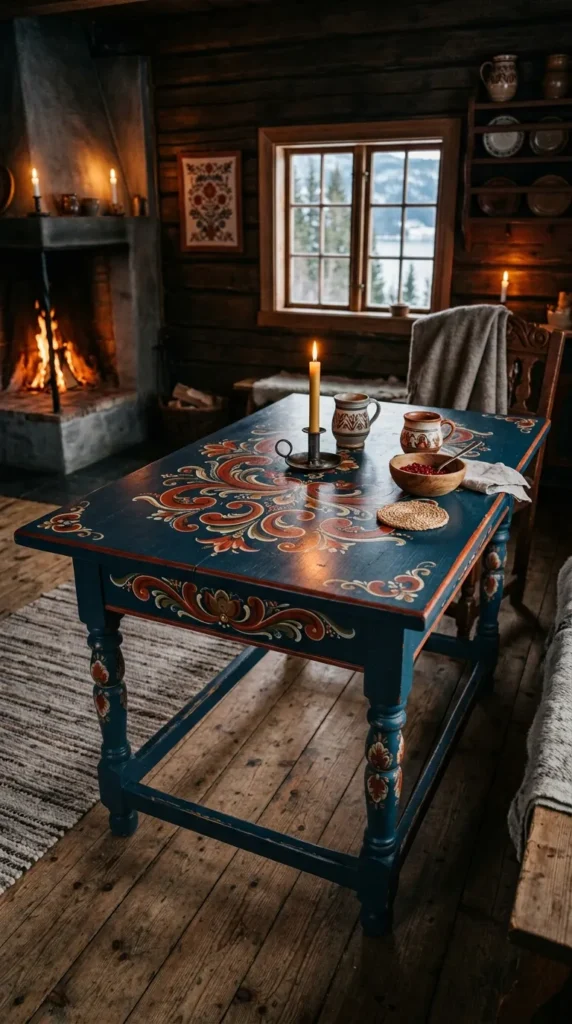
18. Scandinavian Folk Art (Rosemaling)
Vibrant, traditional, and balanced, this Nordic decorative style uses flowing scrollwork, stylized petals, and geometric harmony.
- What This Idea Means: Traditional Norwegian or Swedish-inspired decorative floral scrollwork featuring graceful C- and S-curves, stylized tulips, and teardrop flourishes.
- How to Make It: Paint a solid background in traditional Nordic hues: deep fjord blue, rich forest green, or rusty iron red. Draw symmetrical chalk guide circles and axes radiating from the center of the tabletop. Using a flat or filbert brush loaded with two colors simultaneously (e.g., white on the outer tip, vermilion red on the heel), paint sweeping C- and S-stroke scrolls in balanced rings around the center. Finish with fine teardrop details and dots using a liner brush.
- Tips and Variations: Practice the double-loaded brush technique on cardboard first to master smooth, dual-toned ribbon strokes in a single pass.
- Supplies Needed: Deep matte base paint, artist filbert and script liner brushes, multi-color acrylics, chalk, satin furniture varnish.
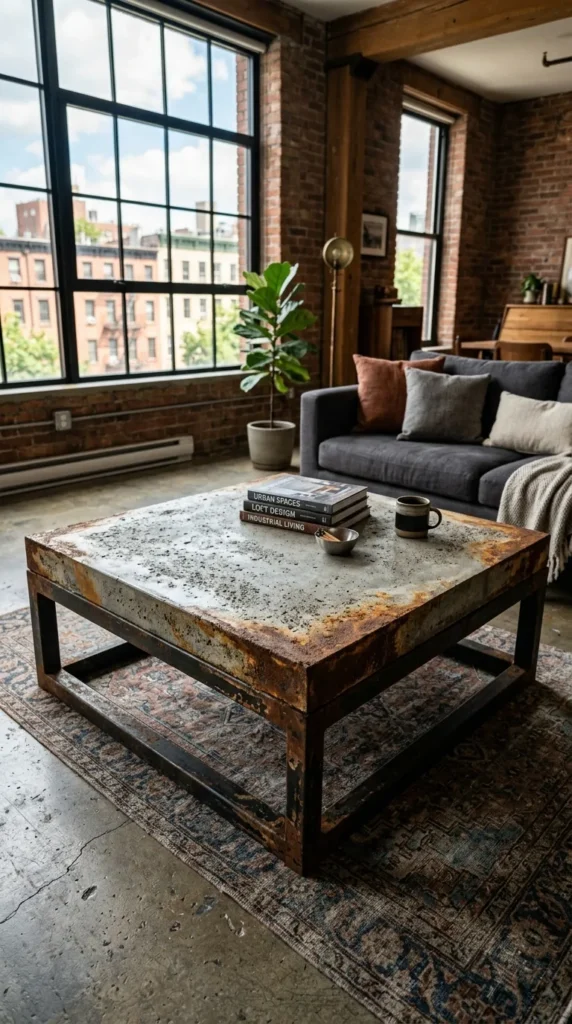
19. Industrial Concrete & Tarnished Rust
Raw, modern, and tactile, this urban design replicates weathered urban concrete, weathered stone, and oxidized metal.
- What This Idea Means: A multi-tonal, textured surface that imitates cast architectural concrete panels accented with aged iron oxidation along the borders.
- How to Make It: Apply a textured light-gray mineral base using a spatula or sea sponge. Sponge mottled layers of charcoal, medium gray, and warm cement tones over the wet surface. Blend the colors softly with a damp rag to remove hard lines. Mix iron metallic paint with an acidic rust activator solution (or mix cinnamon powder and burnt umber paint with matte glaze) and dab it around table corners and joints to simulate natural iron patina.
- Tips and Variations: Score fine straight grid lines into the wet compound with a metal ruler to mimic concrete slab expansion seams.
- Supplies Needed: Concrete texture paste or chalk paints in three gray shades, rust patina kit or burnt umber/cinnamon glaze, sea sponges, trowel, dead-flat matte sealer.
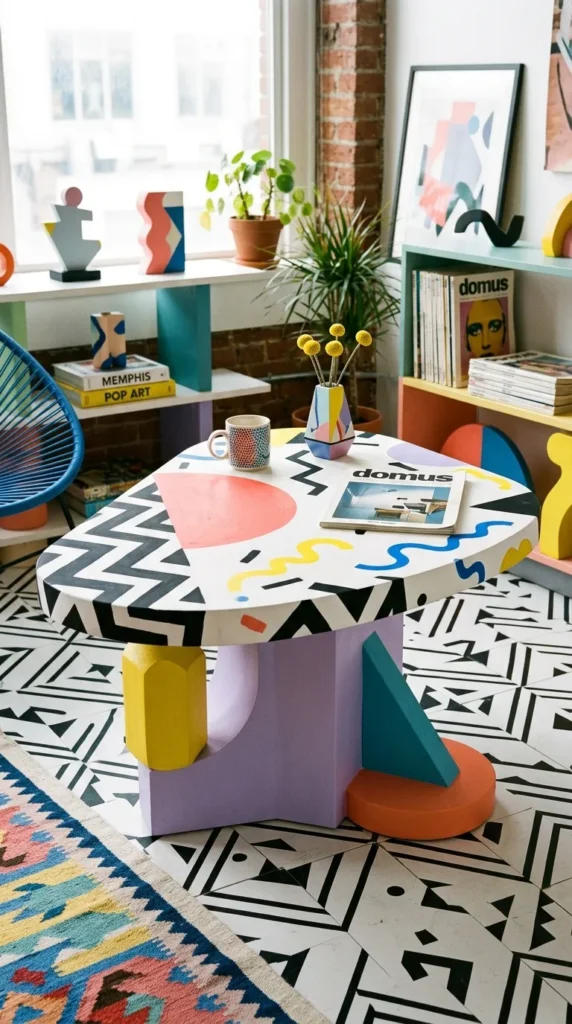
20. Pop Art Memphis Geometric Wave
Energetic, vibrant, and expressive, this style channels the creative 1980s Memphis Milano design movement.
- What This Idea Means: High-contrast combinations of black-and-white squiggles, bold stripes, confetti triangles, and bright primary and pastel shapes.
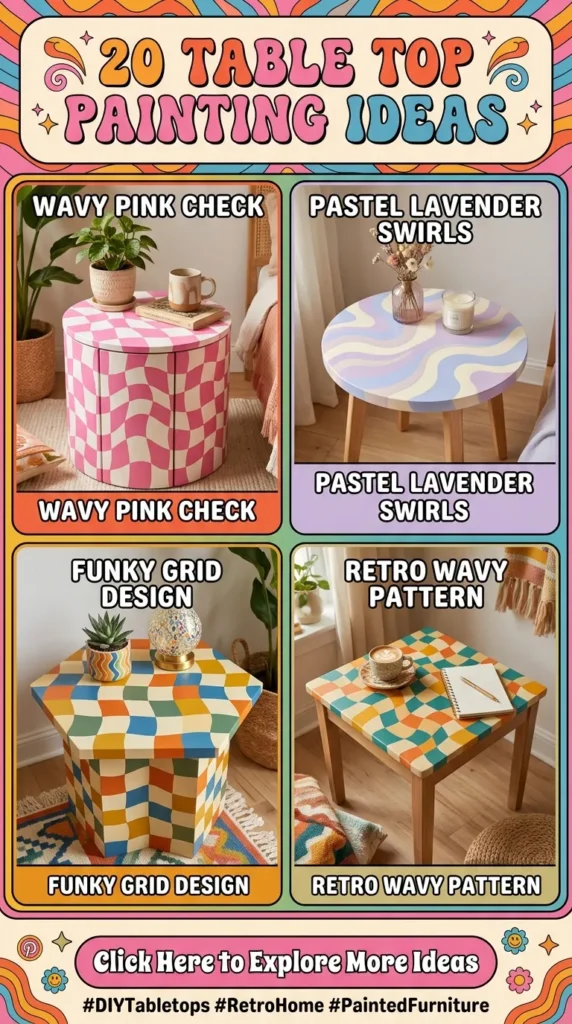
- How to Make It: Paint the tabletop in a bright pastel yellow or lavender base. Section off one half using painter’s tape and paint bold black-and-white zebra or checker stripes. On the remaining open space, hand-paint contrasting teal zigzags, coral half-circles, and scattered black wiggle lines. Keep every shape sharp, flat, and graphic with no gradients or shading.
- Tips and Variations: Outline solid shapes with a consistent black border to give the entire piece a graphic, comic-strip aesthetic.
- Supplies Needed: Pastel and primary acrylic paints, jet black paint marker, delicate painter’s tape, fine synthetic brushes, ultra-gloss or satin polyurethane topcoat.
Step-by-Step Durability Sealing Guide
To ensure your painted tabletop withstands everyday wear, hot mugs, and cleaning:
- Cure Time: Allow all painted artwork to fully dry and cure for at least 48 to 72 hours before sealing.
- Product Selection: Choose water-based polycrylic or polyurethane for light-colored designs (it will not yellow over time). Choose oil-based sealers or two-part epoxy resin for high-traffic dining tables needing maximum heat and scratch resistance.
- Application: Apply thin, even coats using a high-density foam brush or microfibre roller in smooth, overlapping passes. Avoid over-brushing to prevent bubbles.
- Sanding Between Coats: Let each clear coat dry for 4 to 6 hours. Lightly hand-sand between layers with ultra-fine 320- to 400-grit sandpaper to remove dust nubs. Wipe clean with a tack cloth.
- Final Cure: Apply 3 full coats. Allow the final coat to cure undisturbed for 7 days before placing heavy objects or hot items on the surface.